This site is not affiliated with AGCO Inc., Duluth GA., Allis-Chalmers Co., Milwaukee, WI., or any surviving or related corporate entity. All trademarks remain the property of their respective owners. All information presented herein should be considered the result of an un-moderated public forum with no responsibility for its accuracy or usability assumed by the users and sponsors of this site or any corporate entity. | ||||||
The Forum | Parts and Services | Unofficial Allis Store | Tractor Shows | Serial Numbers | History |
Grandfathers CA |
Post Reply | Page <123 |
Author | |
CA13414
Bronze Level Joined: 25 Feb 2024 Location: Nebraska Points: 54 |
Post Options
Thanks(0)
|
Agree and thank you!
I do have new bushings! Planning to put them in this weekend and finish up the front. Will still need to sandblast the front rims with the back rims and mount new tires. Getting closer!! Edited by CA13414 - 03 May 2024 at 7:24pm |
|
Helping the aged survive and thrive! 1953 CA
|
|
Sponsored Links | |
CA13414
Bronze Level Joined: 25 Feb 2024 Location: Nebraska Points: 54 |
Post Options
Thanks(0)
|
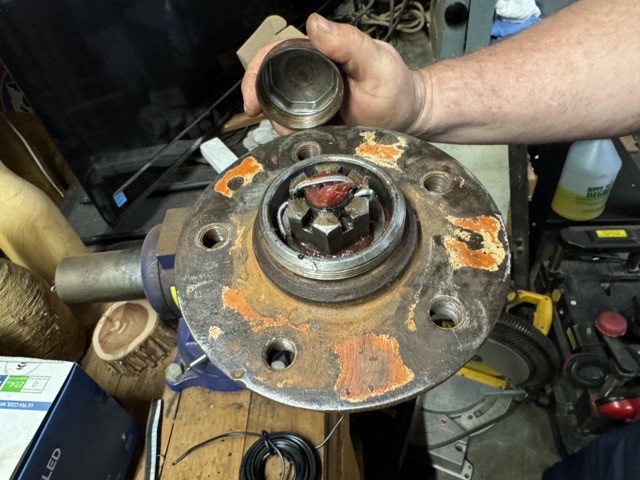
We worked on the front axil bearing and hubs. Cleaned them up. Wire brush, drill with a wire burr, and emory cloth.
Then pressed on the front wheel seals. Used the front wheel hub flipped over and with a rubber mallet "pressed" them....... or more appropriately hammered them on! The bearing cones were in good condition thus, we repacked them using a bearing repacking cup, cone and grease gun. WOW the cup and cone was a ton easier and faster than doing it by hand!!! 
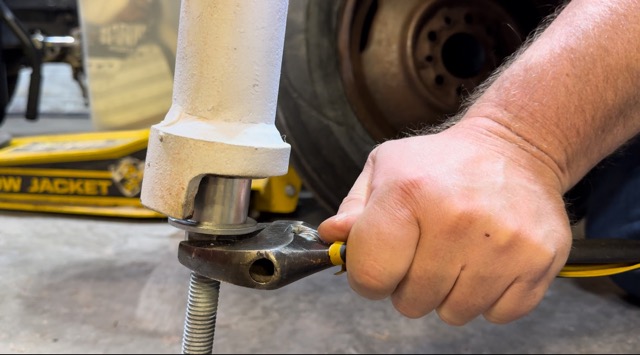
Here it is reassembled with a new cotter pin!! 
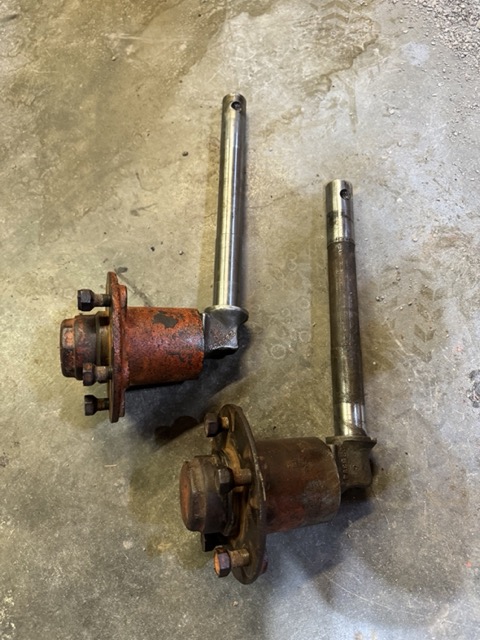
The assembled hubs, ready to put into the front end. 
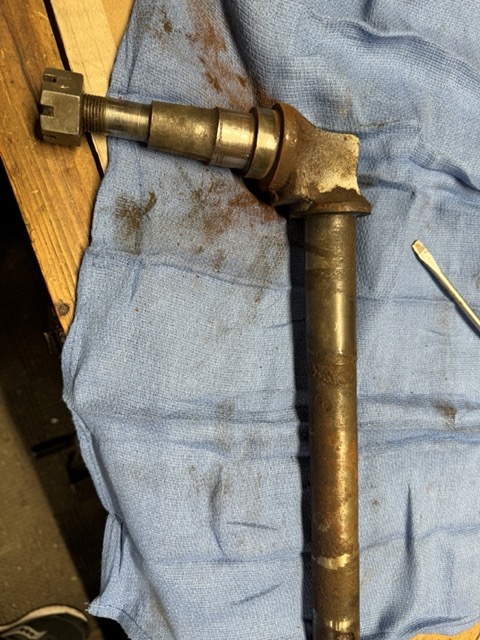
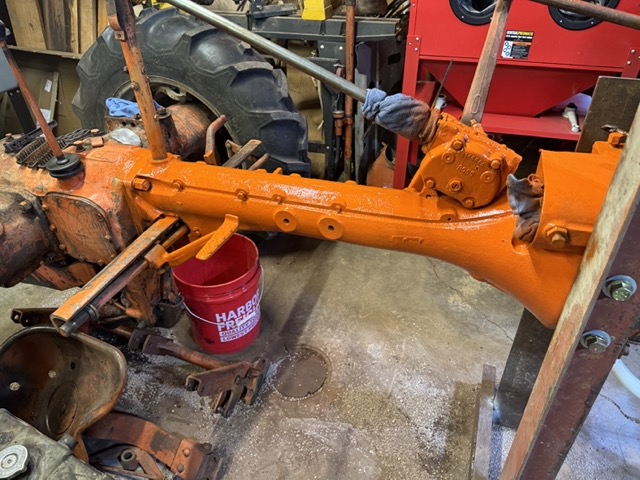
We did have enough time to press in three of the spindle bushings. However, we didn't really press them in (just like the front wheel seals) but used a rubber mallet and a piece of hard wood to set them in the front end spindle. Was a bit of a pain to get the job done without damaging the bushings, but we succeeded. This is where I miss all the tools on the farm. Today I wish I had the hydraulic press!!! Finally, started painting parts that we have stripped and cleaned. This is going to look awesome!! < id="idg-io-safe-browsing-enabled" ="" oninit="true"> Edited by CA13414 - 05 May 2024 at 9:21pm |
|
Helping the aged survive and thrive! 1953 CA
|
|
IBWD MIke
Orange Level Joined: 08 Apr 2012 Location: Newton Ia. Points: 3464 |
Post Options
Thanks(0)
|
That's progress for sure. I use a 1" piece of all thread to pull those bushings in with, works pretty good.
|
|
CA13414
Bronze Level Joined: 25 Feb 2024 Location: Nebraska Points: 54 |
Post Options
Thanks(0)
|
That is awesome!! Will definitely do that for the last one vs. taking it off the front end. Thank you! Edited by CA13414 - Yesterday at 8:01am |
|
Helping the aged survive and thrive! 1953 CA
|
|
IBWD MIke
Orange Level Joined: 08 Apr 2012 Location: Newton Ia. Points: 3464 |
Post Options
Thanks(0)
|
You're welcome. I've changed more of those bushings than it seems like I ever should have had to! If I have a spindle out for whatever reason, new bushings go in. I kind of have a thing about sloppy steering.
|
|
CA13414
Bronze Level Joined: 25 Feb 2024 Location: Nebraska Points: 54 |
Post Options
Thanks(0)
|
I could not find a 1" all-thread, but did find a 5/8"! It really worked awesome to set the spindle bushings. The washer did spin a bit and flared the bushing. Nothing that a dill burr and emory cloth won't quickly fix. Awesome job!!! Very much appreciate the suggestion, IBWD Mike!!! Edited by CA13414 - 1 hour 8 minutes ago at 8:58pm |
|
Helping the aged survive and thrive! 1953 CA
|
|
Post Reply | Page <123 |
Tweet
|
Forum Jump | Forum Permissions You cannot post new topics in this forum You cannot reply to topics in this forum You cannot delete your posts in this forum You cannot edit your posts in this forum You cannot create polls in this forum You cannot vote in polls in this forum |