79fordblake wrote: 79fordblake wrote:
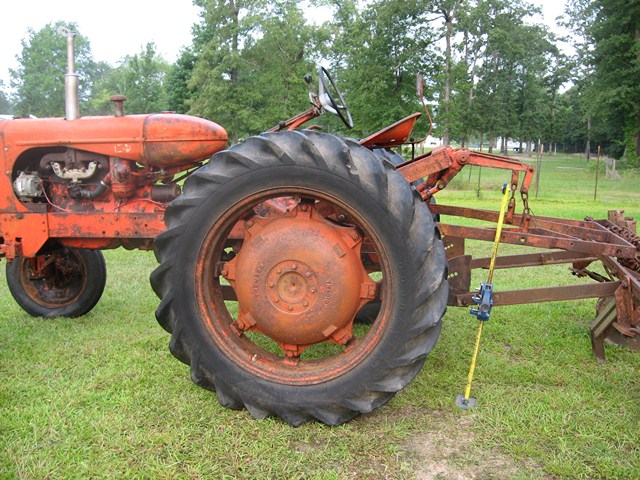
I see in the manual that it says it can be easier and faster to break the drum than it is to pull it off the shaft. The drum on one side is toast...big grooves from being metal to metal. What should I do to break it? Wear some eye protection and slap it with a sledge?
I'm not removing the final drive from the other side....the other drum is in great shape.
Waiting on all the parts to come right now.
|
Here's what we used to do to get the drum off after removing the final from tractor.
Lay the final down on floor and support the drum with some hardwood blocks. Carefully break the drum flanges off with a heavy hammer (like a 2#). Then break the web off as close to the hub as practical; all the while supporting the drum (& eventually what's left of it) by the hardwood blocks. Drill a hole in the hub right over, and to the key. (a 5/16 or 11/32" will do, depending on what you might have available for a tapered punch) approx 3/4" from the edge of the longest part of the hub. What you want to do is get the hub to crack by forcing the tapered punch into the hole where the keyway is. Once it is cracked, it comes off easily.
Even a centerpunch would work as long as it's got some taper to it and you size the drilled hole accordingly.
.
To install a new drum, make sure the snap-ring is still in place.
Use a rosebud to heat the drum up evenly (you don't want to crack the new one !)
Don't overheat. It should be hot enough to freely slide on the axle (this will require welding gloves to handle) Make sure the drum goes on the right direction (for the snap ring)
The tricky part is 3-fold..... getting it to slide on the axle shaft - aligned with the key - and pushed up against the snap ring.
Have a piece of steel tubing of sufficient length that will fit over the axle and a sledge at the ready to drive the drum "home"... it's very possible for the drum to hang up on the axle before it gets to the snap ring.
Yes, wear eye protection !


 Topic Options

 Post Options
") Thanks(0)
Thanks(0)