| Author |
 Topic Search Topic Search  Topic Options Topic Options
|
Strokendiesel002 
Silver Level


Joined: 04 Apr 2019
Location: 53158
Points: 252
|
 Post Options Post Options
") Thanks(0) Thanks(0)
 Quote Quote  Reply Reply
 Posted: 30 Jan 2021 at 11:34pm Posted: 30 Jan 2021 at 11:34pm |
Thank you Brian! I went this morning and pulled the pump off the tractor. H39AA2B is the one I have. Turns out this pump was configured to run Clockwise, but is able to be reversed. Took the boys for a short snowmobile ride after reassembly  Then went back to the tractor to try my luck... Success! I'm hopeful to bring it home tomorrow and will try to get some video and pictures in case anyone else wants some ideas or is thinking about giving this a go :)
Edited by Strokendiesel002 - 30 Jan 2021 at 11:35pm
|
 |
|
Sponsored Links
|
|
|
Brian G. NY
Orange Level


Joined: 12 Sep 2009
Location: 12194
Points: 2198
|
Post Options
Thanks(0)
Quote Reply
Posted: 30 Jan 2021 at 8:34am |
|
I don't know the name of the actual manufacturer but the A-C part number for the pump assembly used with the 400 and 500 loaders is 343343. Specs.: 11 GPM @ 1650 RPM.
|
|
Strokendiesel002
Silver Level
Joined: 04 Apr 2019
Location: 53158
Points: 252
|
Post Options
Thanks(0)
Quote Reply
Posted: 29 Jan 2021 at 10:50pm |
|
Say, would anyone happen to know the brand or model number of the hydraulic pump that was used on the front?
|
|
Strokendiesel002
Silver Level
Joined: 04 Apr 2019
Location: 53158
Points: 252
|
Post Options
Thanks(0)
Quote Reply
Posted: 24 Oct 2020 at 6:04pm |
|
Thanks Dr!
|
|
DrAllis
Orange Level Access
Joined: 12 Sep 2009
Points: 19601
|
Post Options
Thanks(0)
Quote Reply
Posted: 24 Oct 2020 at 5:56pm |
|
Allis-Chalmers power steering for a D-17 requires a lot more parts than just a pump. You'll need a control valve, power steering hydraulic cylinder and all the lines to connect everything. This front pump for a loader could be used to do the power steering if you adapted a priority valve somewhere that would direct 4 or more GPM to the power steering first and then the rest would go to the loader valve. A Char-Lynn brand add-on power steering torque generator could also use this front pump/priority valve arrangement.
|
|
Strokendiesel002
Silver Level
Joined: 04 Apr 2019
Location: 53158
Points: 252
|
Post Options
Thanks(0)
Quote Reply
Posted: 24 Oct 2020 at 10:21am |
|
As I'm getting closer to completing mounting of the pump I've started to wonder... Can I use this pump to also get power steering? I see two plugs in the bolster...
|
|
Strokendiesel002
Silver Level
Joined: 04 Apr 2019
Location: 53158
Points: 252
|
Post Options
Thanks(0)
Quote Reply
Posted: 23 Oct 2020 at 12:27am |
Evening! More progress on the live hydraulics! I pulled the shroud and radiator out, cleaned out the 7/16 NC threaded holes in the pulley and bolted up the adapter recommend earlier in the thread. I then slid the 3/4" shaft through the bolster only to find that it doesn't line up. As this ole girl is 62 years old and I'm probably not the first to have split her I suppose I shouldn't be surprised. It was really close, but no dice. I thought about blocking everything up and trying to raise the engine a hair, but remembered a post or two mentioning that the early bolsters weren't big enough for even the 3/4" shafts. So I got out the right angle whizzer and a couple mess makers and went to town!  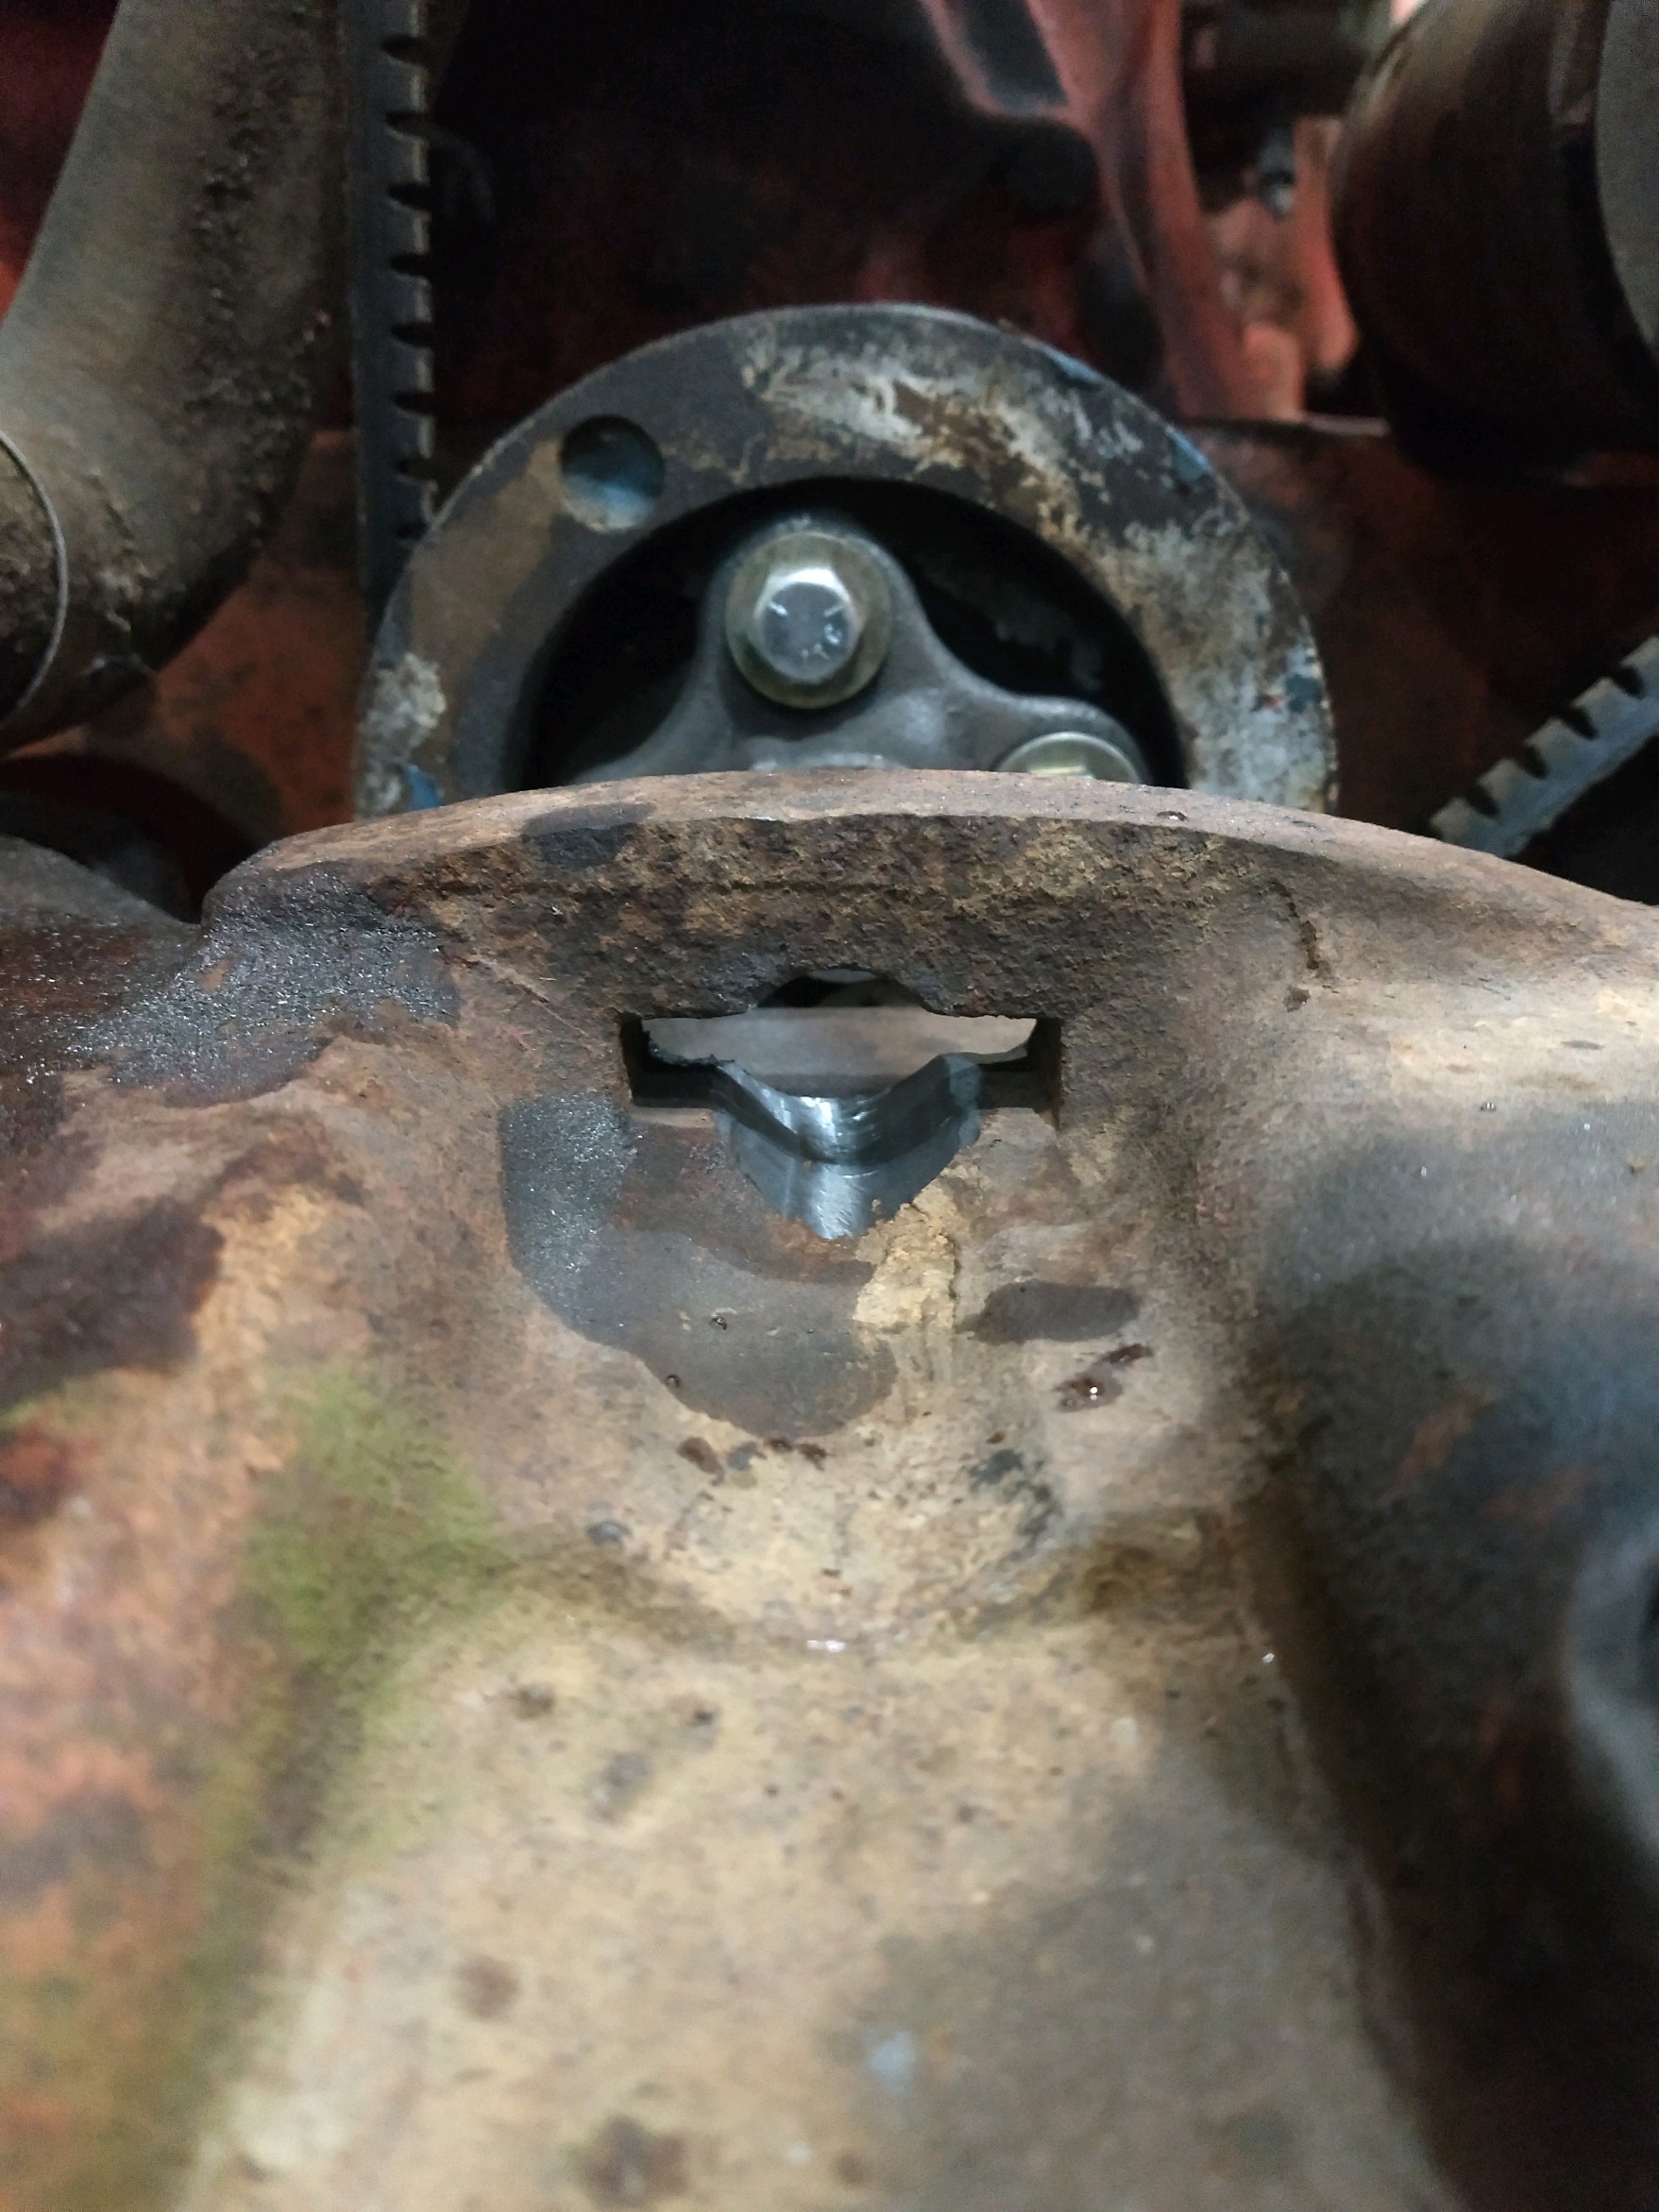 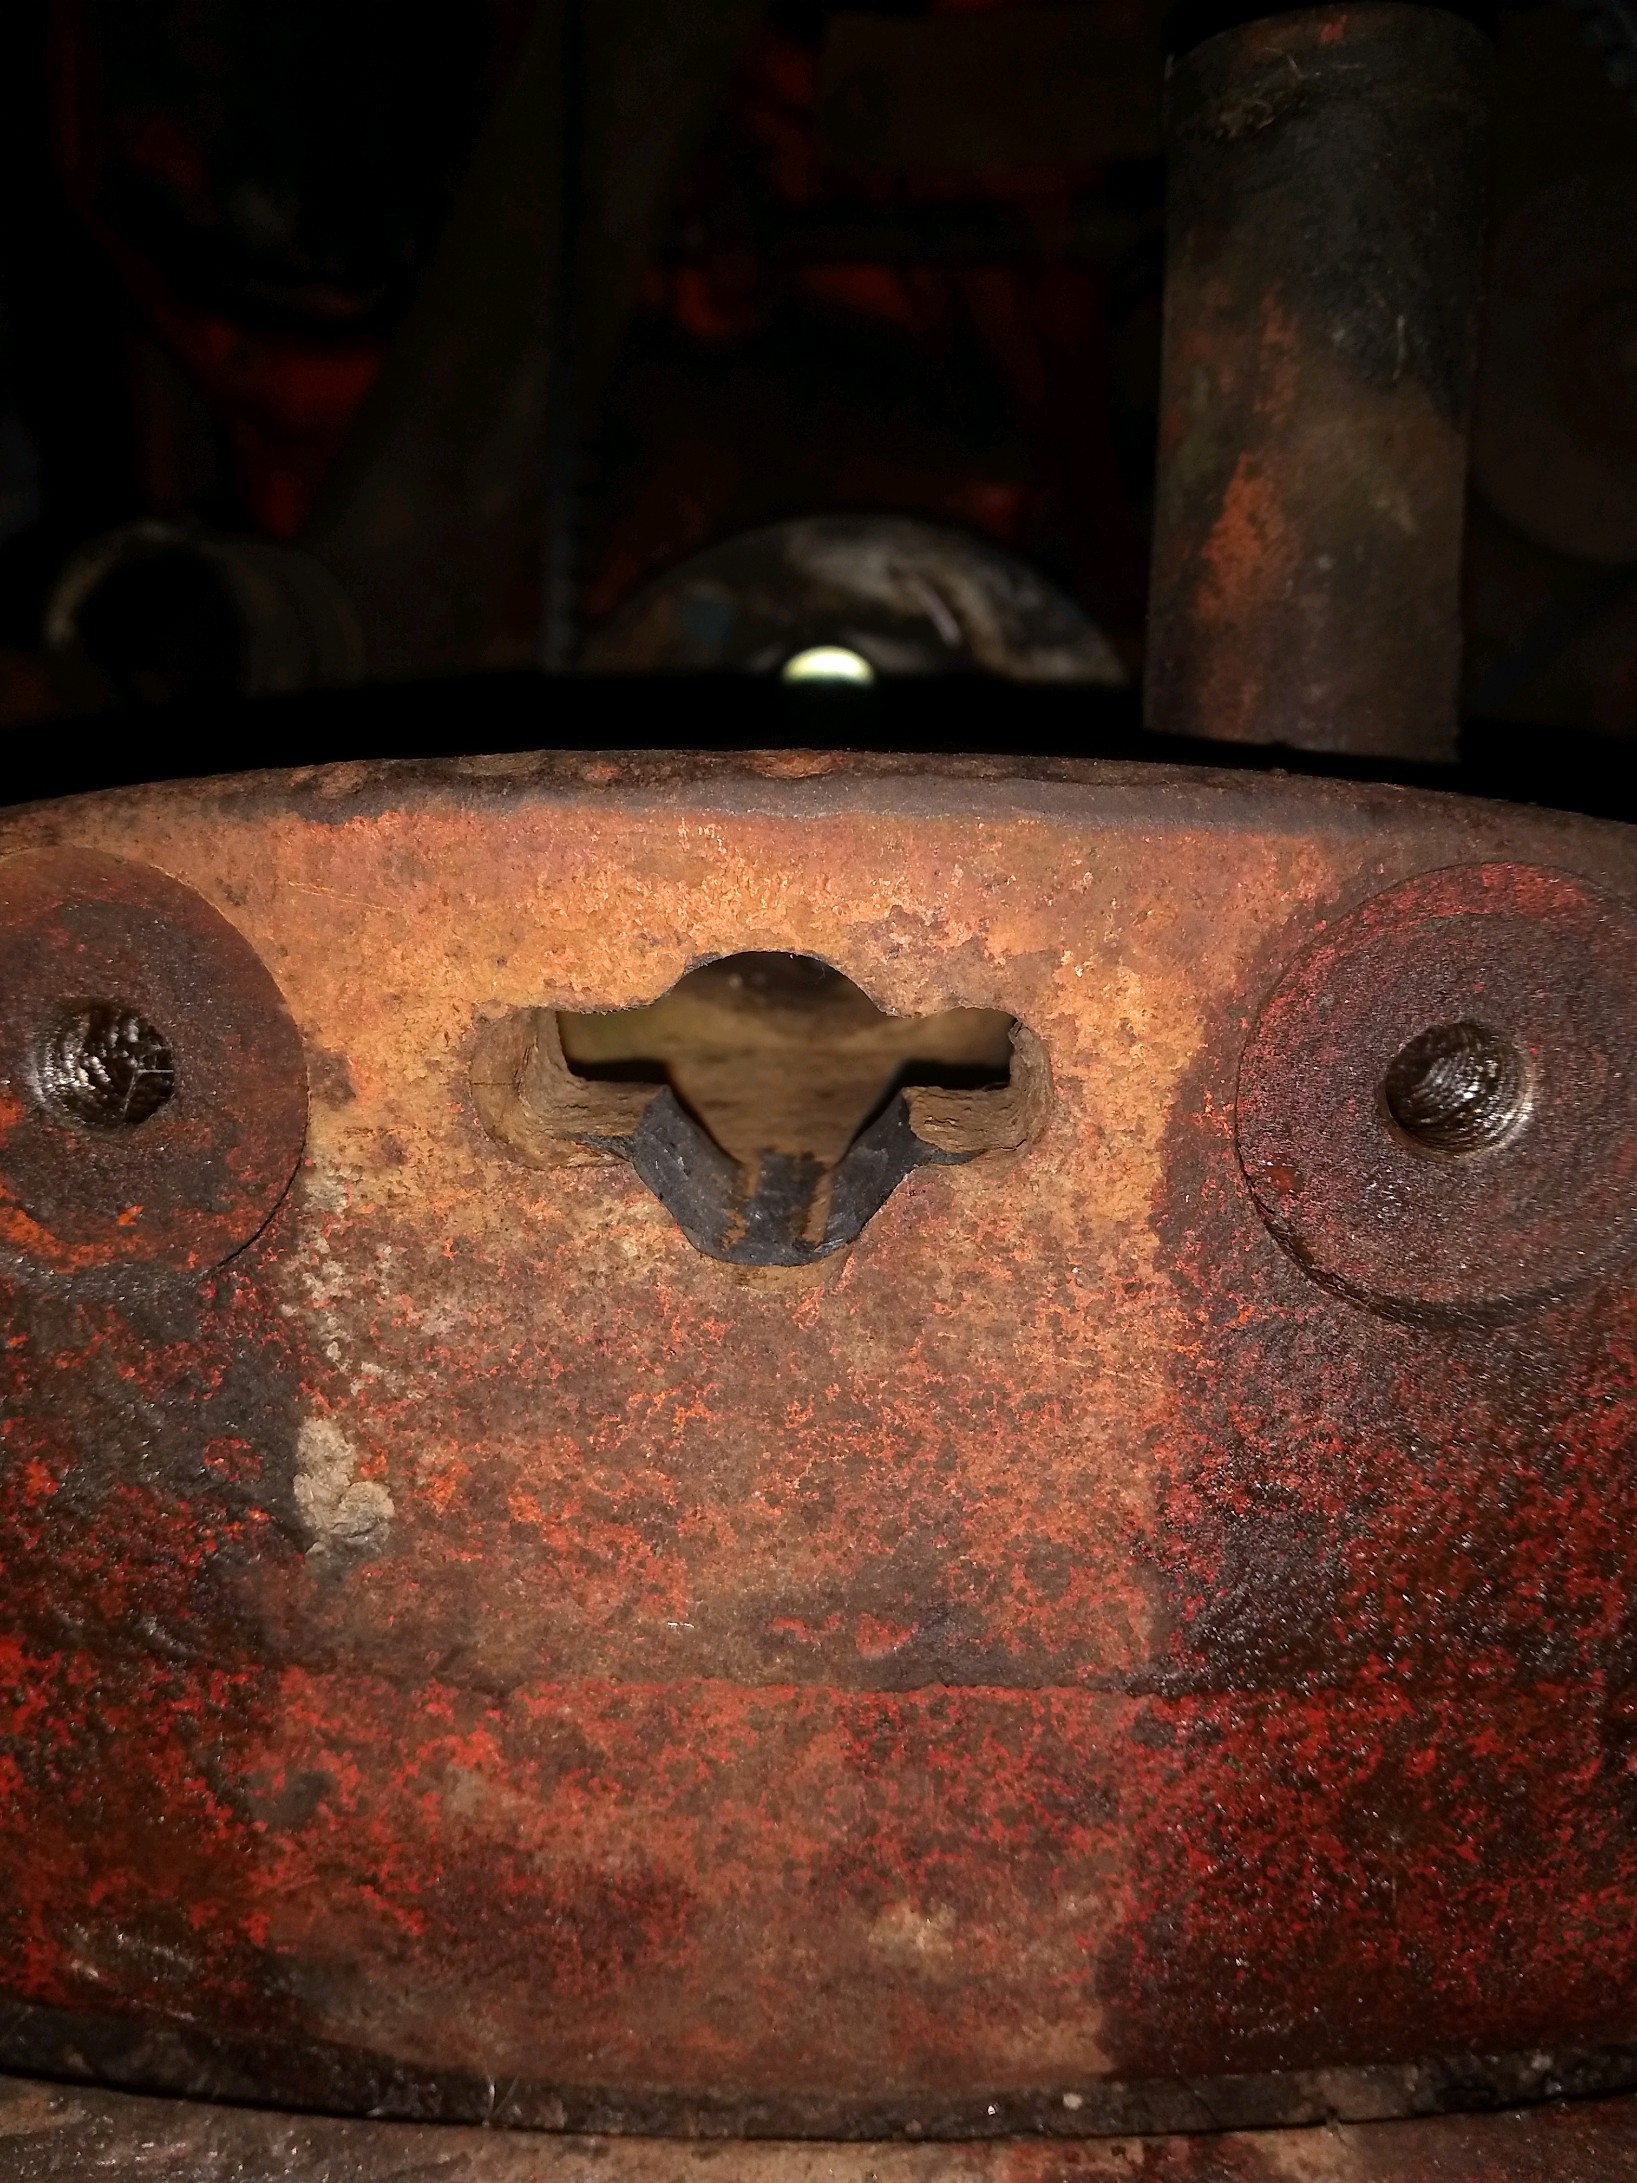 Now, the threaded holes in the bolster are 1/2"-13 for anyone wondering. After cleaning them I found I can run a bolt in 1". I'm using love joy couplers and my plate is 3/8" thick. Holding everything in place it looks like my spacers need to be 3.9" so I'll probably shoot for 4". I believe I mentioned earlier that the 1/2" bolts that secure the bracket to pedestal will interfere with the pump. It was suggested that I use flat head bolts to avoided interference, so I order 5" long flat heads and they should be showing up in a couple days! Just need to get a changed cut into the plate now and cut down the bar stock I bought for the spacers! 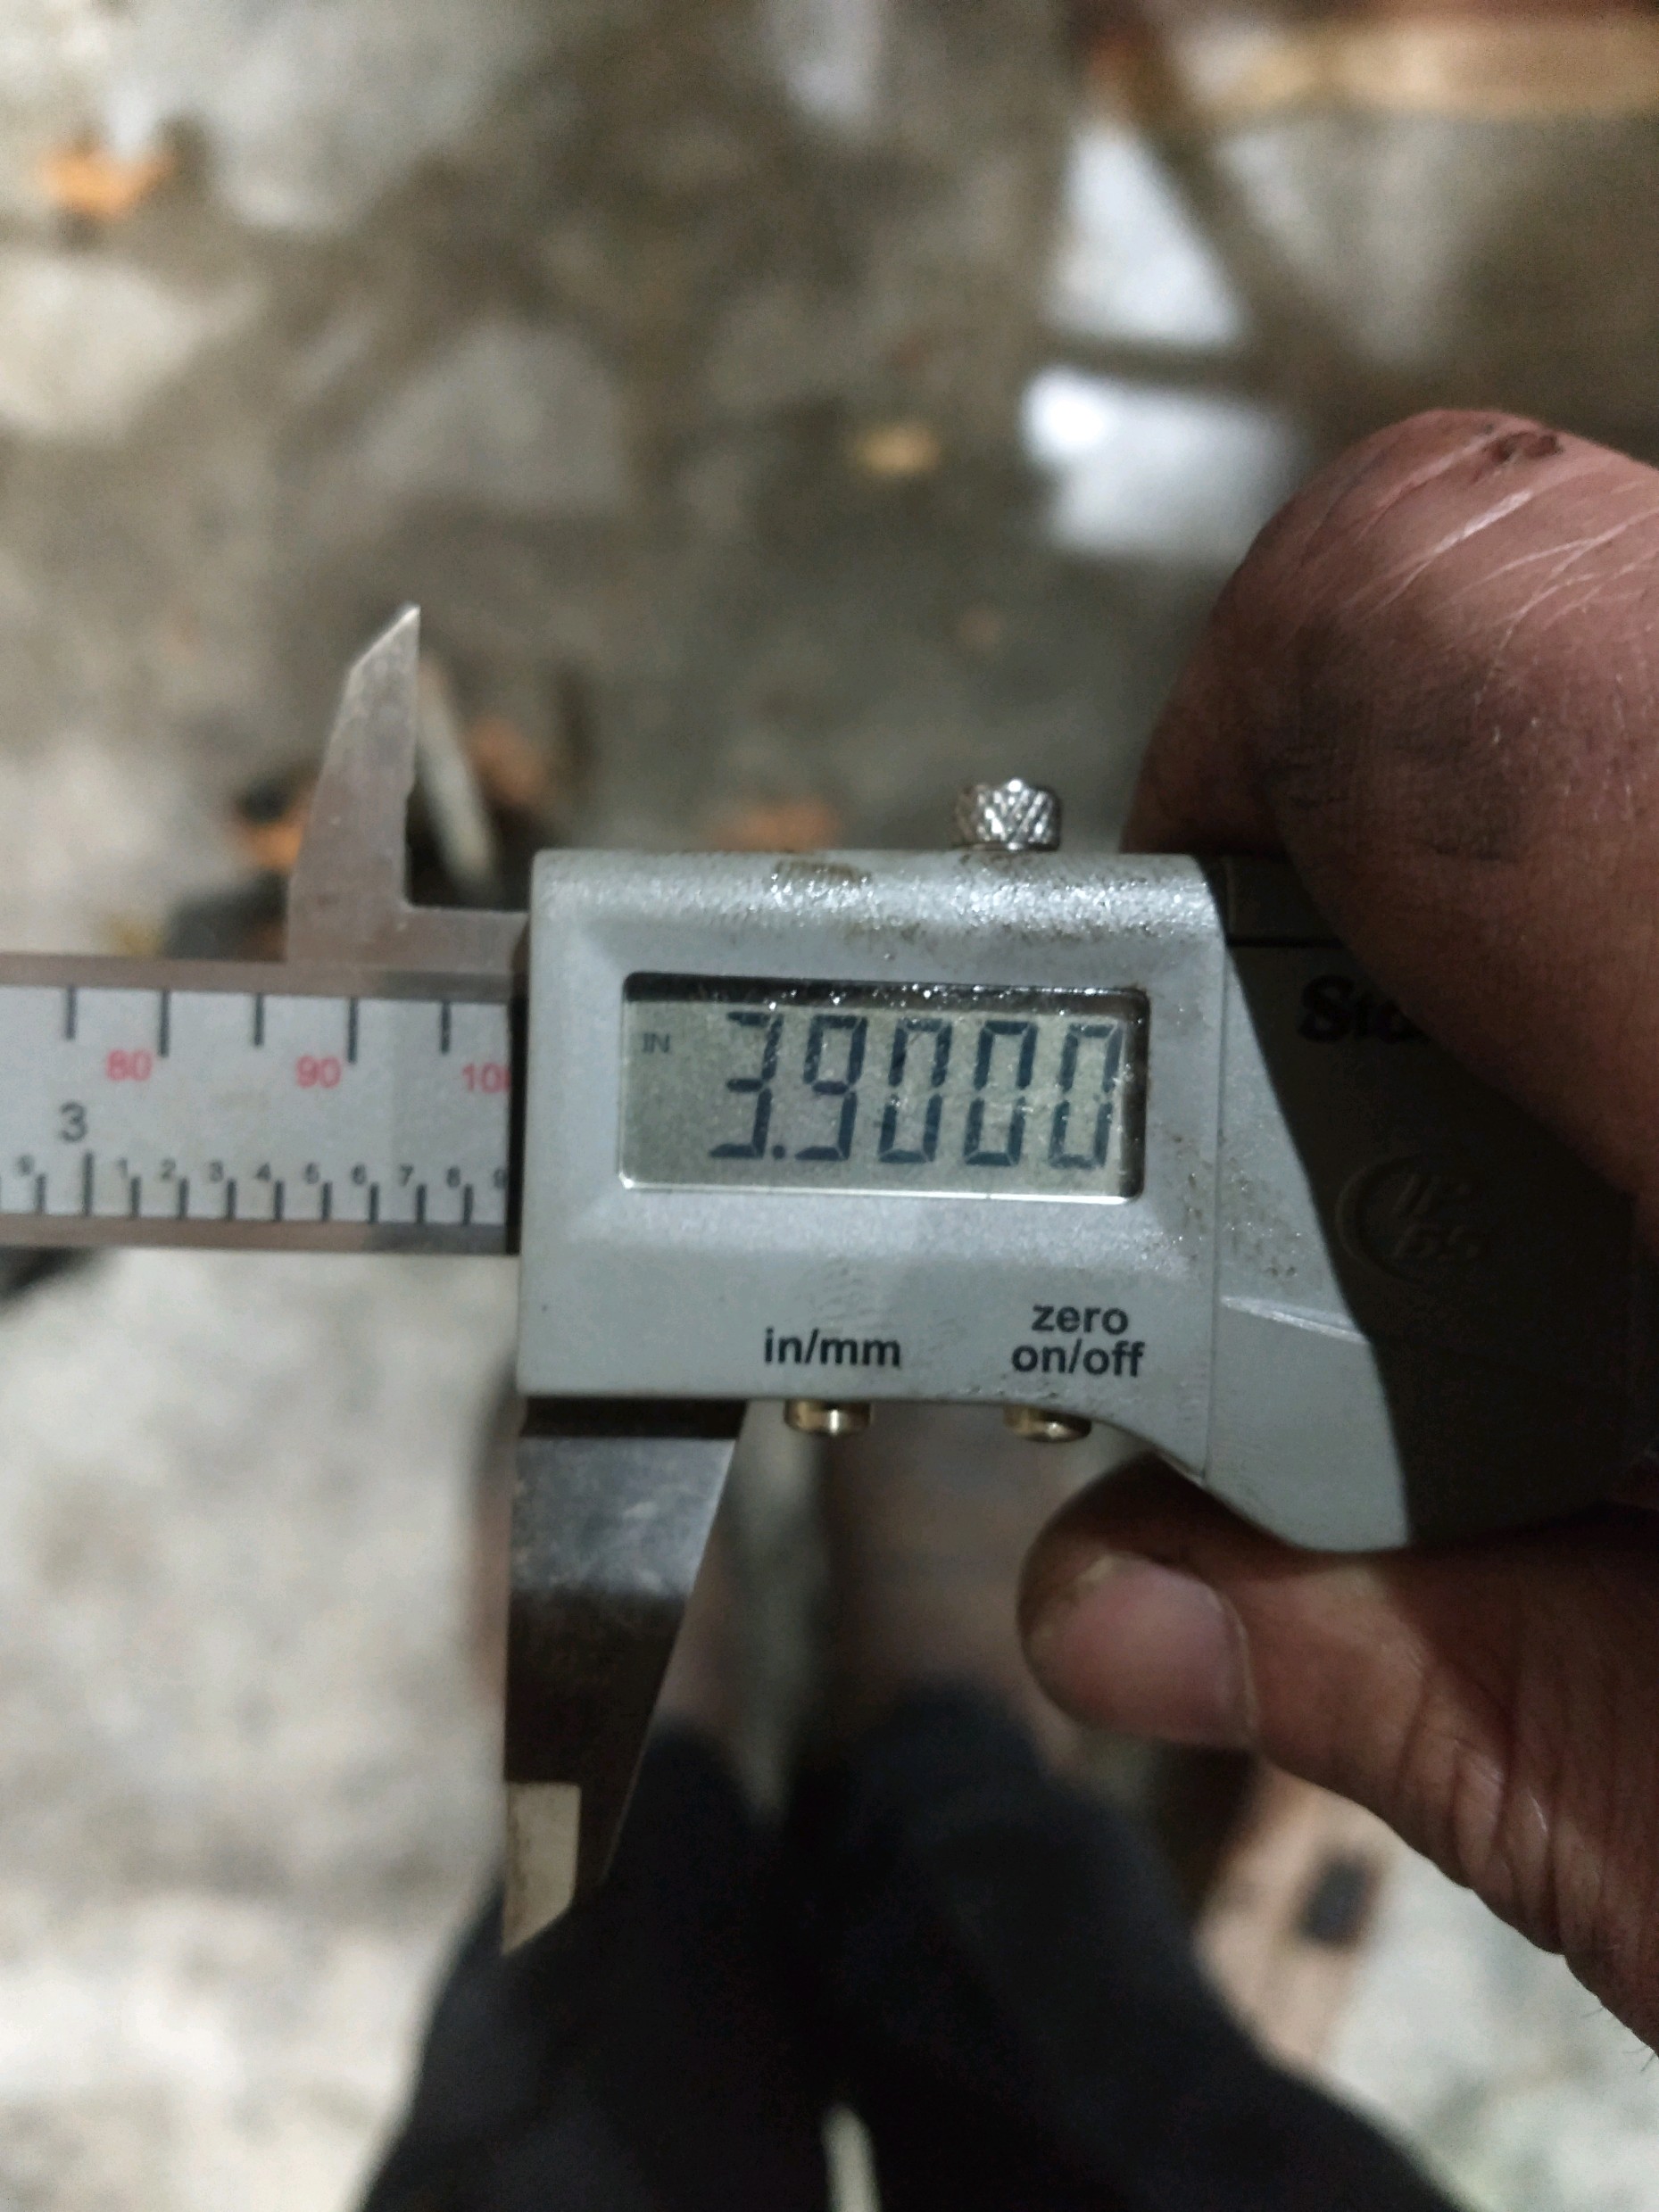
|
|
Strokendiesel002
Silver Level
Joined: 04 Apr 2019
Location: 53158
Points: 252
|
Post Options
Thanks(0)
Quote Reply
Posted: 14 Oct 2020 at 10:52pm |
|
Tom- thank you, I will order a new spring. I lubricated all the pins, so it will be a... Snap ;)
Bill- I certainly have enjoyed this thoroughly! I will certainly try to keep our escapades and frustrations posted :)
|
|
Bill Long
Orange Level
Joined: 12 Sep 2009
Location: Bel Air, MD
Points: 4556
|
Post Options
Thanks(0)
Quote Reply
Posted: 14 Oct 2020 at 9:51pm |
You know, that brings back a lot of GREAT MEMORIES! The 58 D-17 was one of the last tractors I sold. Really a great machine. So long since I worked on them I won't try to give you any advice on how to rebuild cause there is just too much newer methods and equipment out there. We all wish you the very best. Keep us posted as to progress Good Luck! Bill Long
|
|
HD6GTOM
Orange Level

Joined: 30 Nov 2009
Location: MADISON CO IA
Points: 6627
|
Post Options
Thanks(0)
Quote Reply
Posted: 14 Oct 2020 at 9:29pm |
|
While you have it taken apart, unhook the drawbar where it hooks under the tractor and replace the double C spring that holds the snap coupler hook in place. They get weak and it will allow your plow to come unhooked. When that happens the tonge of the plow will dig into the ground and the plow will land on top of you. I still have the scar on my back when it happened to me.
|
|
Strokendiesel002
Silver Level
Joined: 04 Apr 2019
Location: 53158
Points: 252
|
Post Options
Thanks(0)
Quote Reply
Posted: 14 Oct 2020 at 7:34pm |
Evening! I'm getting closer to having a functional FEL! So, a friend make me up the mounting plate and ordered some 1"OD .0.5" ID tubing and am waiting on a shaft and coupler for the flywheel. I test fit the pump in the bracket tonight and I suddenly realized what others were talking about with the 1/2" bolster bolts and pump interfering. Pics: 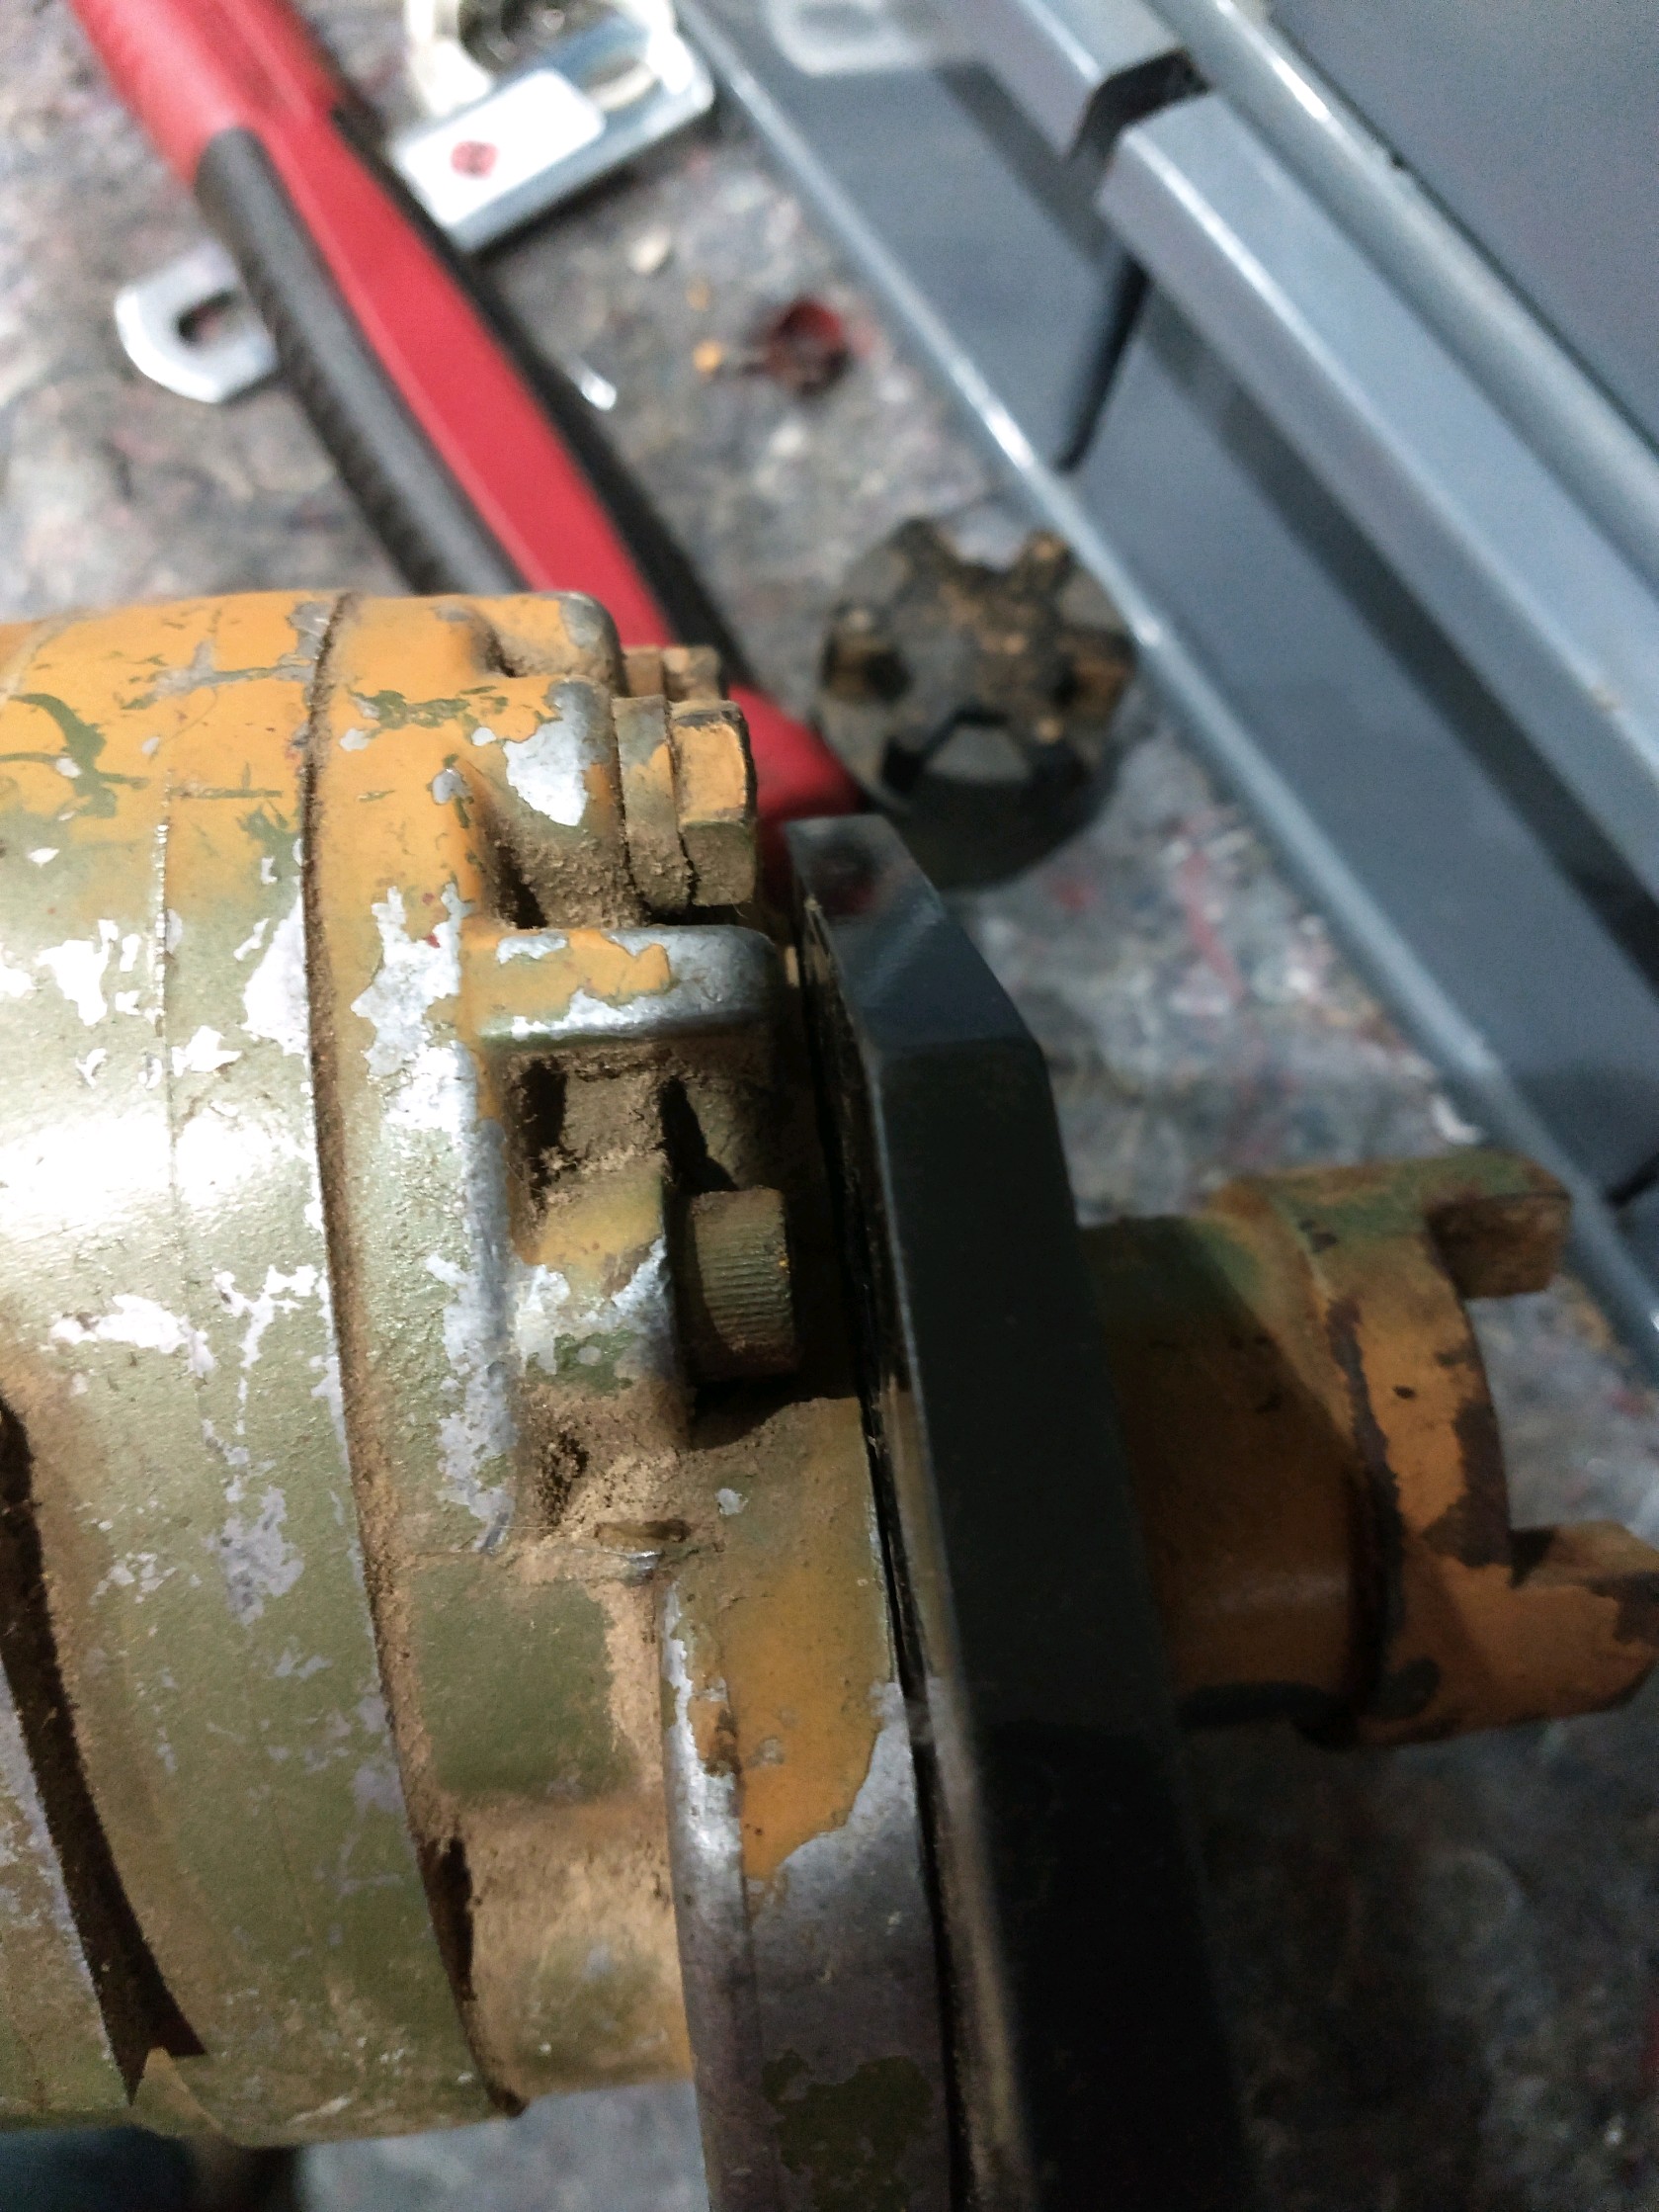 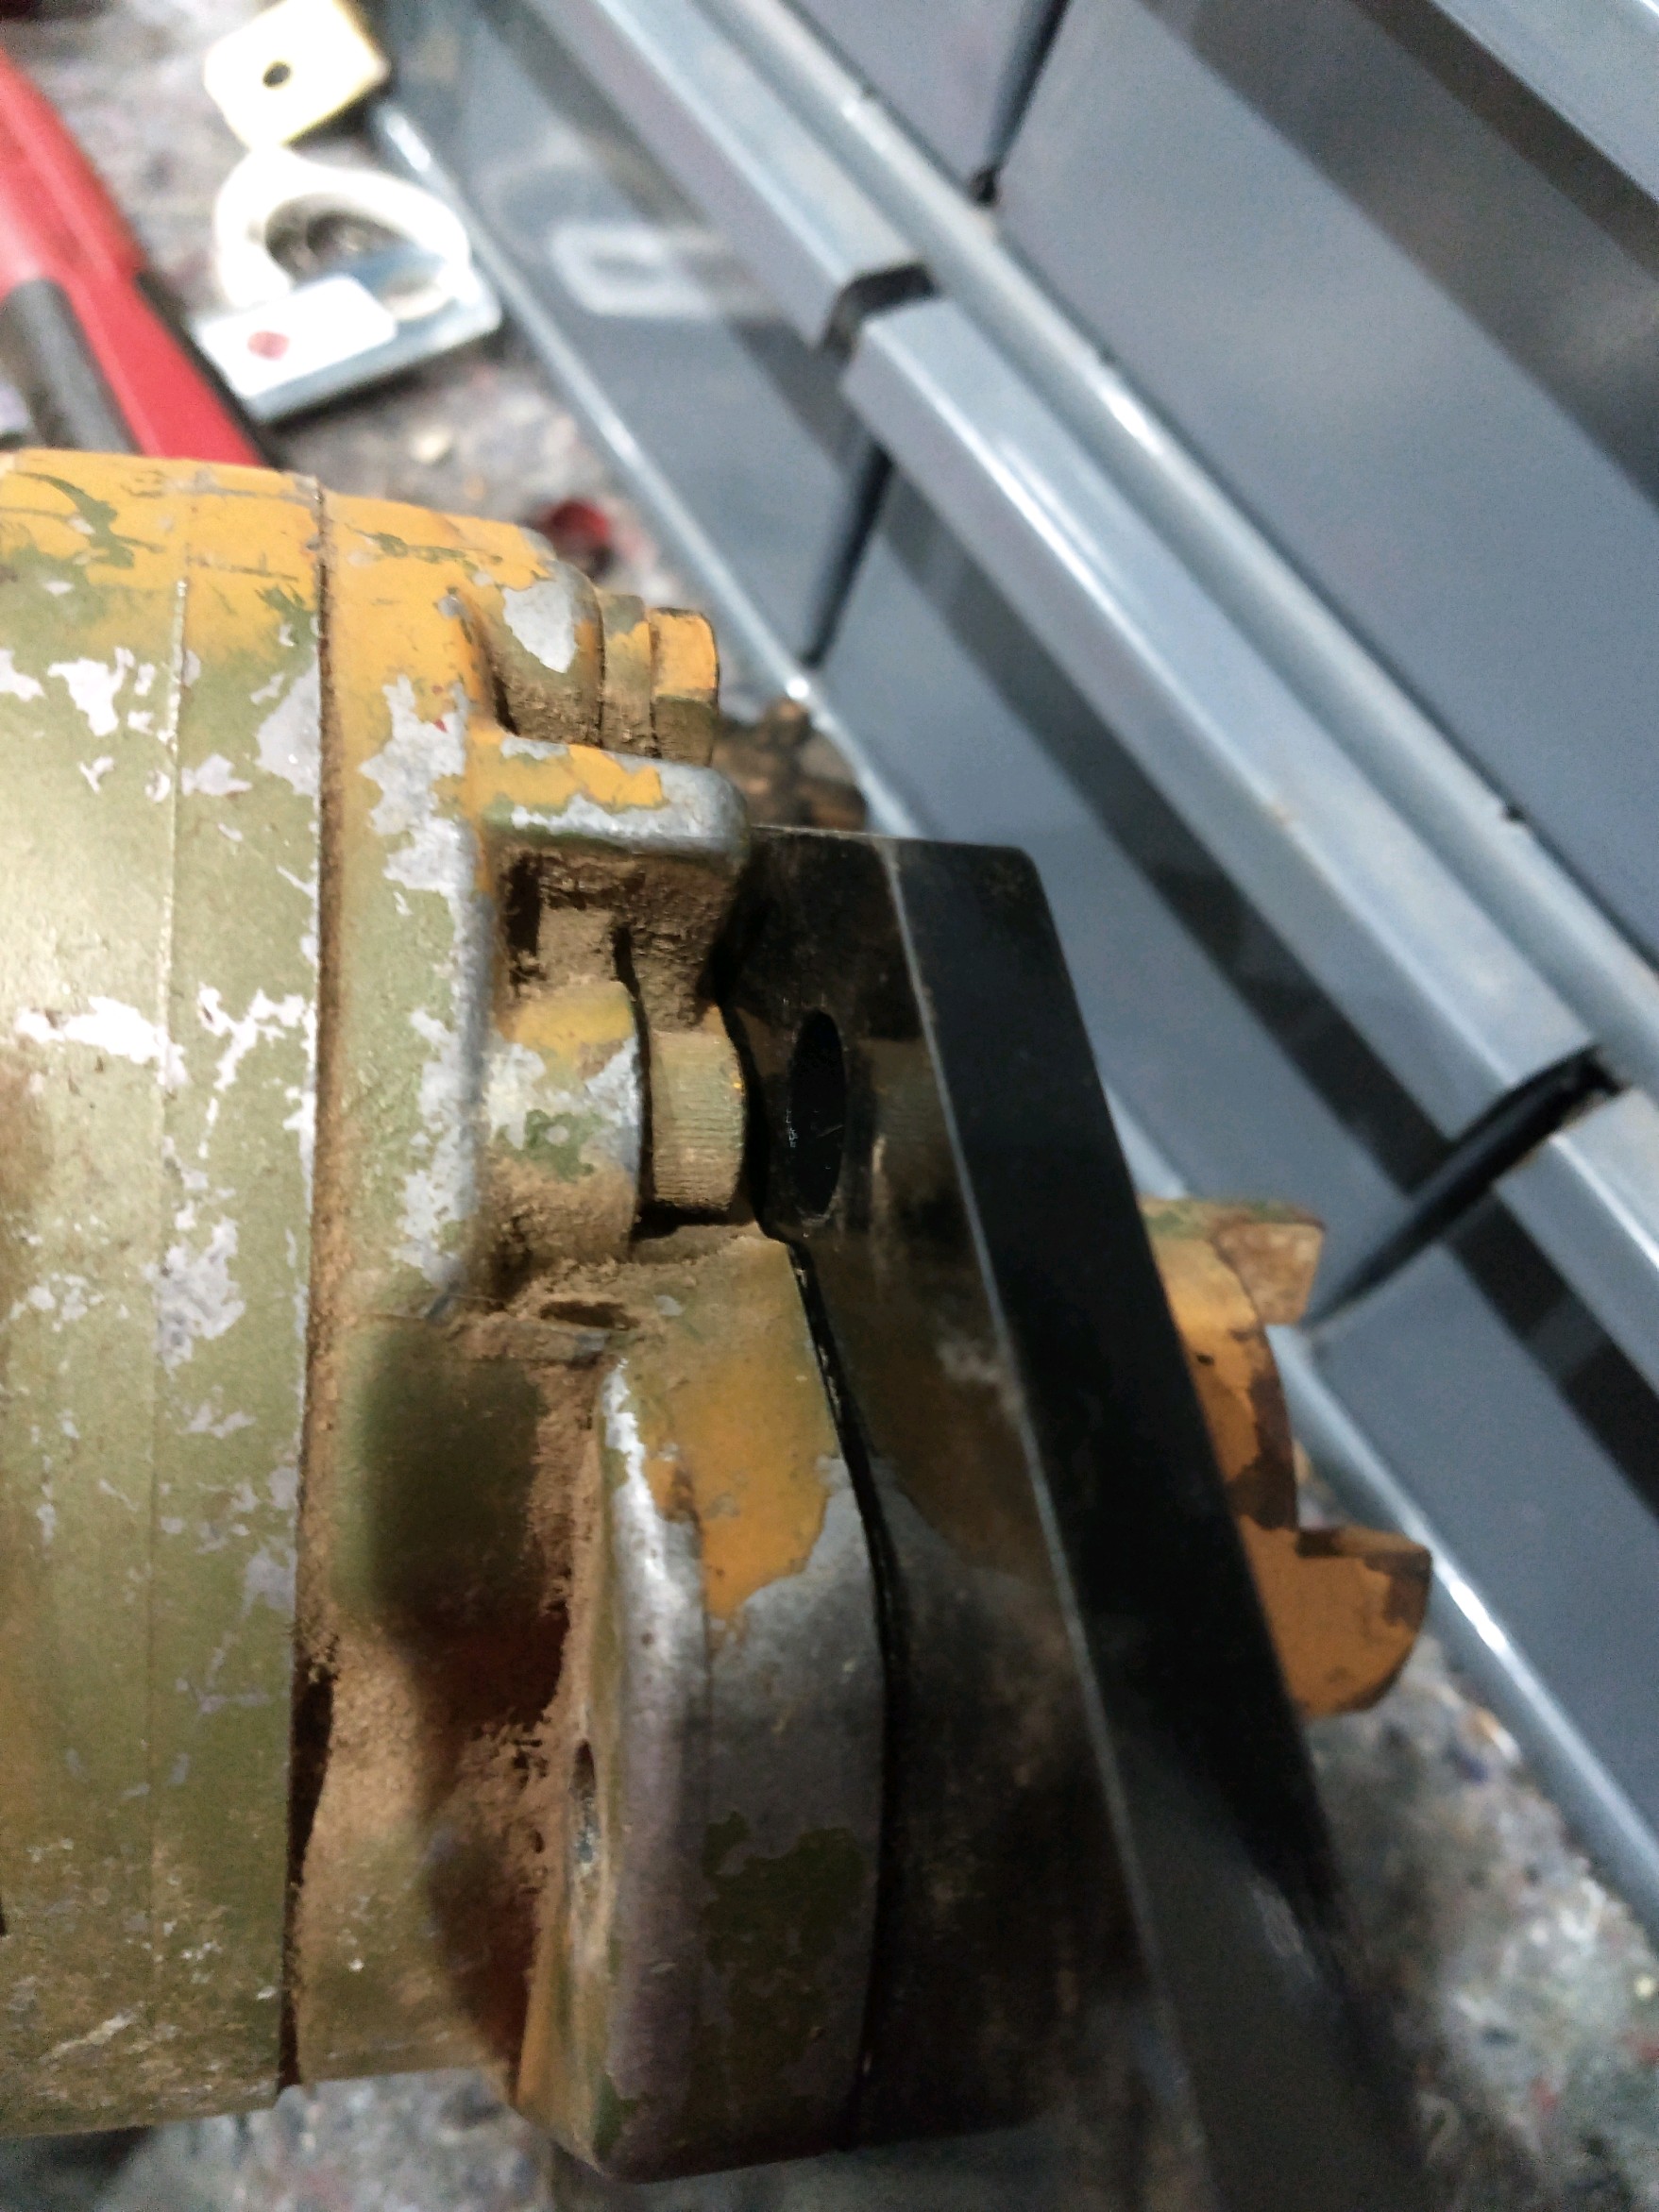 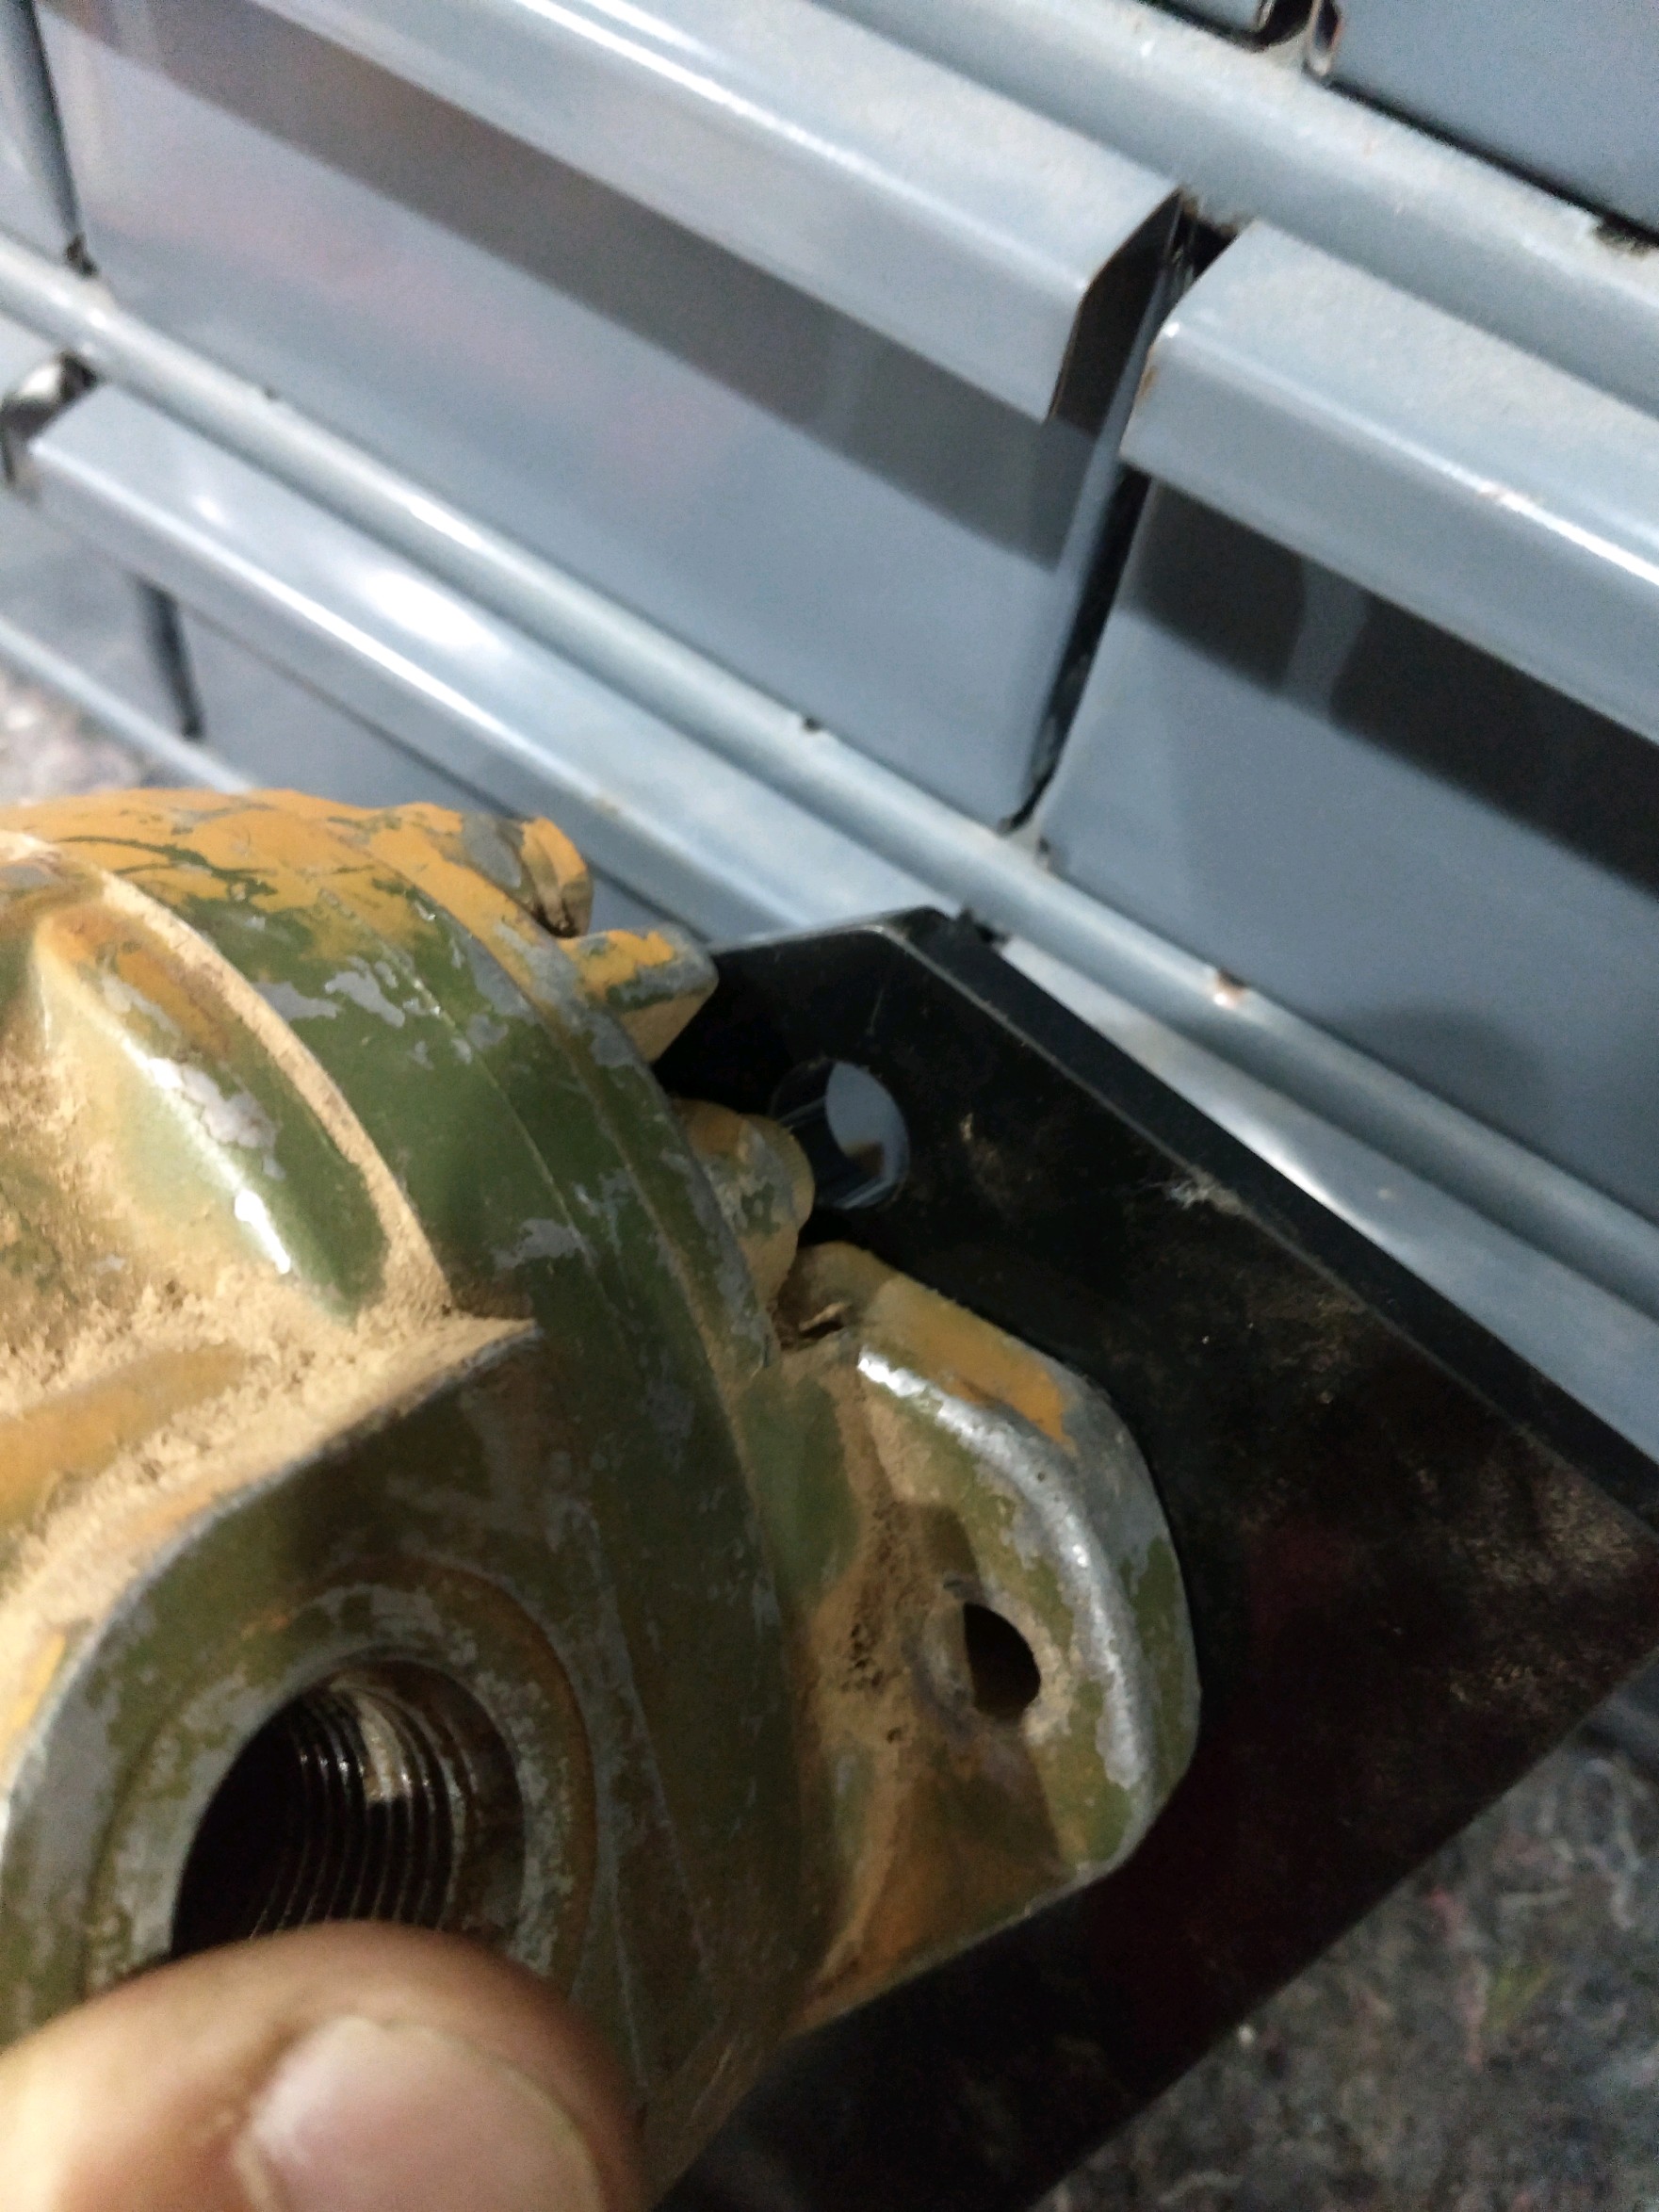 I'm thinking that it'd be acceptable to shorten up the bolster to bracket spacers by say 1/2" and then place 1/2" spacers between the bracket and pump... Thoughts?
|
|
Strokendiesel002
Silver Level
Joined: 04 Apr 2019
Location: 53158
Points: 252
|
Post Options
Thanks(0)
Quote Reply
Posted: 23 Sep 2020 at 11:23am |
|
Chris, thank you for the kind words as always :)
My uncle (same as who I got it from) was very excited to out the little Ford to work!
|
|
Strokendiesel002
Silver Level
Joined: 04 Apr 2019
Location: 53158
Points: 252
|
Post Options
Thanks(0)
Quote Reply
Posted: 23 Sep 2020 at 11:22am |
|
Correct clay, the person I bought from said they got bent so he replaced them and threw away the originals unfortunately
|
|
Clay
Orange Level

Joined: 11 Sep 2009
Location: Udall, Kansas
Points: 8860
|
Post Options
Thanks(0)
Quote Reply
Posted: 23 Sep 2020 at 11:05am |
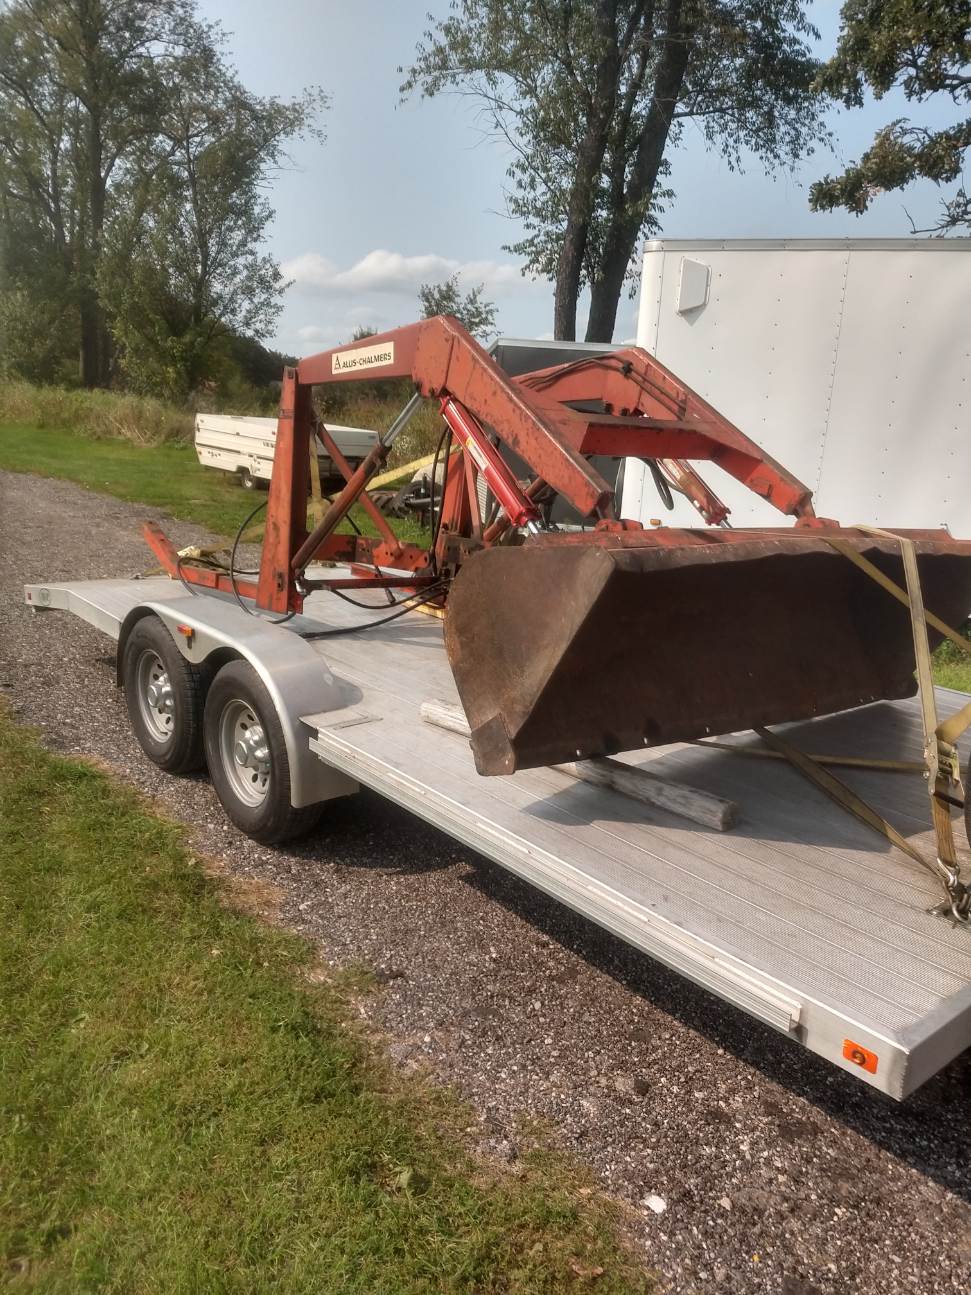
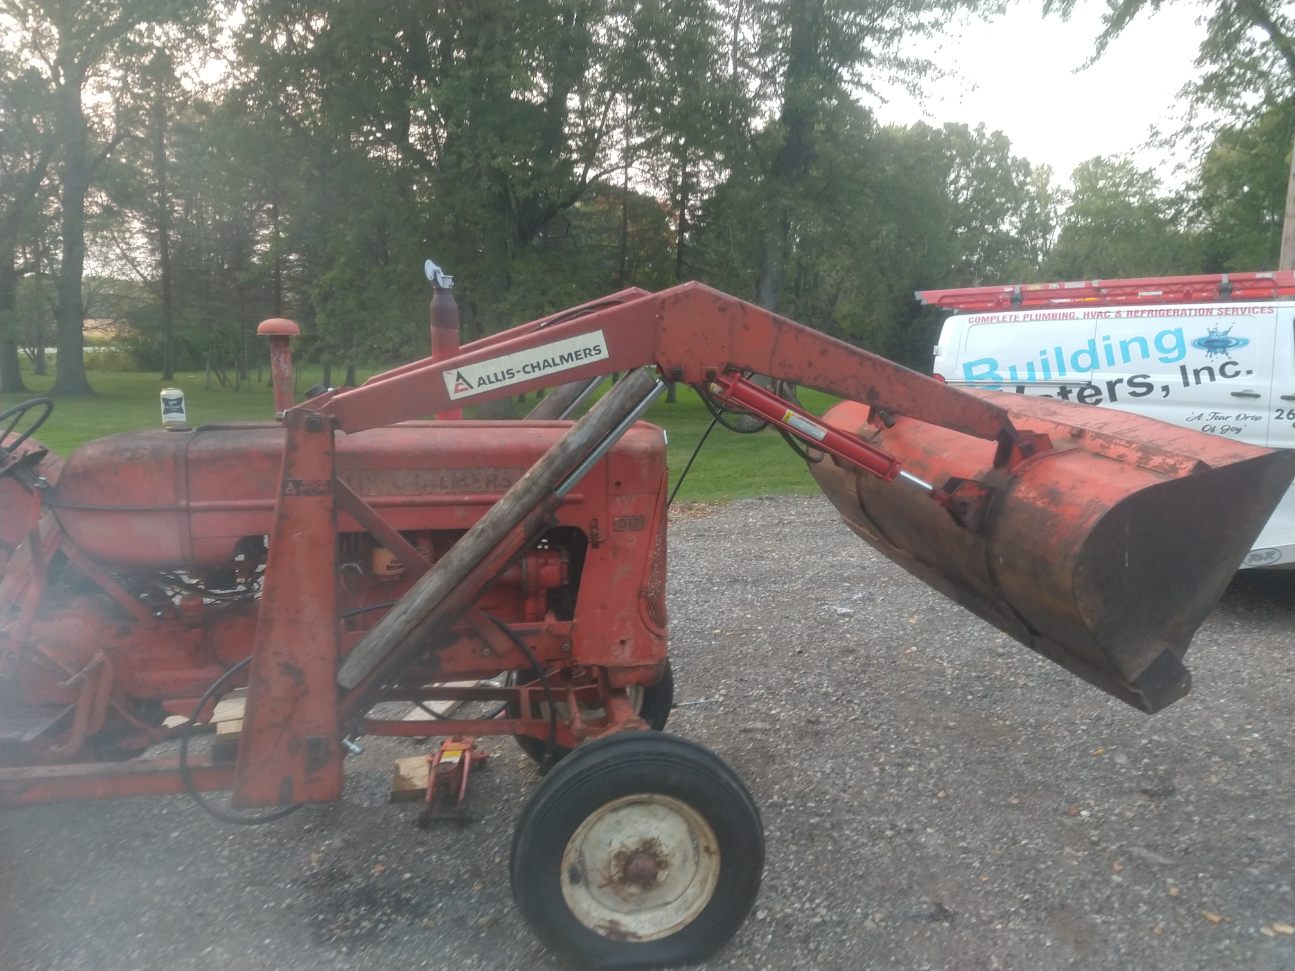
The tilt cylinders are not original. The original cylinders look like the lift cylinders. The tilt cylinders appear to be tie rod cylinders. I have a 500 loader on my series II D-17. Dealer installed it in 1972.
Great loaders.
|
|
Sugarmaker
Orange Level
Joined: 12 Jul 2013
Location: Albion PA
Points: 8168
|
Post Options
Thanks(0)
Quote Reply
Posted: 23 Sep 2020 at 6:26am |
Ahh that loader looks like it came with the tractor! Nice addition to the family! You did a great job getting this tractor operational again and now that loader will help around the farm too. ( I could use a loader tractor some days too! ) I like the picture of the Ford assisting getting the loader in place! Thanks for sharing the pictures. Regards, Chris |
|
D17 1958 (NFE), WD45 1954 (NFE), WD 1952 (NFE), WD 1950 (WFE), Allis F-40 forklift, Allis CA, Allis D14, Ford Jubilee, Many IH Cub Cadets, 32 Ford Dump, 65 Comet.
|
|
Strokendiesel002
Silver Level
Joined: 04 Apr 2019
Location: 53158
Points: 252
|
Post Options
Thanks(0)
Quote Reply
Posted: 22 Sep 2020 at 10:26pm |
|
|
|
Strokendiesel002
Silver Level
Joined: 04 Apr 2019
Location: 53158
Points: 252
|
Post Options
Thanks(0)
Quote Reply
Posted: 26 Oct 2019 at 9:49pm |
|
Thanks fellas!
|
|
Sugarmaker
Orange Level
Joined: 12 Jul 2013
Location: Albion PA
Points: 8168
|
Post Options
Thanks(0)
Quote Reply
Posted: 26 Oct 2019 at 2:48pm |
Stroken, Great pictures! Thanks for sharing. Your making some memories with them and the Allis tractor too! Glad you got the tractor working! Regards, Chris
|
|
D17 1958 (NFE), WD45 1954 (NFE), WD 1952 (NFE), WD 1950 (WFE), Allis F-40 forklift, Allis CA, Allis D14, Ford Jubilee, Many IH Cub Cadets, 32 Ford Dump, 65 Comet.
|
|
SteveM C/IL
Orange Level Access
Joined: 12 Sep 2009
Location: Shelbyville IL
Points: 8035
|
Post Options
Thanks(0)
Quote Reply
Posted: 26 Oct 2019 at 1:41pm |
|
Nice picture ...lucky boys....good father
|
|
Strokendiesel002
Silver Level
Joined: 04 Apr 2019
Location: 53158
Points: 252
|
Post Options
Thanks(0)
Quote Reply
Posted: 26 Oct 2019 at 10:27am |
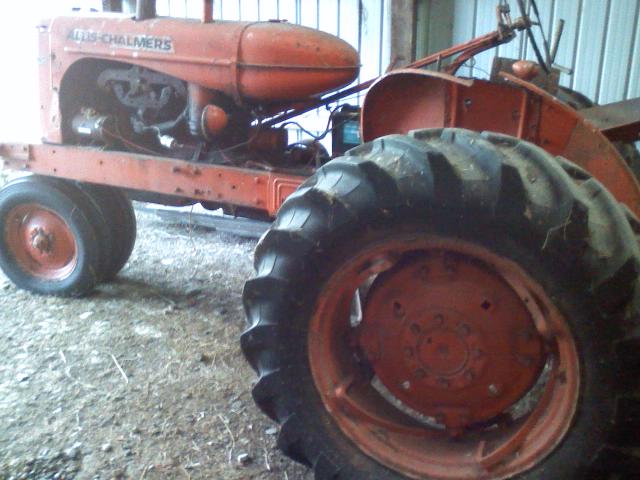
Well it's been a while, but I've been running Allis around the property doing some mowing and borrowed a hay wagon for a family friendly Halloween party. Even did my first tractor pull a few weeks back at the Racine county Fair grounds! Just had family pics taken and I really liked how these two turned out so thought I'd share   Hope everyone is doing well!
|
|
Strokendiesel002
Silver Level
Joined: 04 Apr 2019
Location: 53158
Points: 252
|
Post Options
Thanks(0)
Quote Reply
Posted: 01 Aug 2019 at 4:59pm |
|
Thanks!
|
|
Jim.ME
Orange Level
Joined: 19 Nov 2016
Location: Maine
Points: 937
|
Post Options
Thanks(0)
Quote Reply
Posted: 01 Aug 2019 at 4:58pm |
Parts books are still available on line. They changed the format so it looks different but still works. AGCO Parts Books
|
|
Strokendiesel002
Silver Level
Joined: 04 Apr 2019
Location: 53158
Points: 252
|
Post Options
Thanks(0)
Quote Reply
Posted: 01 Aug 2019 at 3:46pm |
|
Well, agco parts apparently no longer provides the parts diagrams they did a few months ago. I do have a parts book for 170/175 on loan from a friend, but it just lists 2 washers and a cotter pin. Guess maybe my housing is damaged? Really open to opinions at this point.
Thanks for looking!
|
|
Strokendiesel002
Silver Level
Joined: 04 Apr 2019
Location: 53158
Points: 252
|
Post Options
Thanks(0)
Quote Reply
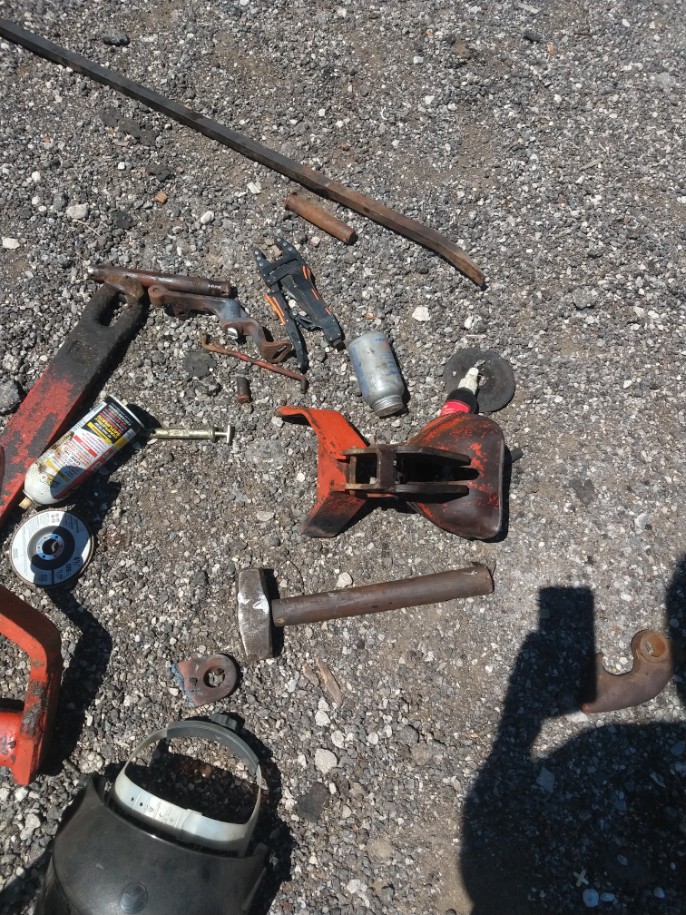
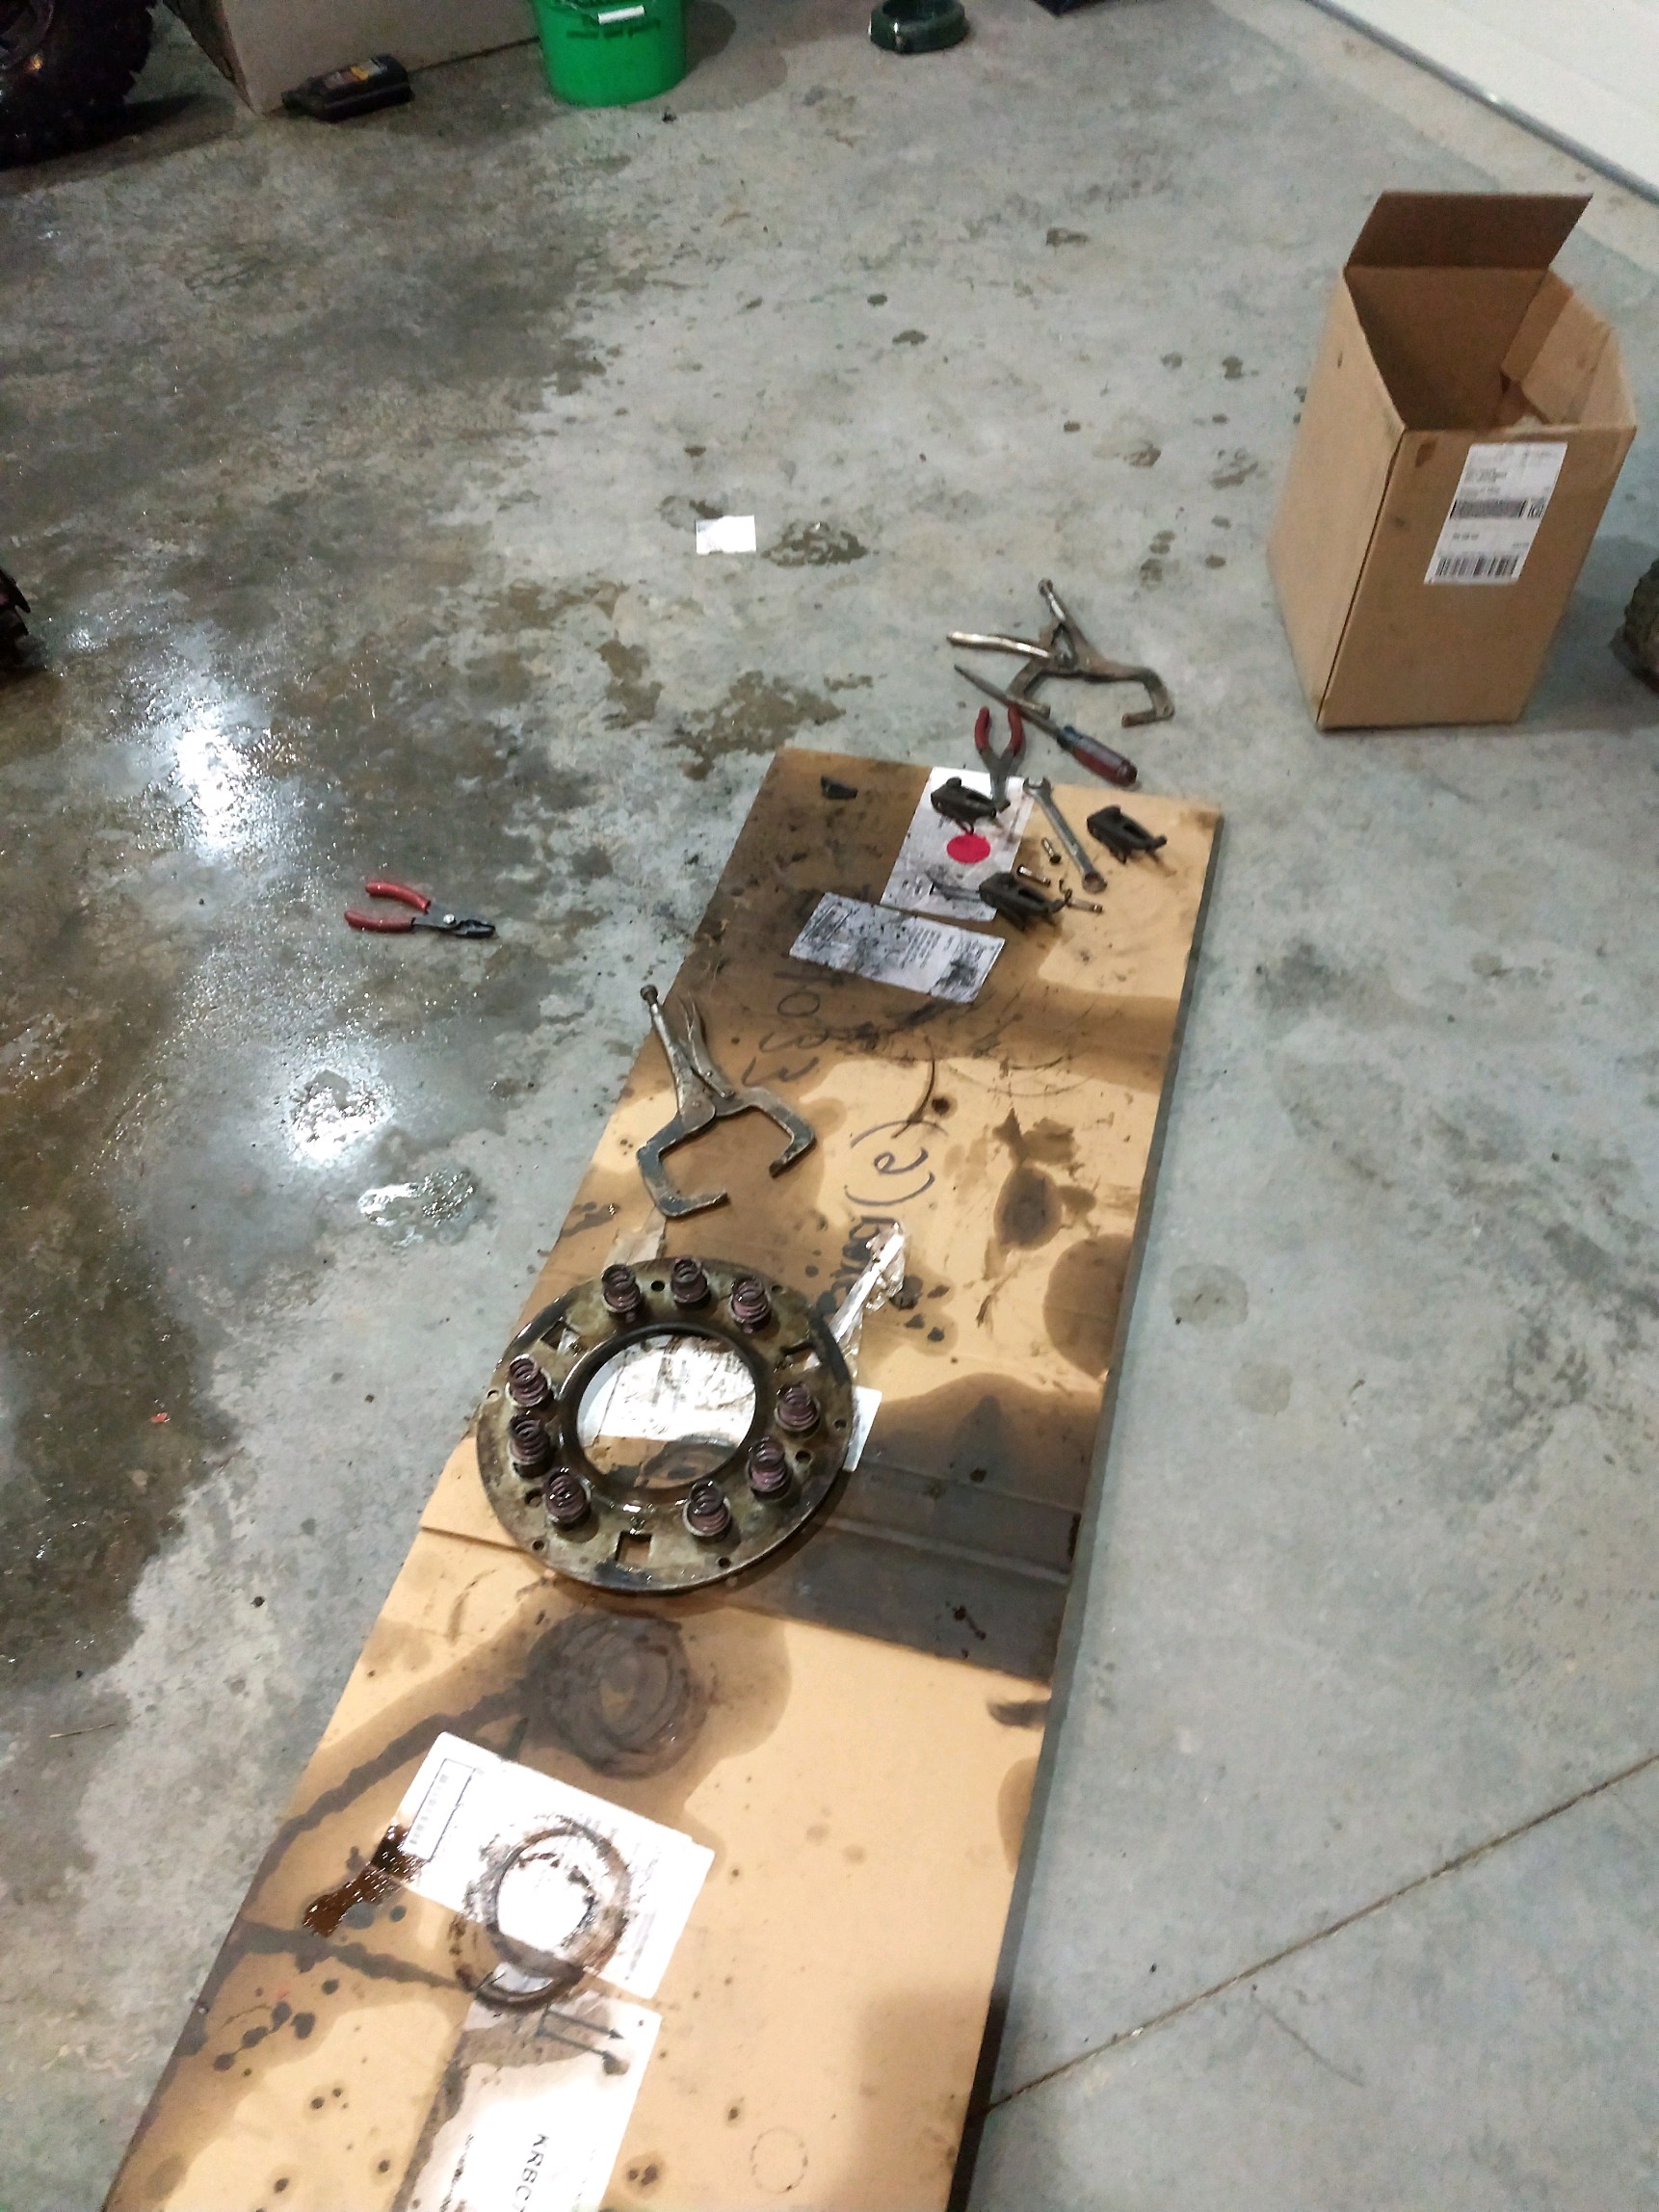
Posted: 01 Aug 2019 at 3:31pm |
Here's what has me on the struggle bus regarding the clutch 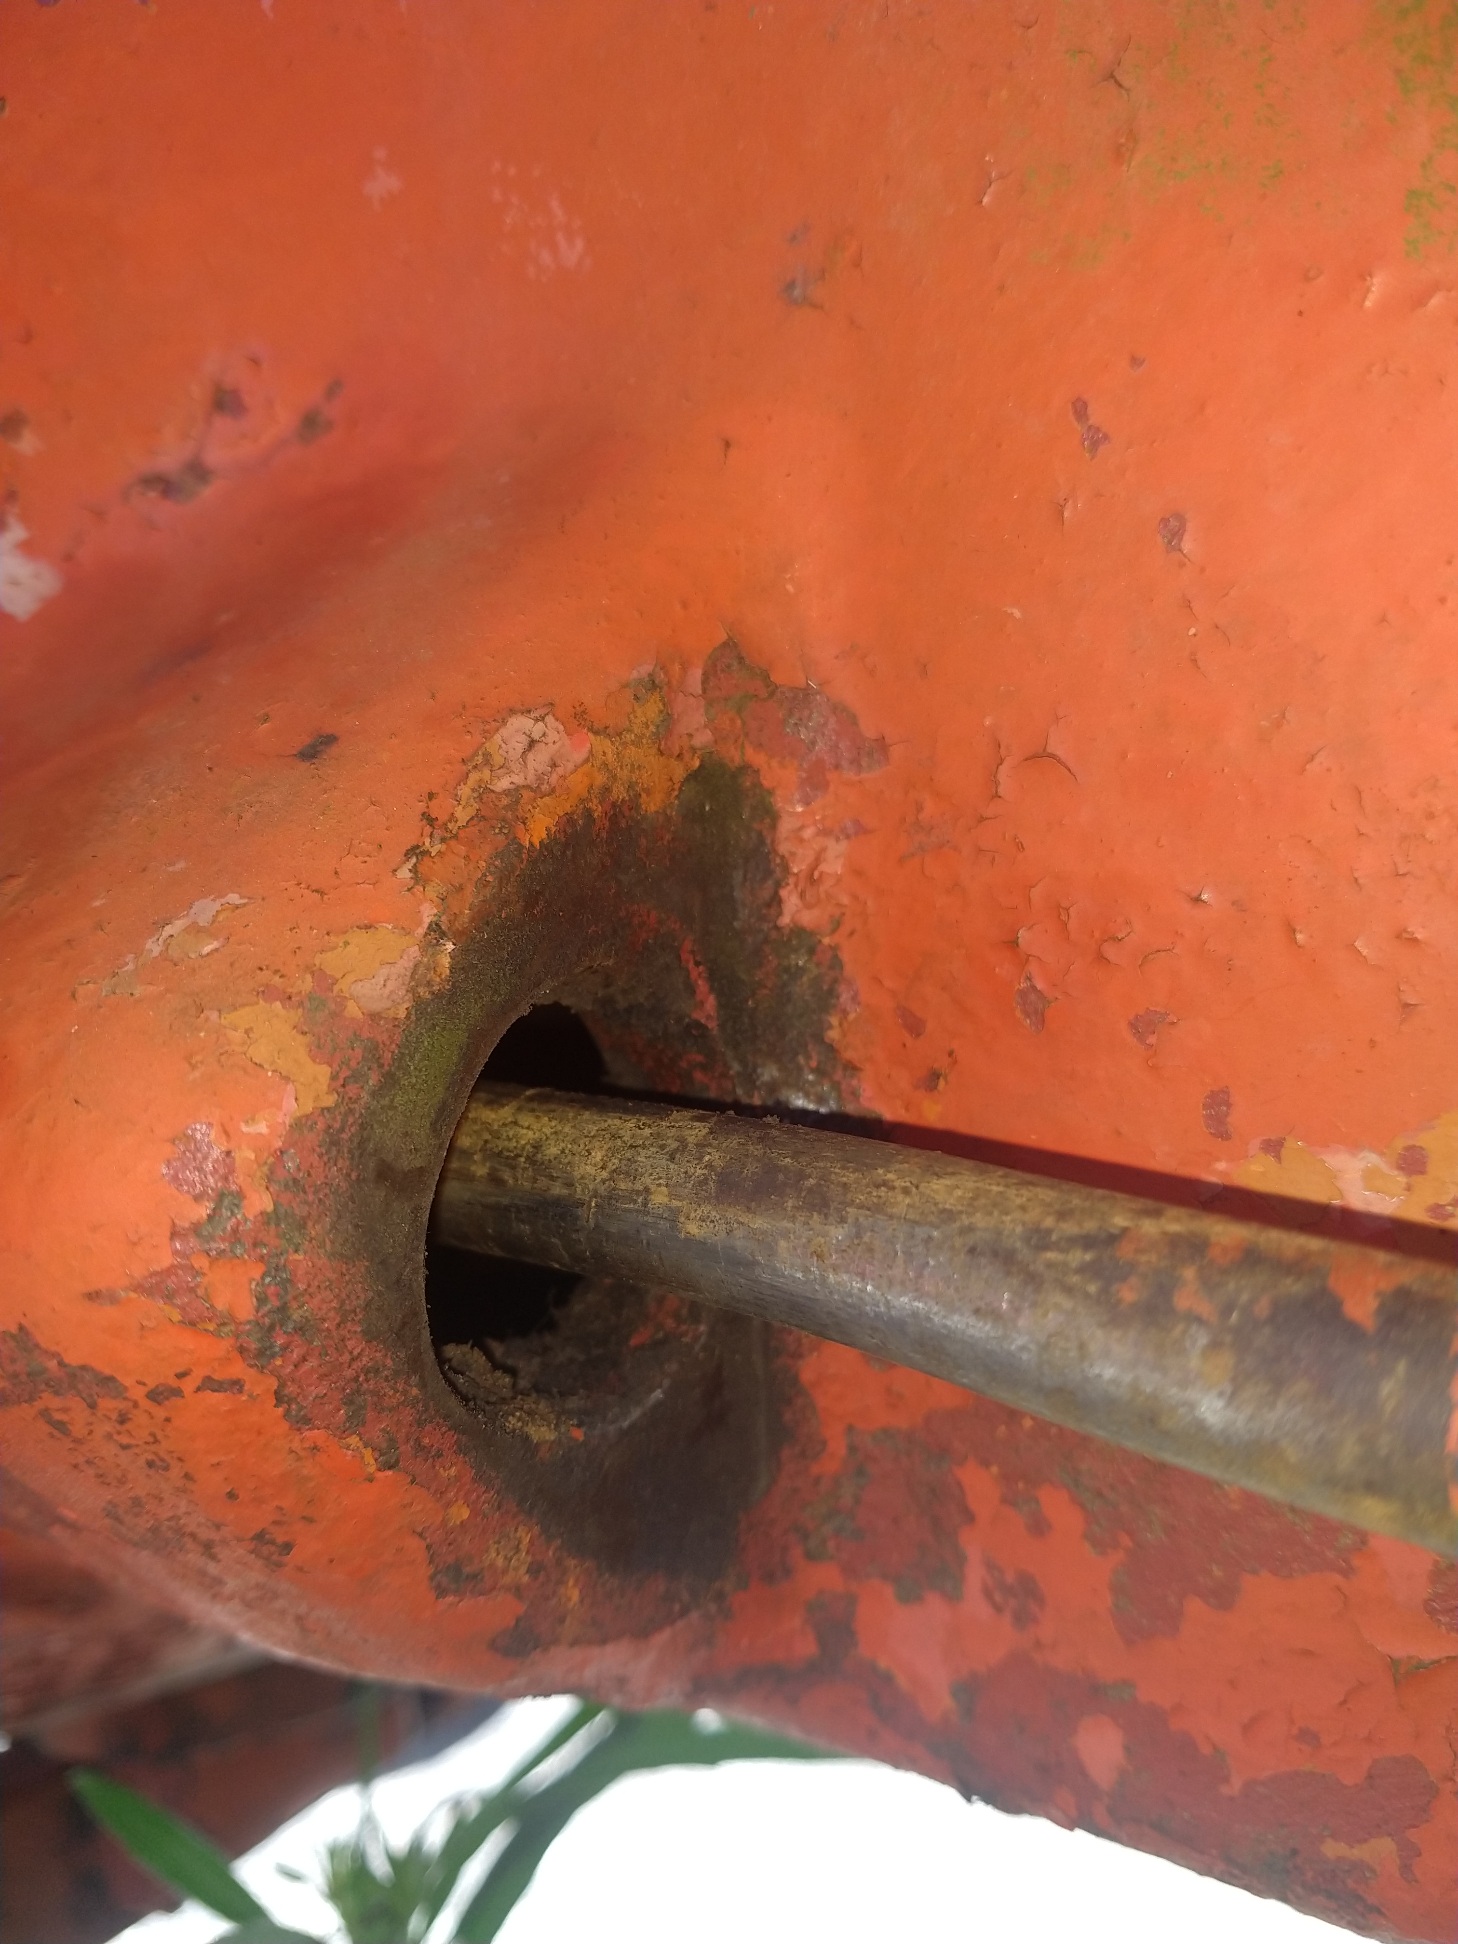 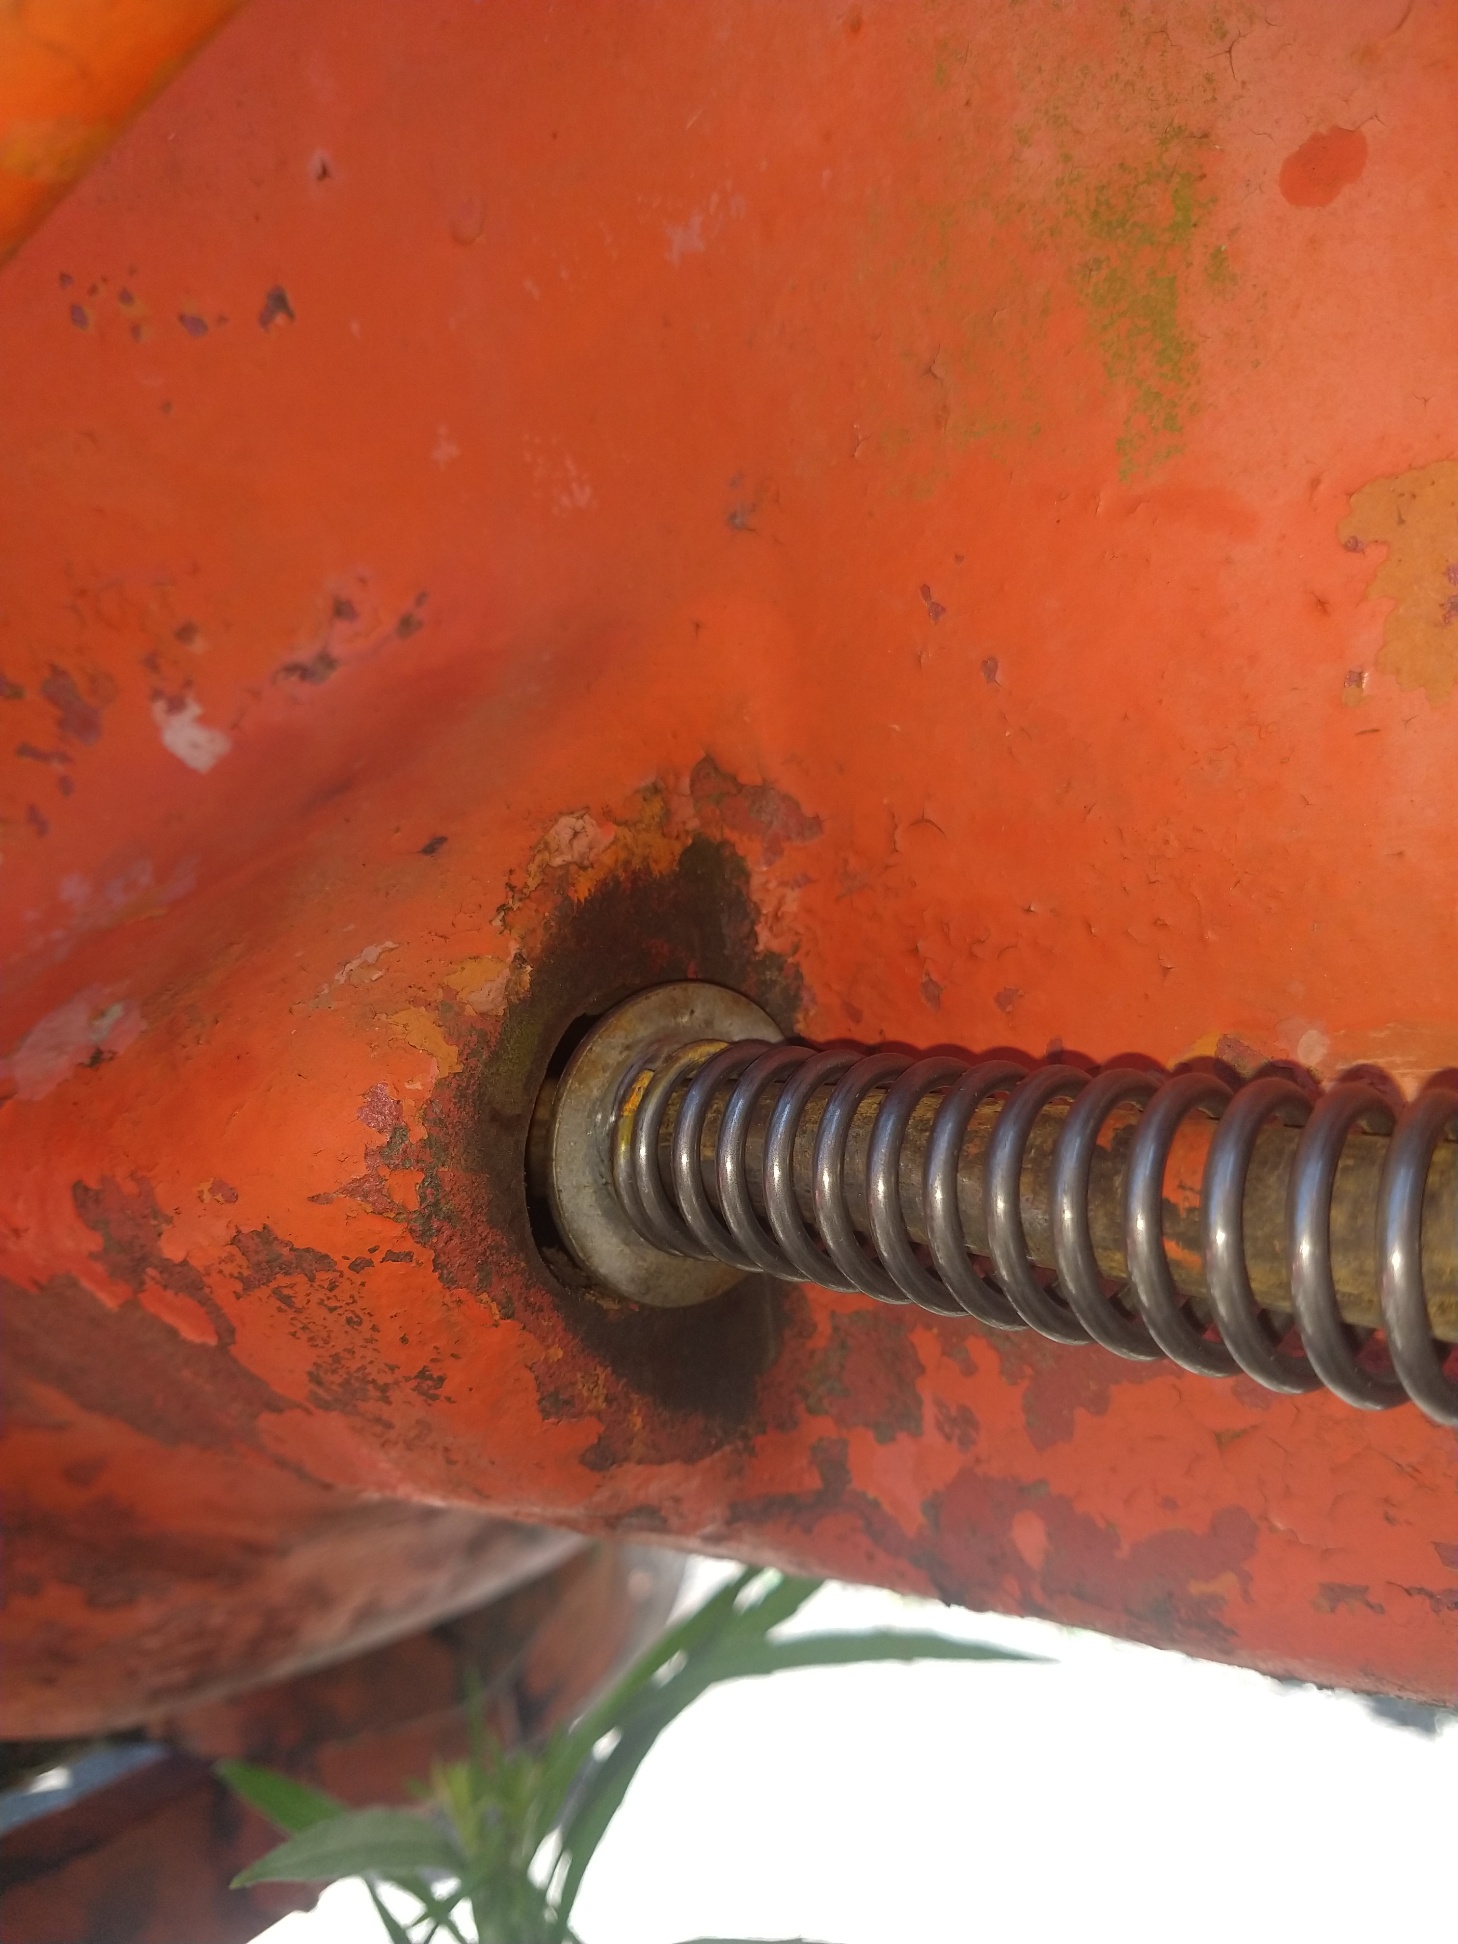 I unthreaded the rod, pulled off the big washer, removed the cotter key and slide the small orange washer up the shaft. Slid on the spring, then big washer and threaded the shaft back into the fork. Not fun, but whatever. Go to compress the spring and install the washer to find that the spring is nearly totally compressed and the washer binds on the shaft. Doh! Then common sense kicks in and I realize someone probably out a larger diameter spring on at some point and it must've rotted away, that's why there was a larger diameter washer, which was never painted orange. All it takes is time and money, right?
|
|
Strokendiesel002
Silver Level
Joined: 04 Apr 2019
Location: 53158
Points: 252
|
Post Options
Thanks(0)
Quote Reply
Posted: 01 Aug 2019 at 3:18pm |
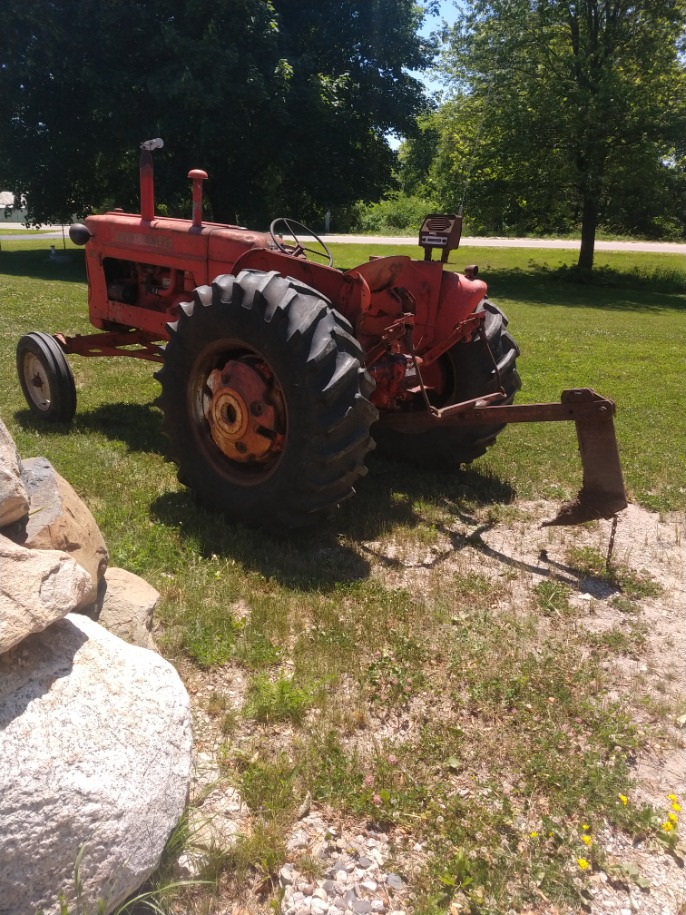
She's Alive! I wound up welding the tank after a sorry attempt to solder it. Took about 3 hours chasing holes. Not the prettiest work I've ever done, but it's no leaking! I actually put the engine back in on May 5th, and went back a week or two later to finish it, but she wouldn't start. Summer came in full swing at that point, and I just let it be. I'd been theorizing over what was wrong and came to the realization that I never truly clocked the rotor. After reading the manual and many threads, I went back out and within 20 minutes she was alive! I set the radiator in place, filled with water and put on the 3 good hose clamps I had (need 1 new one). I was planning on changing all the hydraulic fluid out before driving it, but I couldn't help myself. I had to know if it would even remotely operate, and it actually did pretty good! I wasn't quite aggressive enough with the P.D. and thought it was slipping out of "hi" and "low" when I pushed a little further and she snapped into place! So I then pulled a little further where she again snapped into low! What an awesome feeling! I do need to figure out the clutch spring- there wasn't one so I ordered one up. There were 2 washers and a cotter key on the shaft. I am assuming that I need to order a special piece that goes to the housing. Will check parts diagram, but suggestions welcome! first start!first drive!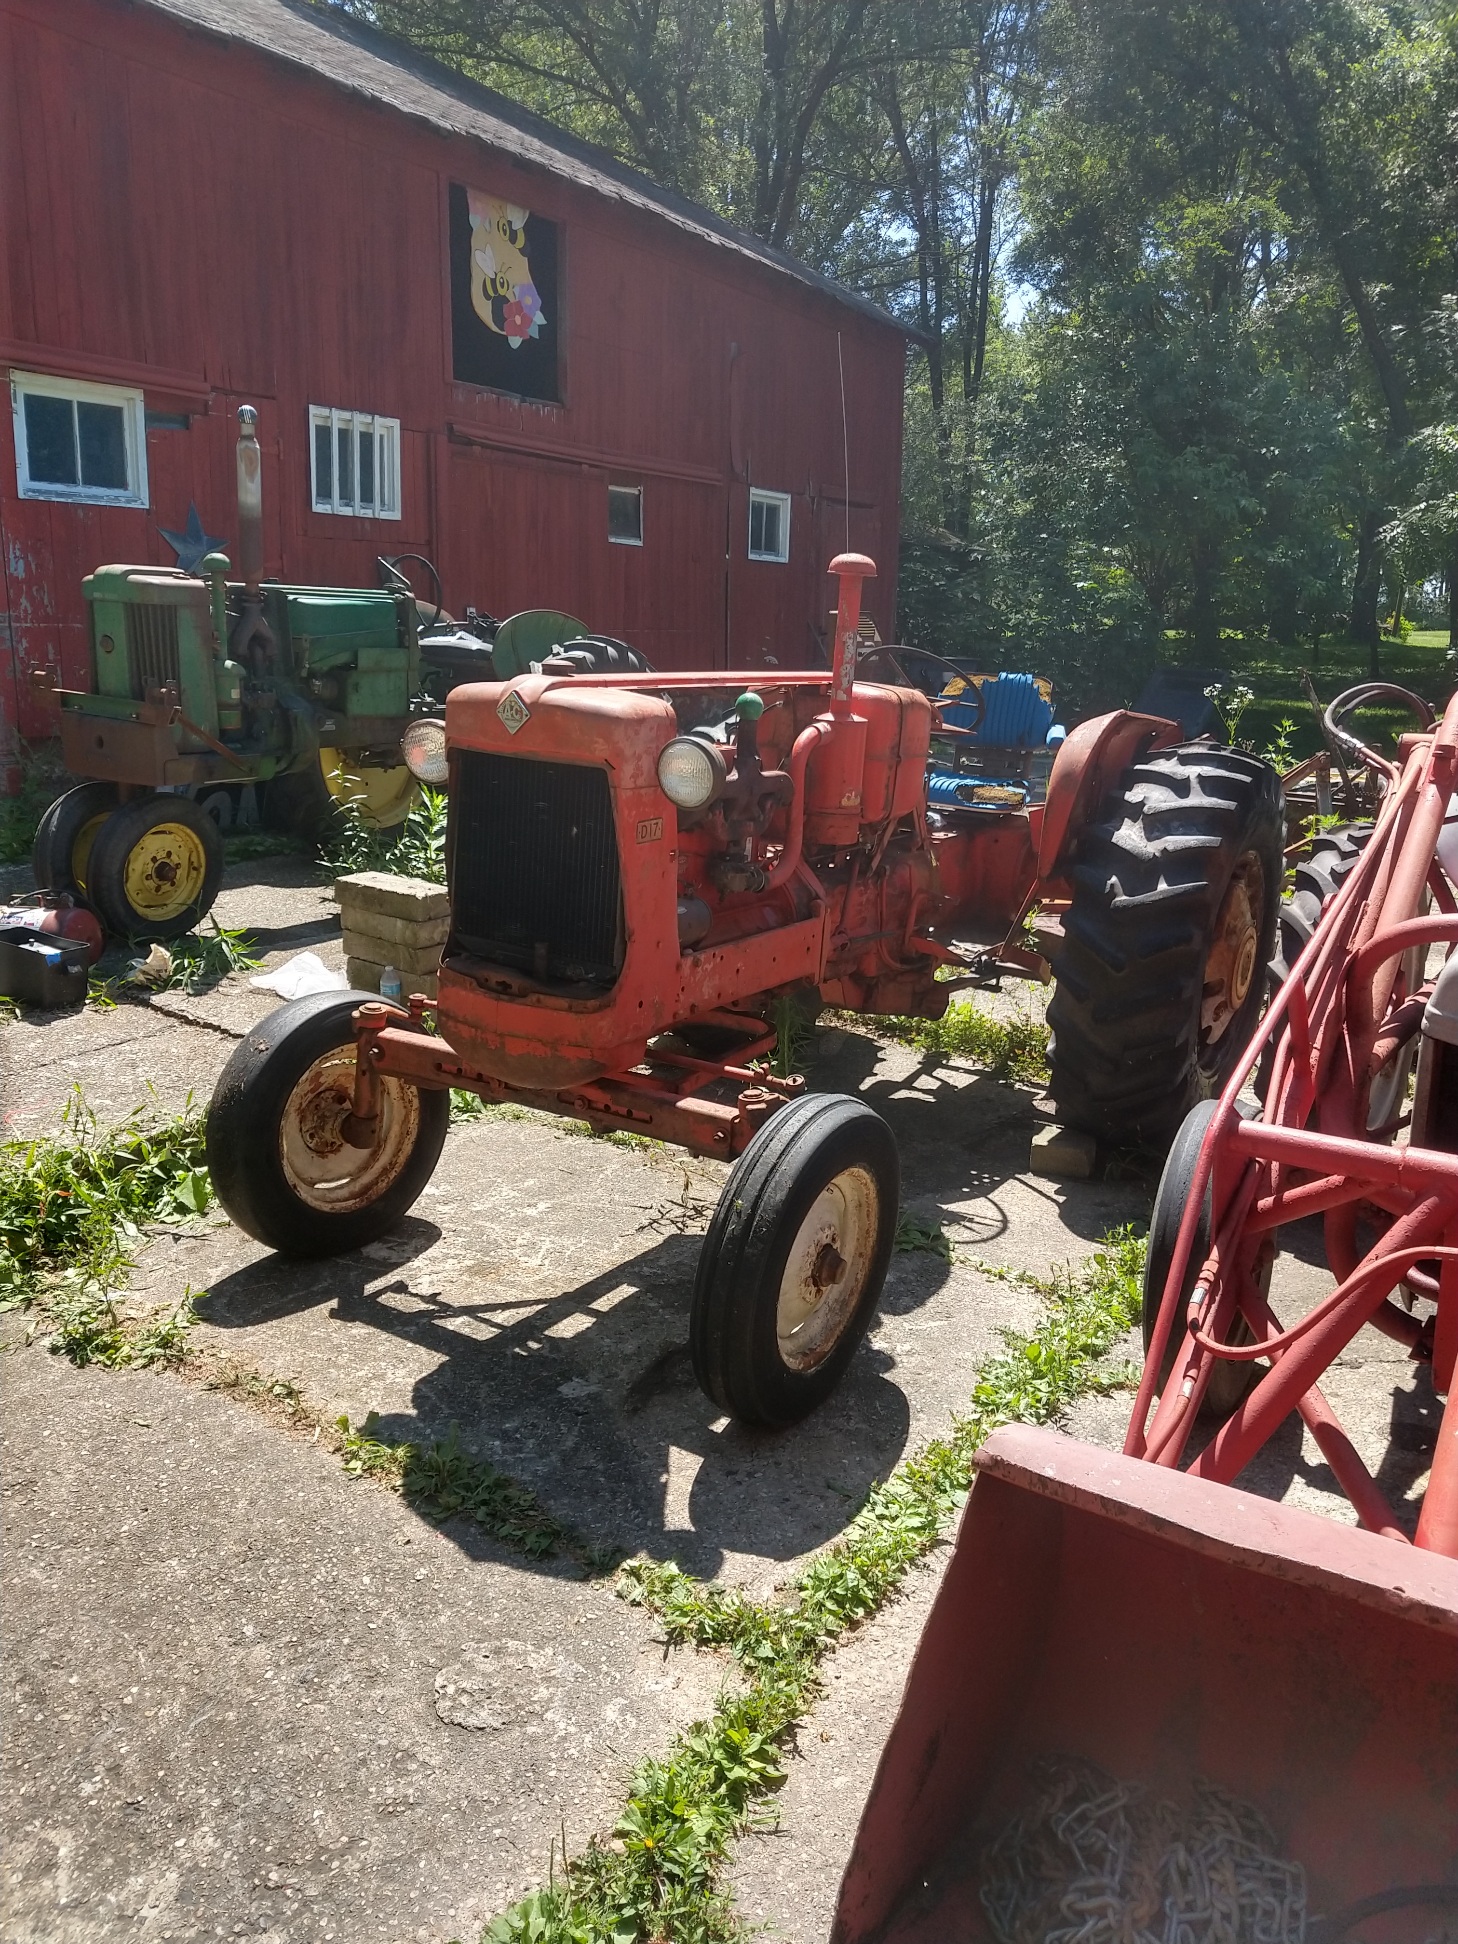
Edited by Strokendiesel002 - 01 Aug 2019 at 3:22pm
|
|
Strokendiesel002
Silver Level
Joined: 04 Apr 2019
Location: 53158
Points: 252
|
Post Options
Thanks(0)
Quote Reply
Posted: 02 May 2019 at 10:52pm |
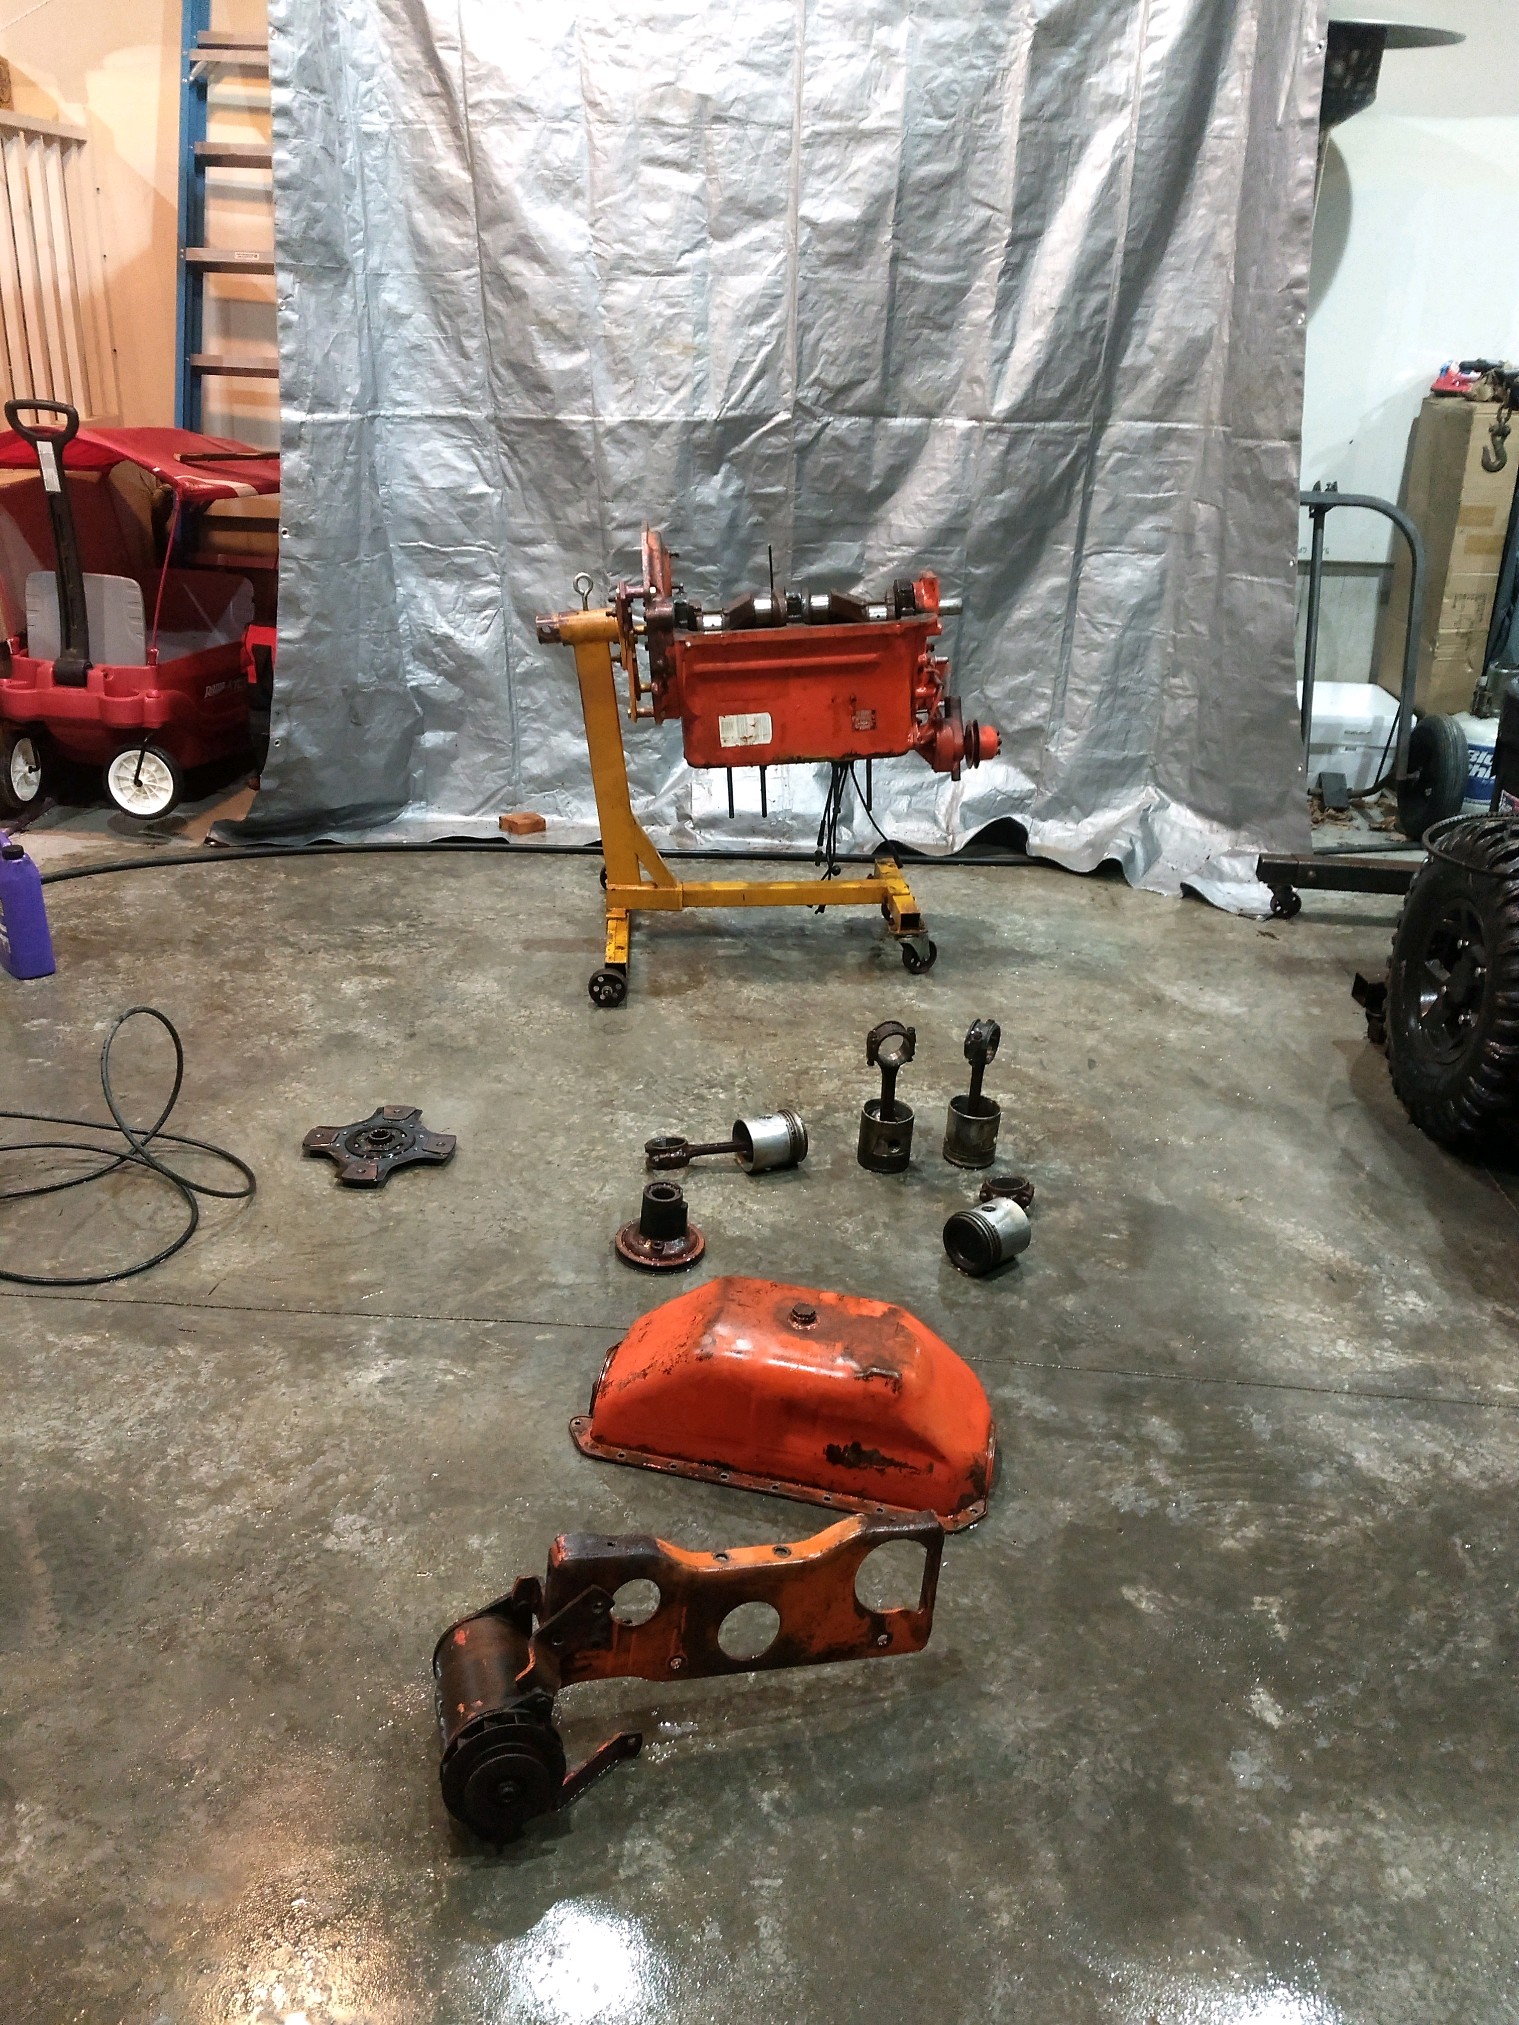
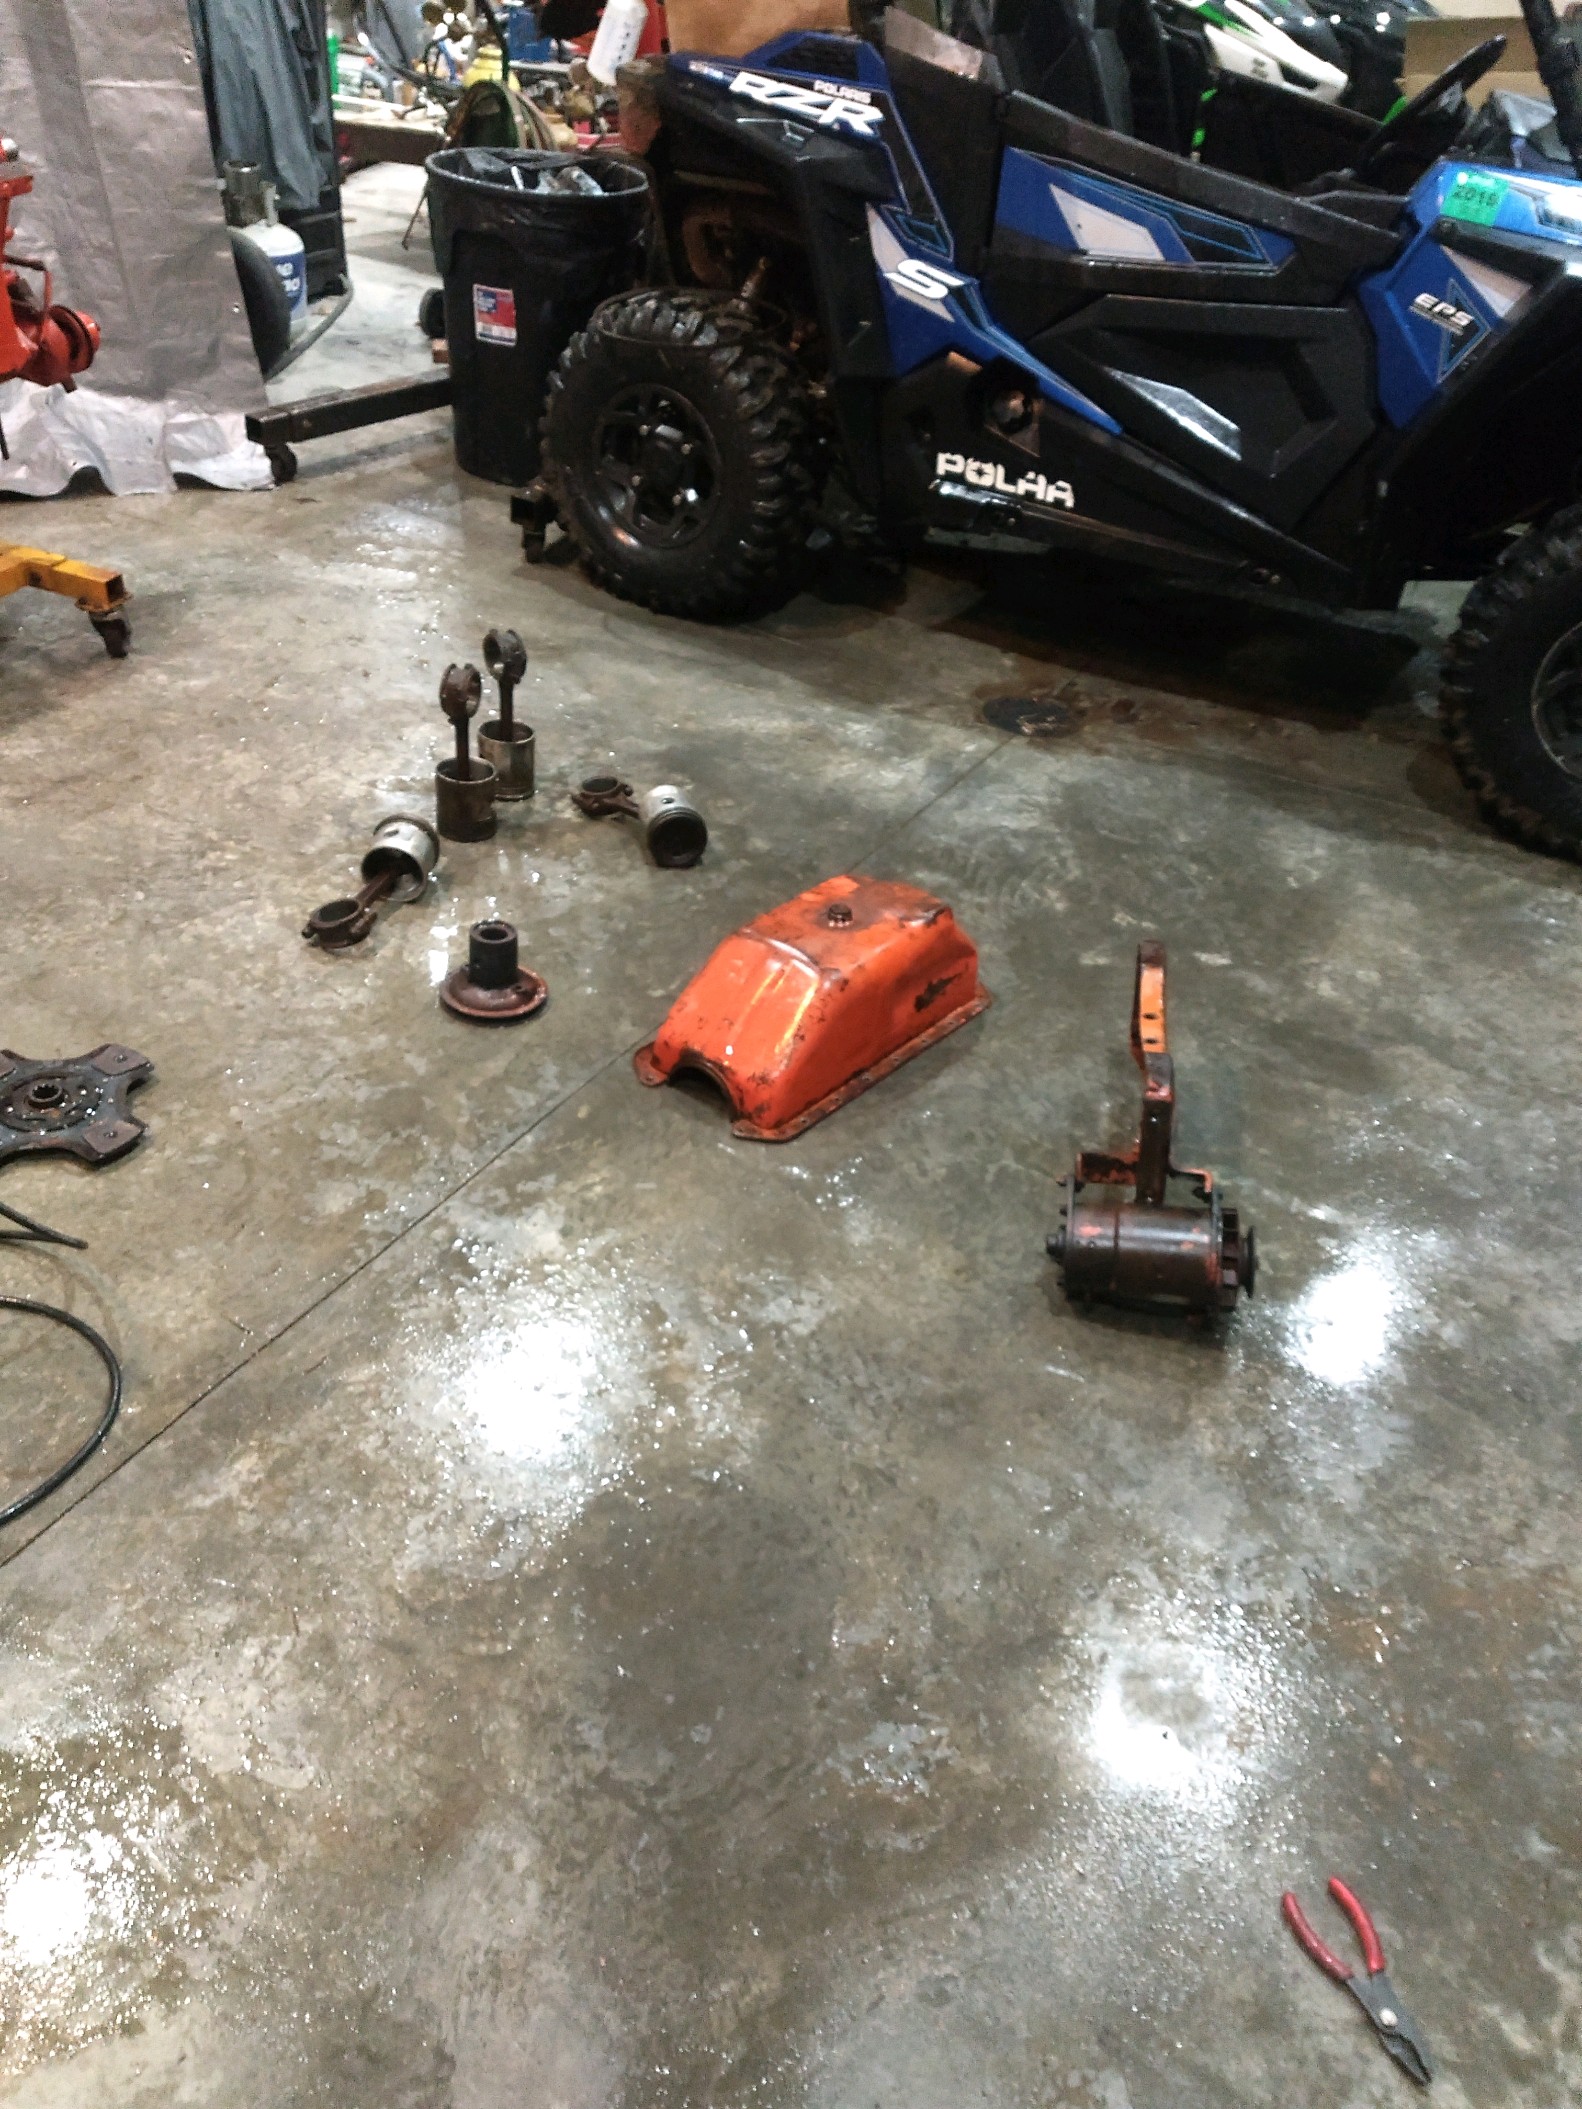
Carb is assembled with new gaskets, pressure plate is picked up, manifolds are cleaned about as good as it's gonna get without a blast cabinet. I ran my die grinder with a smaller forward facing brush in and out of every port and then let it sit for about 30 minutes in a 50/50 mix of muriatic acid and water that I drained out of the fuel tank after it's 3rd treatment. It's looking really good... Except for the 3 holes :( I'm nervous to use the liners, as I've read so many bad experiences thanks to all the fuel additives. May wind up attempting to weld it. Going to use air craft stripper to clean the outside to bare metal then give it a full acid bath, rather than just trying to fill it. Unless anyone has a solid tank they're willing to part with or a better idea :) 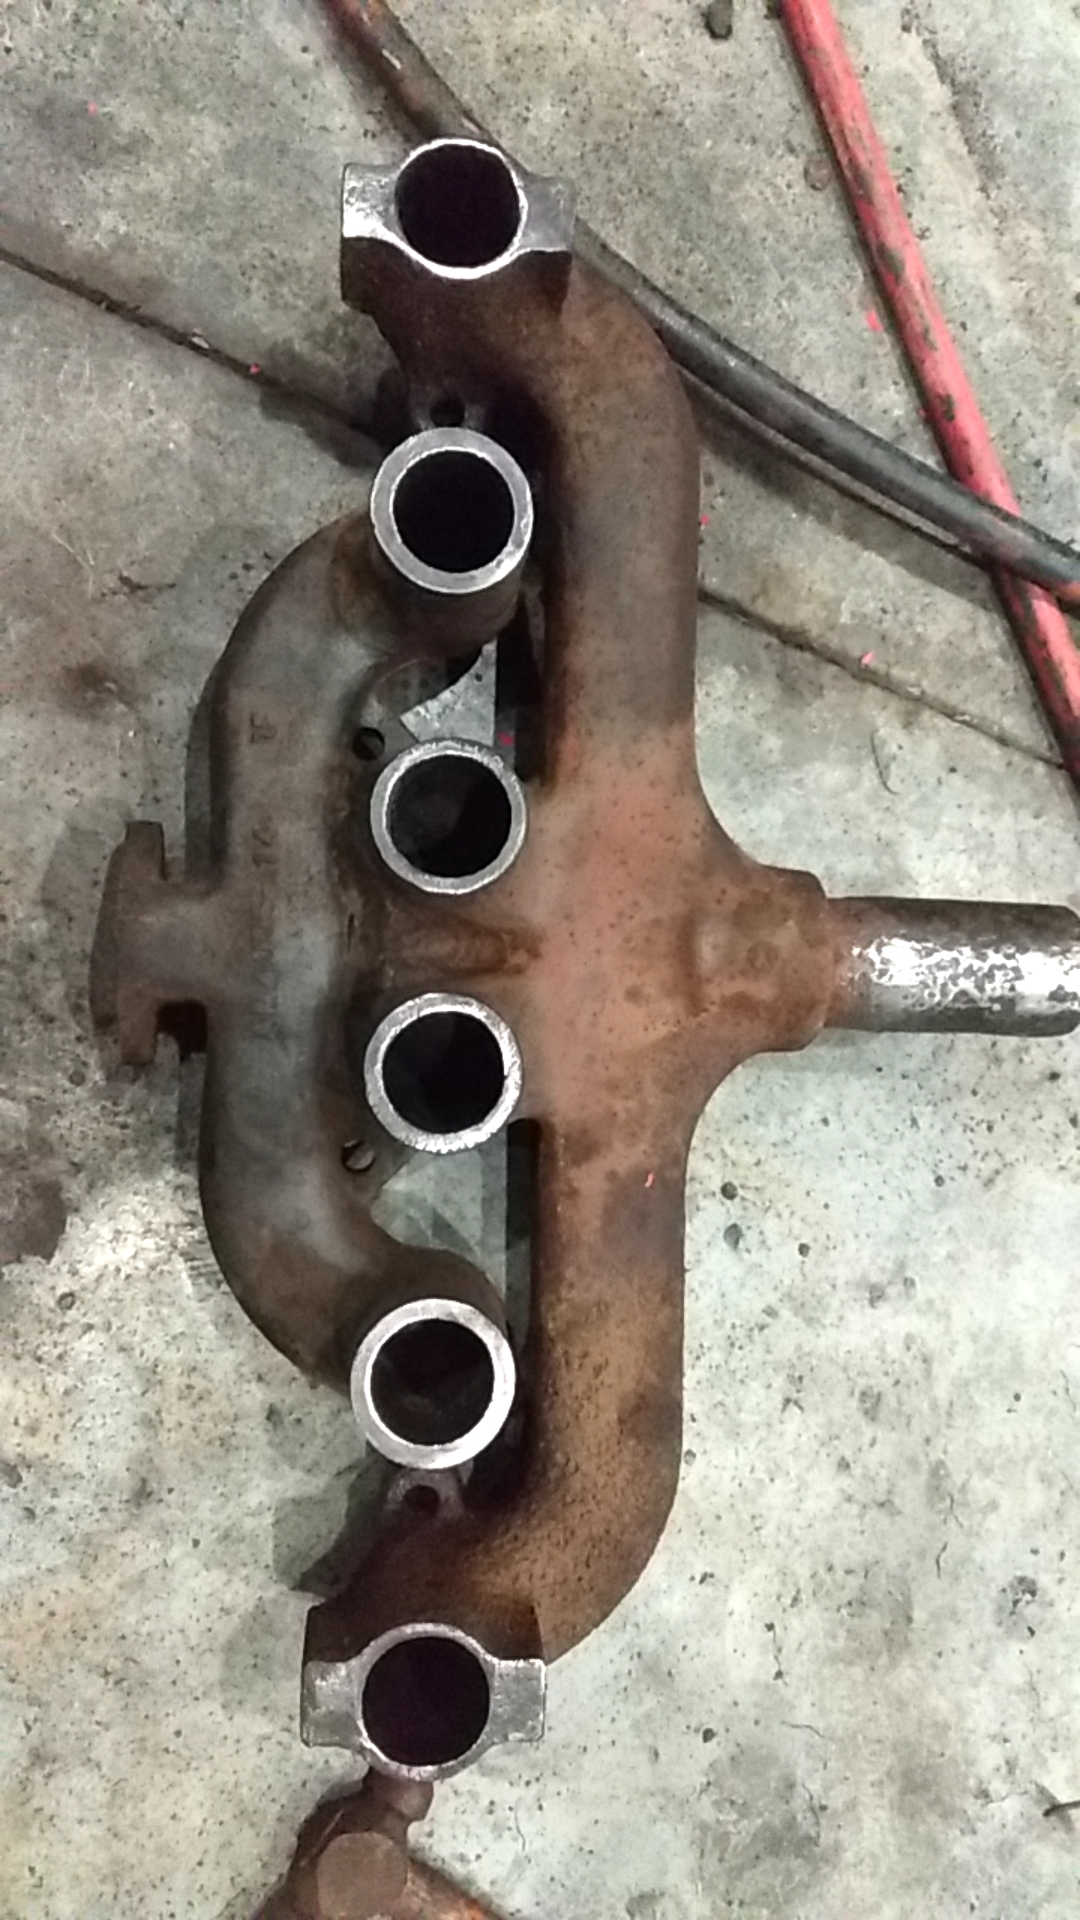 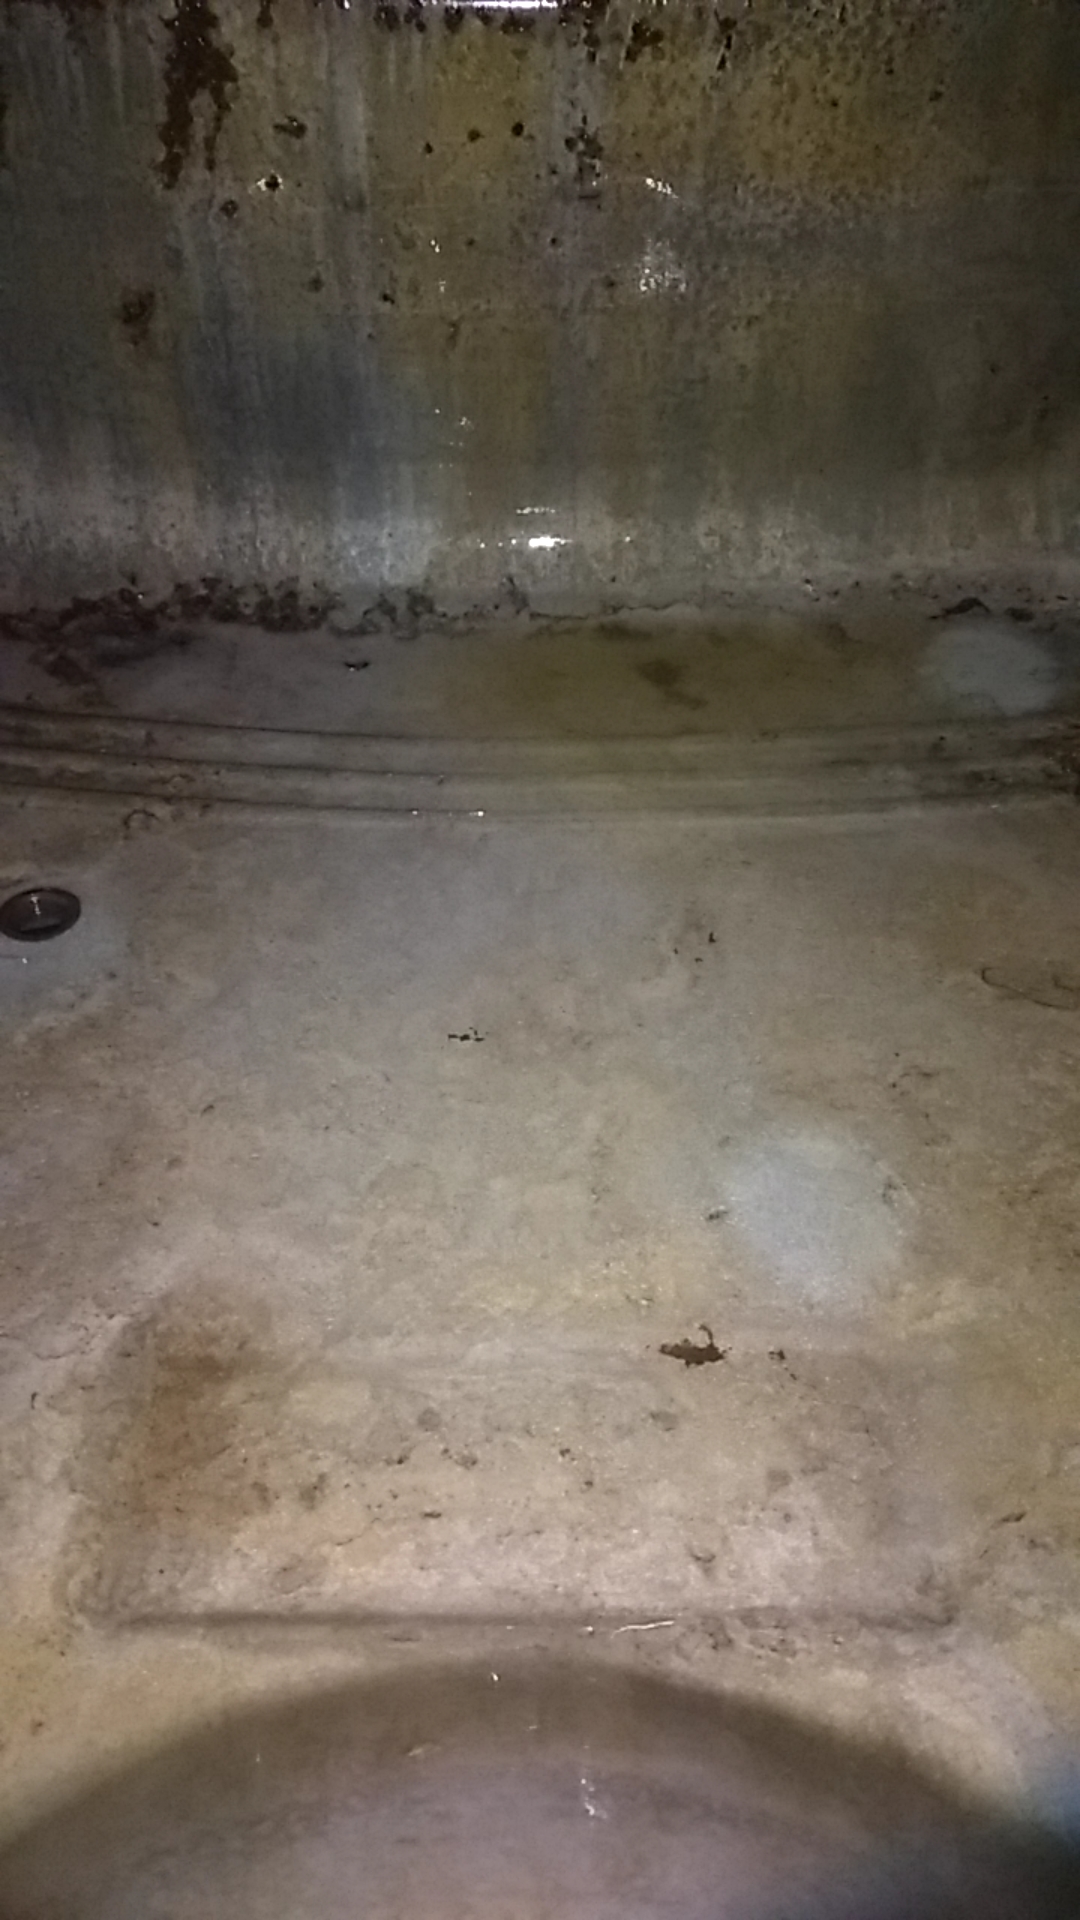
|
|
Strokendiesel002
Silver Level
Joined: 04 Apr 2019
Location: 53158
Points: 252
|
Post Options
Thanks(0)
Quote Reply
Posted: 29 Apr 2019 at 10:08am |
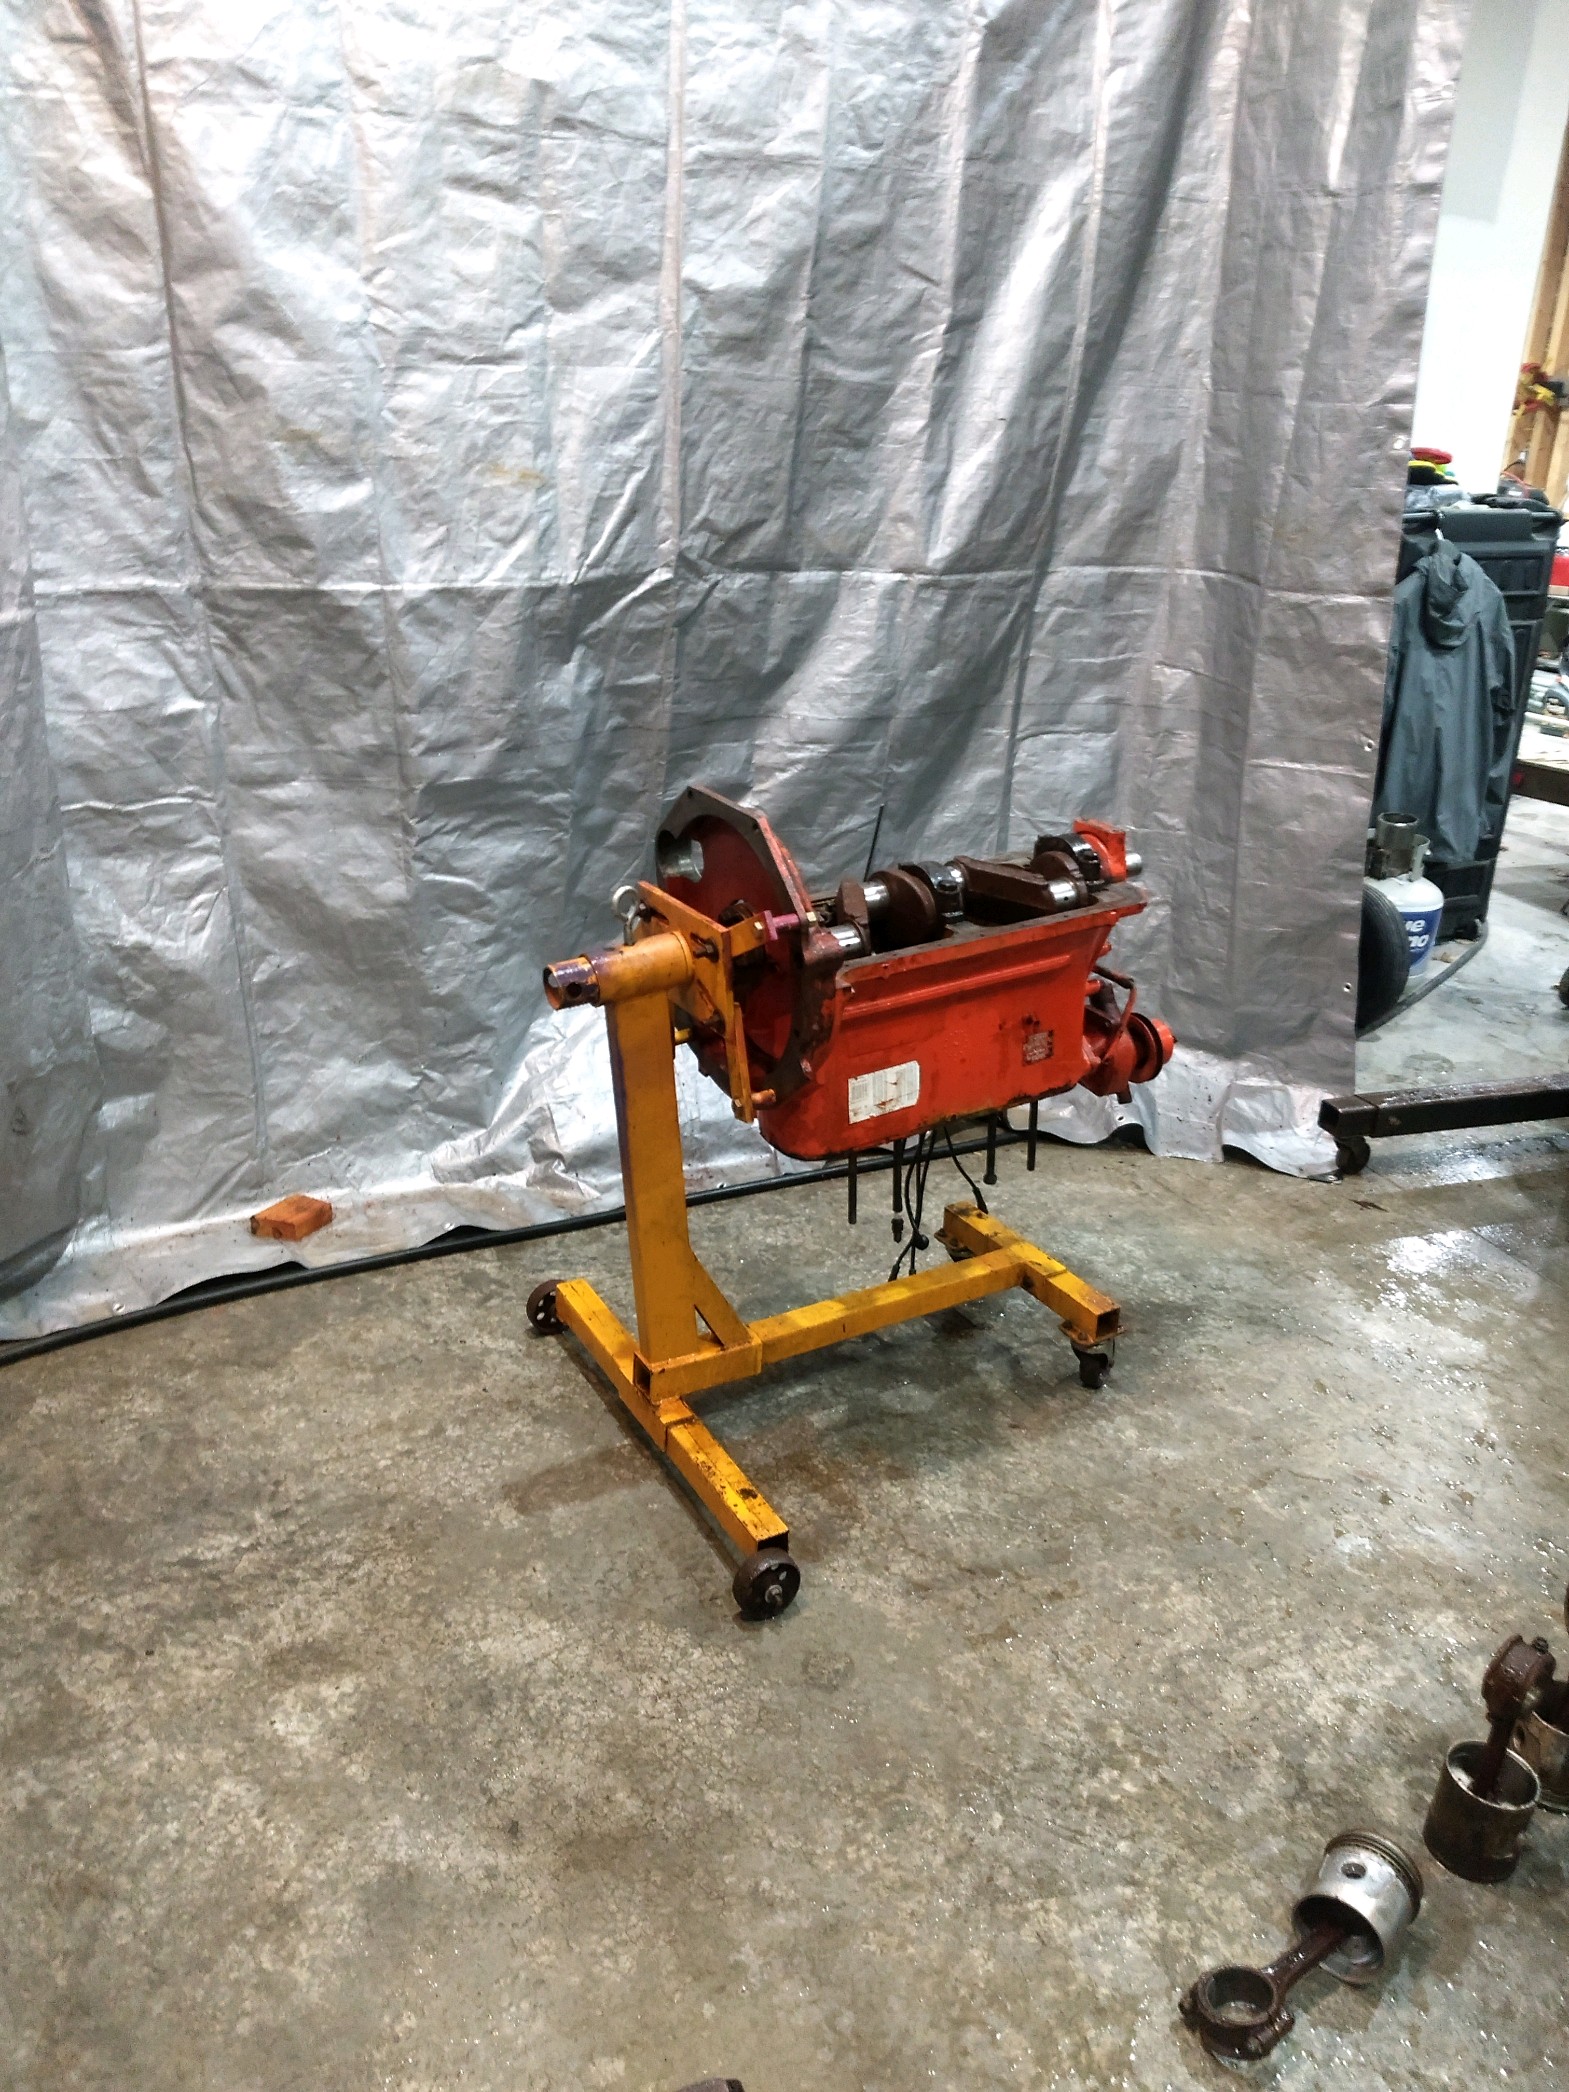
Well between Friday and Sunday I got the new sleeves Pistons rebuilt head and 7 of the 8 pushrods installed. my uncle came over to help with prepping the crank is that it was his specialty for many years, well machining them was actually his specialty. Mama and the boys got home Saturday afternoon but Sunday afternoon we loaded up the almost completed engine and brought it back over to my uncle's which is where the tractor is. I'm hoping to finish it up on this coming Saturday! 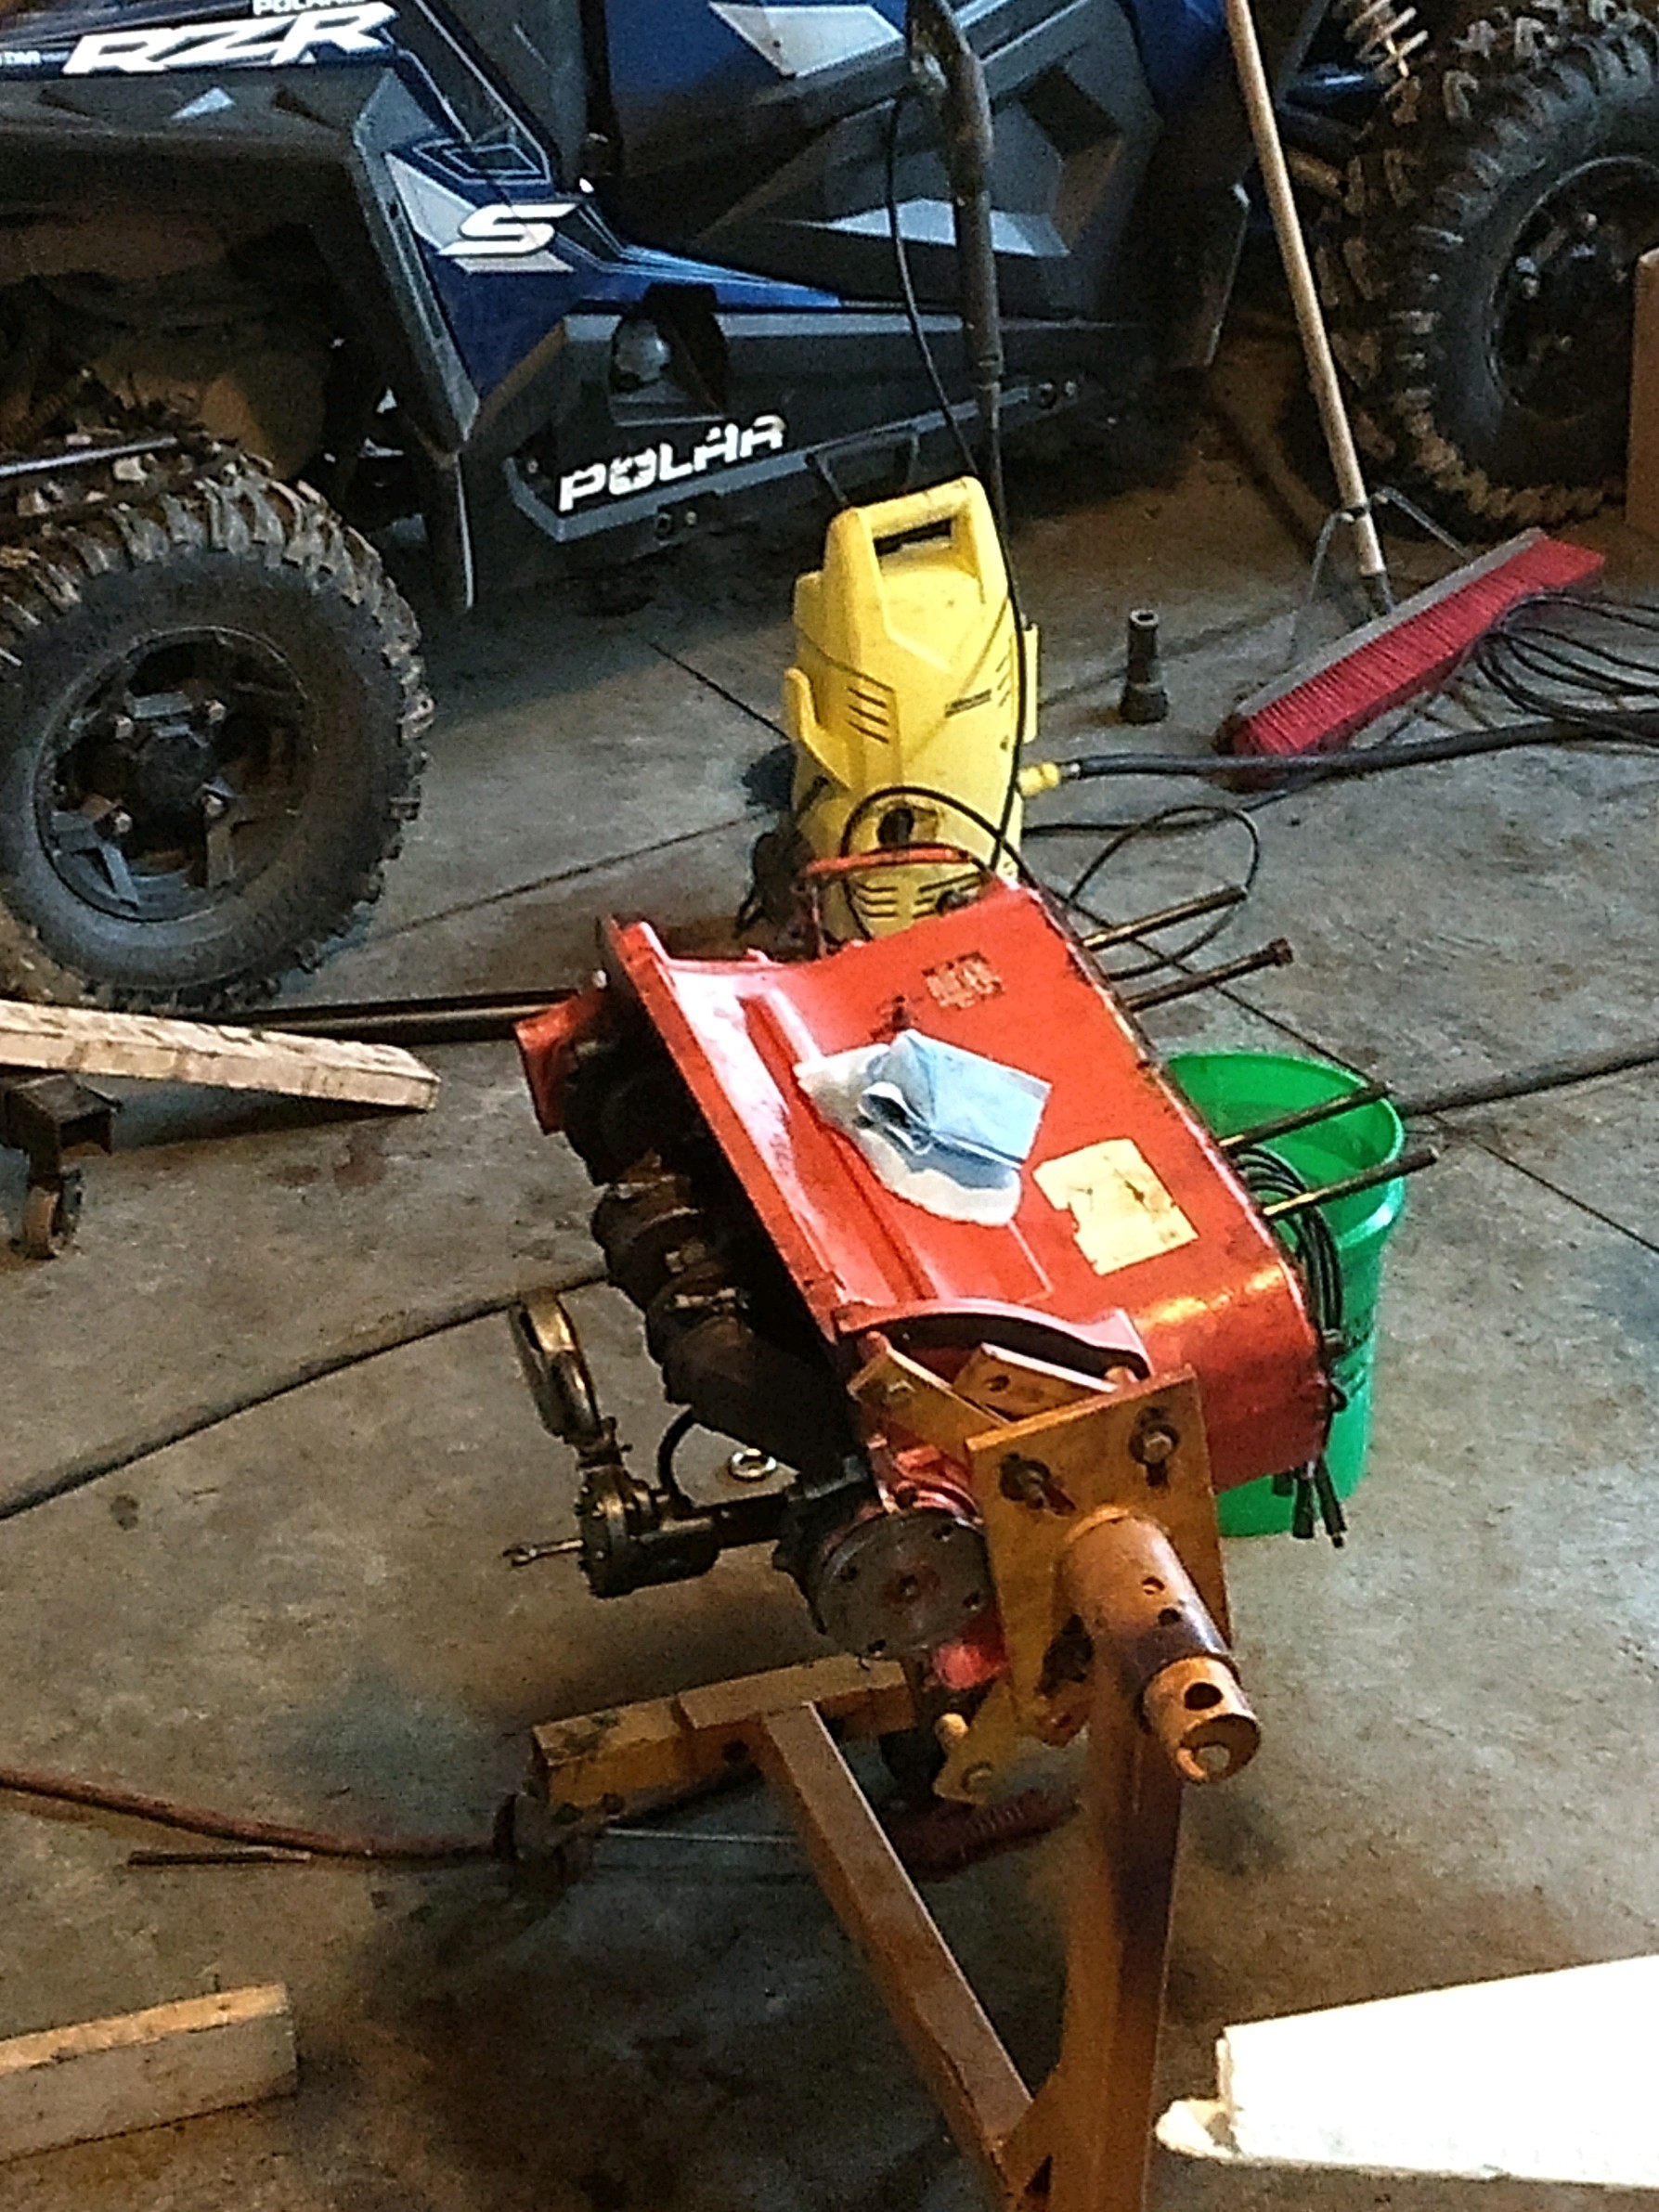 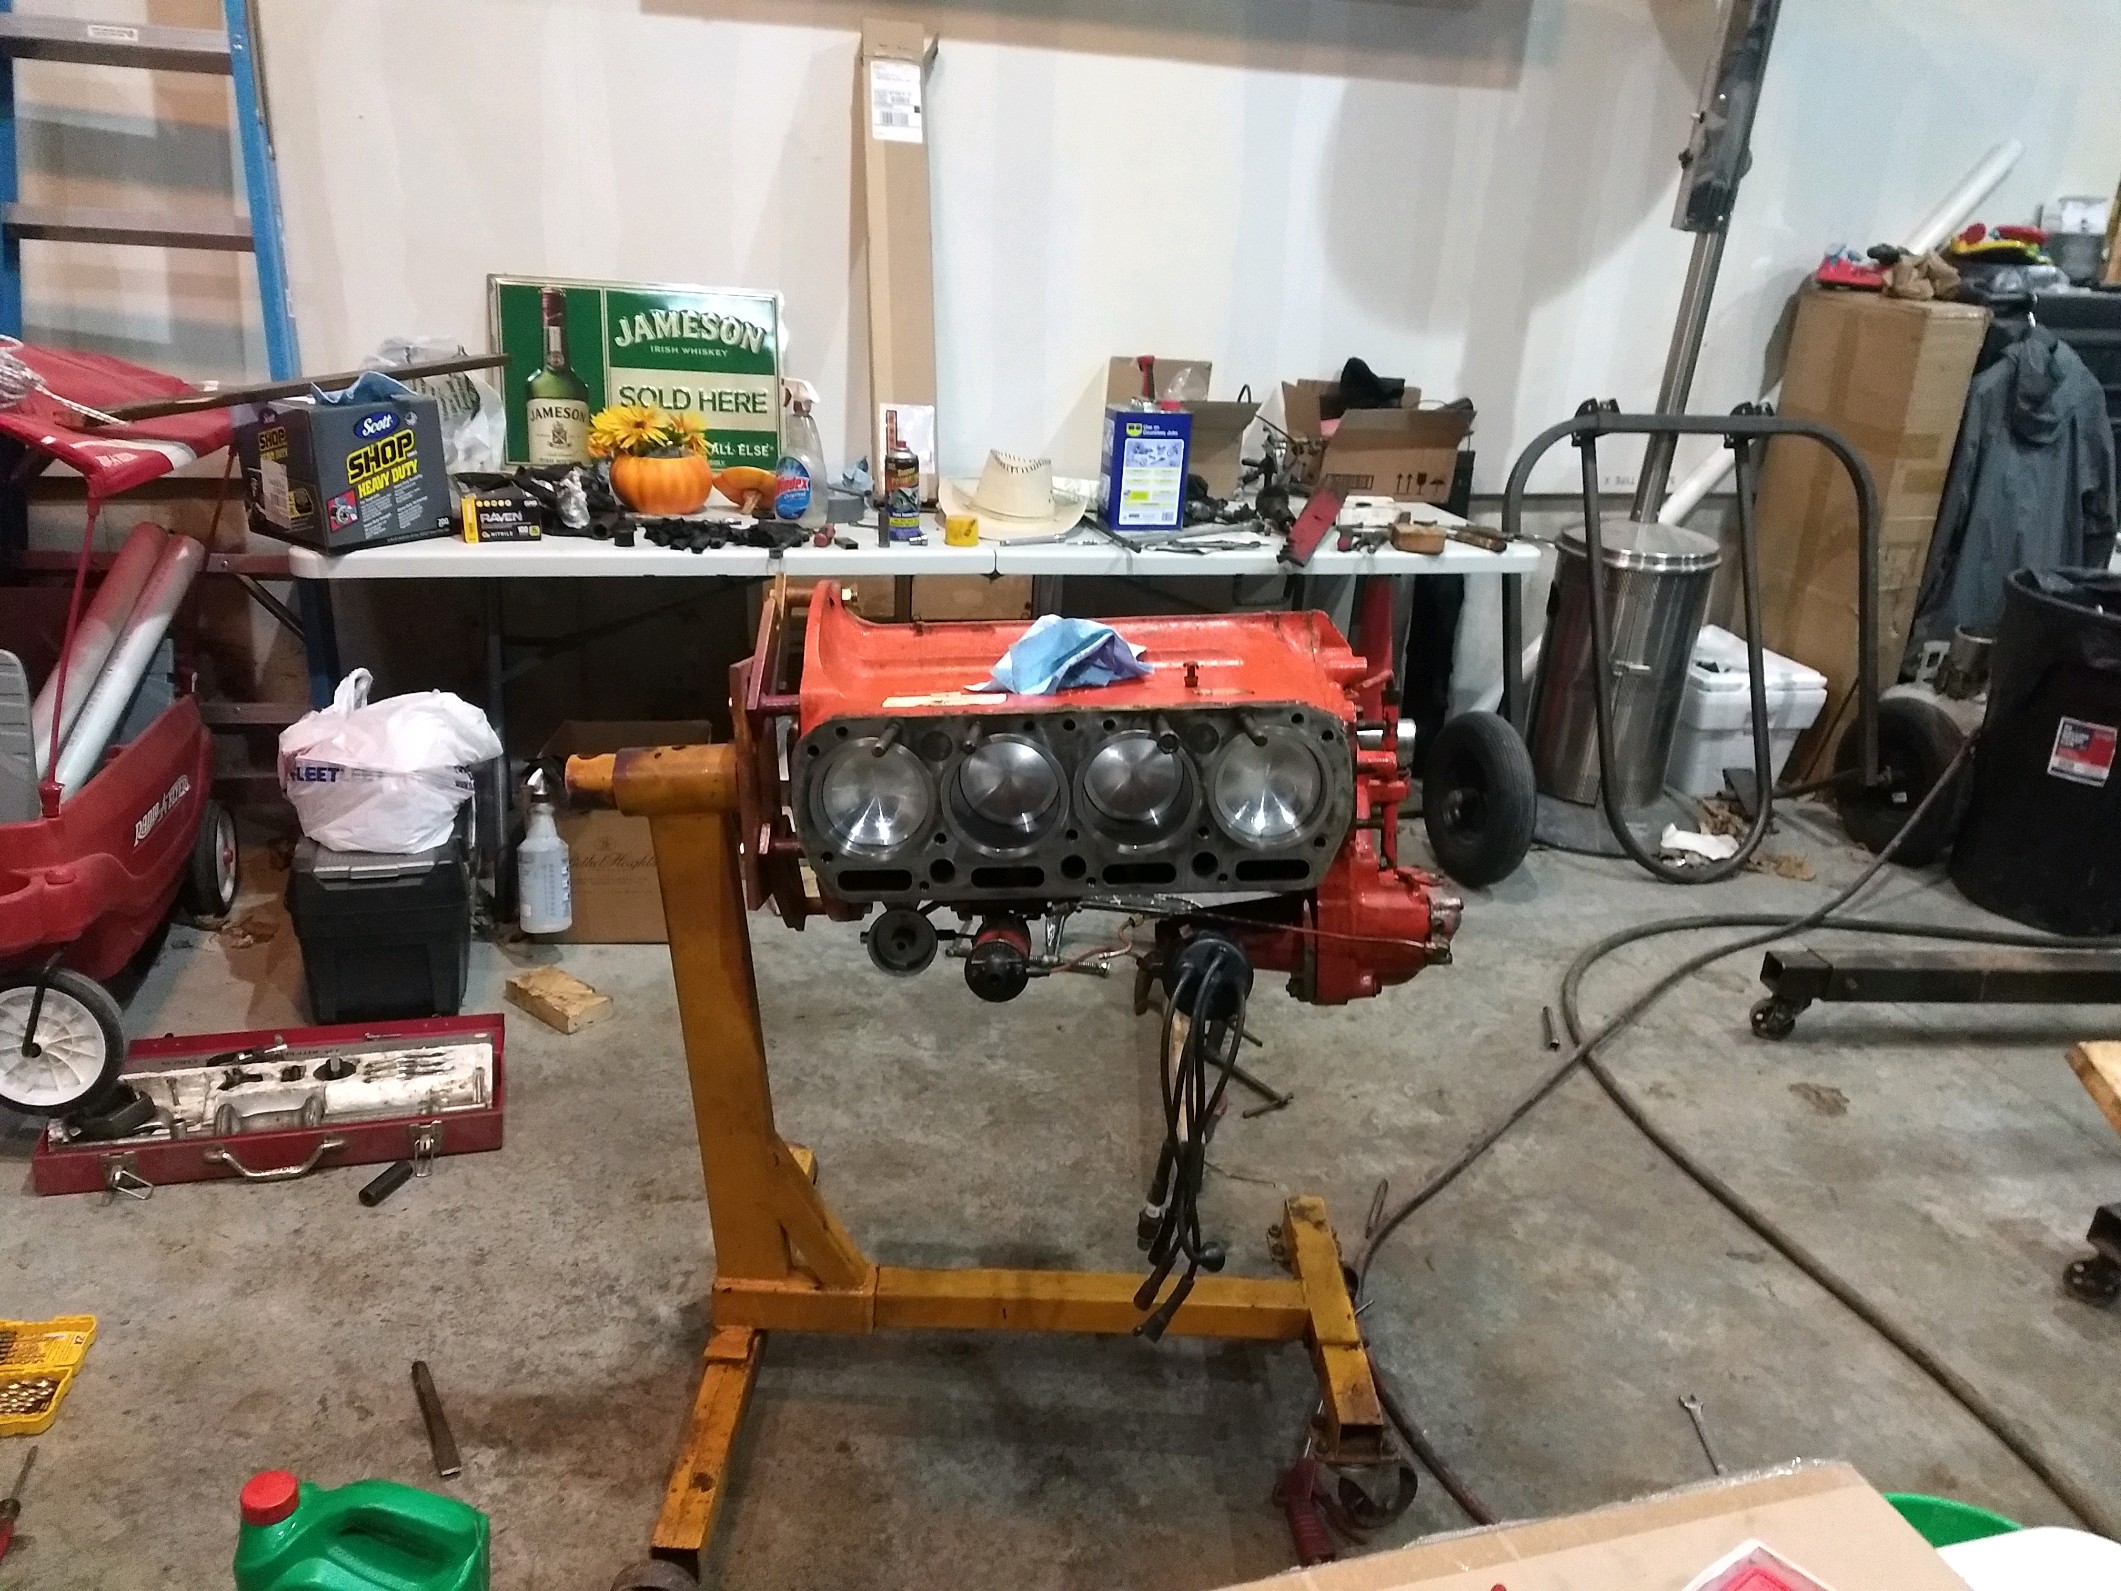 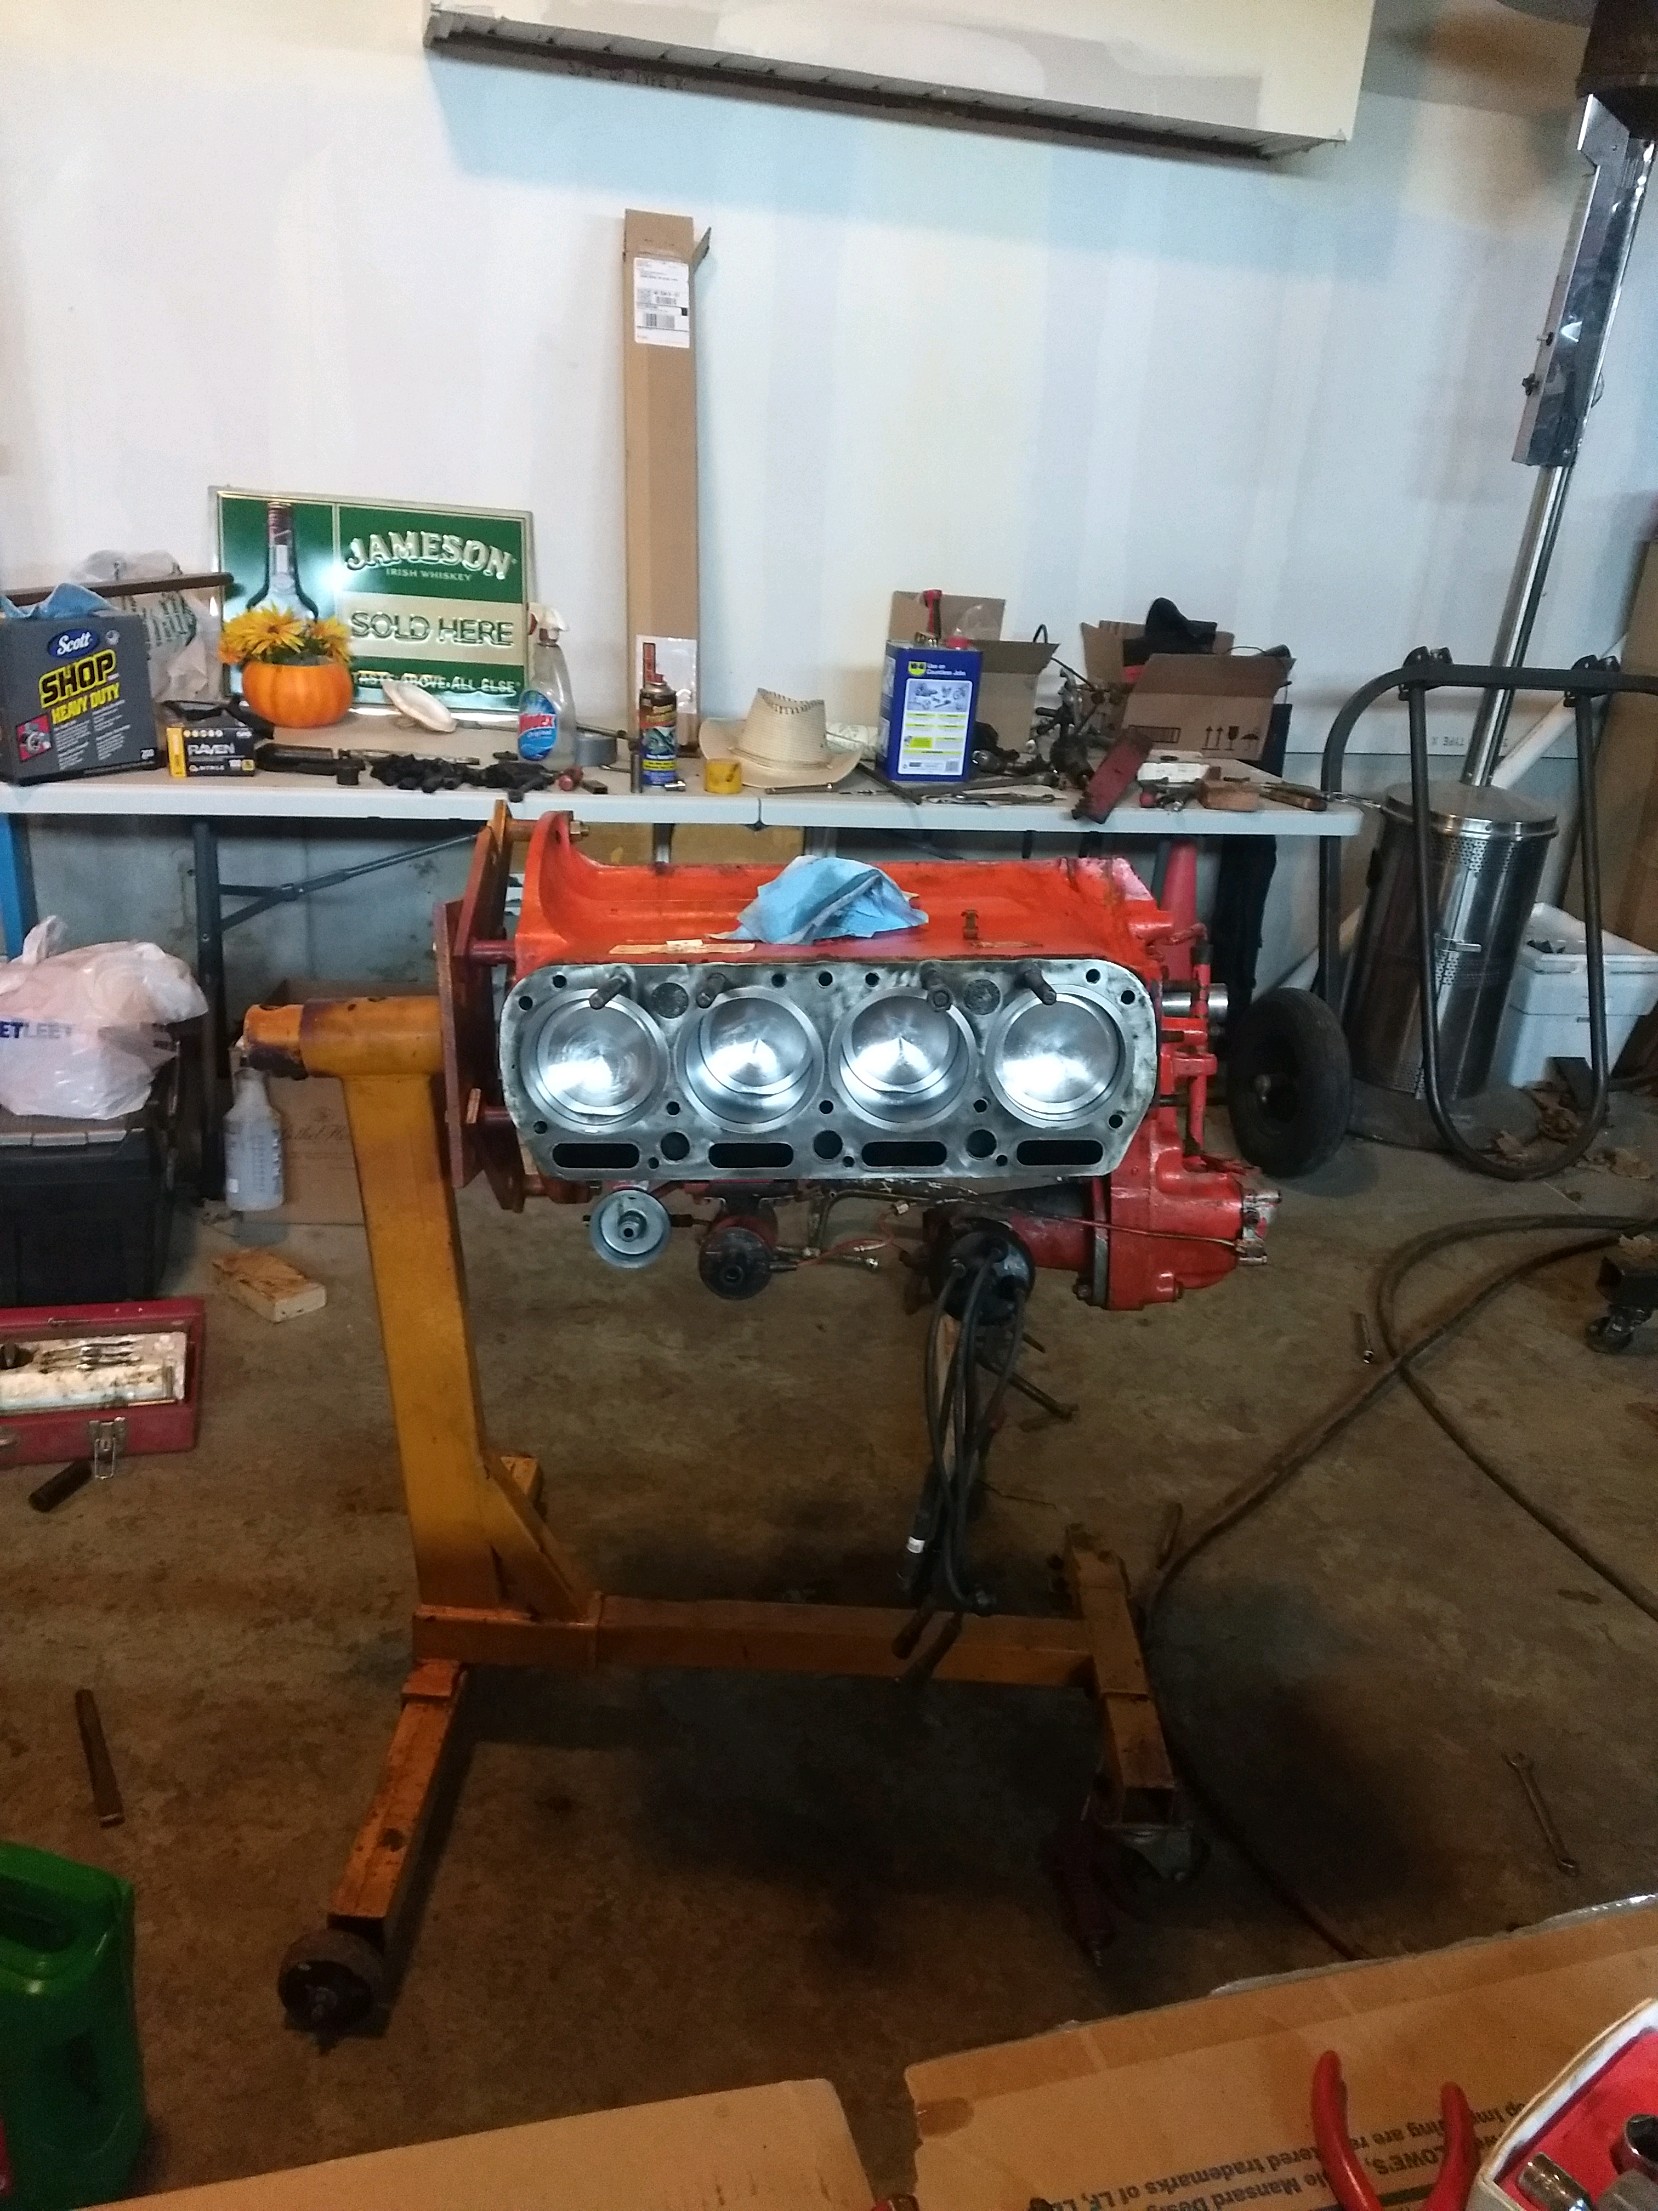
|
|
Strokendiesel002
Silver Level
Joined: 04 Apr 2019
Location: 53158
Points: 252
|
Post Options
Thanks(0)
Quote Reply
Posted: 25 Apr 2019 at 3:41pm |
|
Hey Bradley thanks for taking the time to read and for the tip I really appreciate it!
somebody down the line May read that and it will help save them from the potential heartache that you were trying to help save me from :)
|
|
bradley6874
Orange Level
Joined: 05 Sep 2010
Location: salisbury md
Points: 1344
|
Post Options
Thanks(0)
Quote Reply
Posted: 25 Apr 2019 at 2:39pm |
|
Put couple bolts with flat washers in place of the head bolts to hold the sleeves down cuz if you do break one of them loose and you've moved the sleeve a little bit you'll be back in for a water leak nevermind I didn't see page 2
Edited by bradley6874 - 25 Apr 2019 at 2:42pm
|
|
You can wash the dirt off the body but you can’t wash the farmer out of the heart and soul
|
|
Strokendiesel002
Silver Level
Joined: 04 Apr 2019
Location: 53158
Points: 252
|
Post Options
Thanks(0)
Quote Reply
Posted: 24 Apr 2019 at 11:53pm |
|
|
|