| Author |
 Topic Search Topic Search  Topic Options Topic Options
|
Redwood 
Orange Level

Joined: 16 Jan 2012
Location: Ontario
Points: 631
|
 Post Options Post Options
 Thanks(0) Thanks(0)
 Quote Quote  Reply Reply
 Topic: original ammeter restoration. Topic: original ammeter restoration.
Posted: 16 Jan 2012 at 12:11pm |
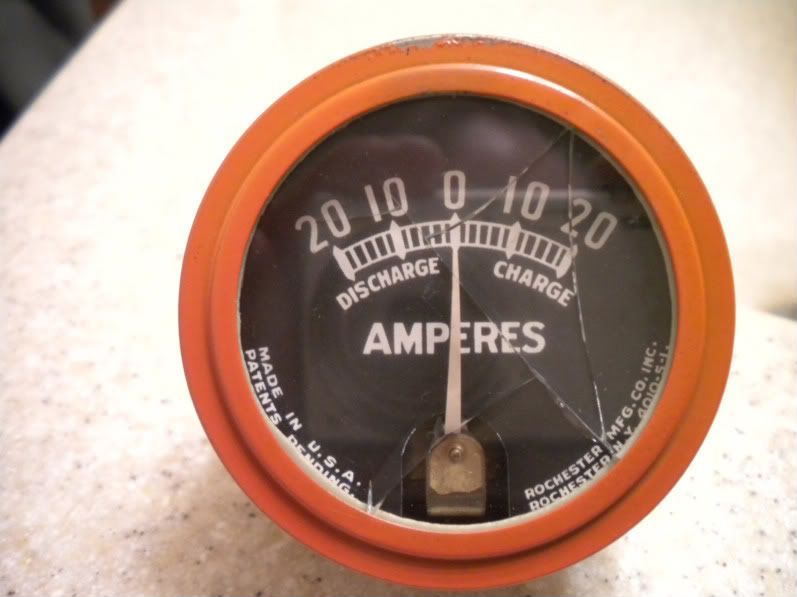
Has anyone restored and/or repaired the original guages off their tractors?. The guages appear to be in good order other then the oil pressure bezel is cracked and the faces are a little tarnished. I'm looking for the best method to remove the bezel for cleaning and repair.
1948 WC
Thanks
|
 |
|
Sponsored Links
|
|
 |
Fred in Pa 
Orange Level

Joined: 13 Sep 2009
Location: Hanover Pa.
Points: 9210
|
 Post Options Post Options
 Thanks(0) Thanks(0)
 Quote Quote  Reply Reply
 Posted: 16 Jan 2012 at 3:41pm Posted: 16 Jan 2012 at 3:41pm |
|
I think you will be looking a long time .Pending on your tractor there lots of better after gauges that look just as the originals did .
|
 |
Redwood 
Orange Level

Joined: 16 Jan 2012
Location: Ontario
Points: 631
|
 Post Options Post Options
 Thanks(0) Thanks(0)
 Quote Quote  Reply Reply
 Posted: 16 Jan 2012 at 3:53pm Posted: 16 Jan 2012 at 3:53pm |
Thanks for the reply.
I'm looking at doing it myself. The meter works. The intent was to replace all guages but there are minor differences in the aftermarket ones, including the patent pending writing on the original. If the bezel was more clear I'd leave it alone. I want the final to be a clean as possible. I'm trying to salvage as much of the original tractor as possible.
I was curious if anyone has sucsessfully done this and how it turned out. I won't be fiddling with the meter itself just the face and bezel.
Worst case I can reinstall as the ring was originally orange the discolouration of the glass would be acceptable, but would bug me a bit.
|
 |
R.W 
Orange Level

Joined: 31 Dec 2010
Location: Swanton, OH
Points: 2975
|
 Post Options Post Options
 Thanks(0) Thanks(0)
 Quote Quote  Reply Reply
 Posted: 16 Jan 2012 at 4:02pm Posted: 16 Jan 2012 at 4:02pm |
|
People rebuild traction-booster gauges, so why can't they rebuild a ampmeter?
Edited by R.W - 16 Jan 2012 at 4:08pm
|
 |
Jim-Ohio 
Orange Level


Joined: 13 Sep 2009
Location: Cols.Grove,Ohio
Points: 335
|
 Post Options Post Options
 Thanks(0) Thanks(0)
 Quote Quote  Reply Reply
 Posted: 16 Jan 2012 at 4:15pm Posted: 16 Jan 2012 at 4:15pm |
Just saw this on the YT Forum.
|
|
'61D17, '51WD, '51CA, '41C, '49C, Woods 5'&6'Mower, 6'Blade, CA-Plow, CA-Cultivator, 3-Btm snap-coupler plow, 4-row planter, WD 4-row cultivator, 80R mower,#7 mower,B/C mower
|
 |
Steve in NJ 
Orange Level Access


Joined: 12 Sep 2009
Location: Andover, NJ
Points: 12024
|
 Post Options Post Options
 Thanks(0) Thanks(0)
 Quote Quote  Reply Reply
 Posted: 16 Jan 2012 at 4:19pm Posted: 16 Jan 2012 at 4:19pm |
|
As Fred mentioned, it would be much cheaper to purchase an aftermarket Ammeter or Oil Pressure Gauge with the AC name on the front than try to restore an original. We have replacement gauges available in stock if interested...
Steve@B&B
|
 |
Chad(WI) 
Orange Level

Joined: 11 Sep 2009
Location: NE Wisconsin
Points: 958
|
 Post Options Post Options
 Thanks(0) Thanks(0)
 Quote Quote  Reply Reply
 Posted: 16 Jan 2012 at 6:33pm Posted: 16 Jan 2012 at 6:33pm |
Not trying to rob anybodys chance for a sale, but a few years ago I had a NOS ammeter that I dropped and broke the glass. I had ATP Instruments in Bloomington, MN repair it and I was impressed with their work, and they are reasonable to boot. In my opinion, the quality of the aftermarket gauges leave a lot to be desired.
Went from this....
to this....
I had them leave the bezel as-is to remind me how careless I was lol!! BTW, the bezel color looks different in the two pics, but it's just the lighting.
I realize that the aftermarket gauges are cheaper, but depends on what you want to do. For a restoration, I wouldn't go any other way. JMHO...
Edited by Chad(WI) - 16 Jan 2012 at 6:39pm
|
 |
Lonn 
Orange Level


Joined: 16 Sep 2009
Location: Назарово,Russia
Points: 29817
|
 Post Options Post Options
 Thanks(0) Thanks(0)
 Quote Quote  Reply Reply
 Posted: 16 Jan 2012 at 9:14pm Posted: 16 Jan 2012 at 9:14pm |
|
I'm glad I never threw old gauges. How do you remove the bezel? I might try this some time.
|
|
-- --- .... .- -- -- .- -.. / .-- .- ... / .- / -- ..- .-. -.. . .-. .. -. --. / -.-. .... .. .-.. -.. / .-. .- .--. .. ... -
Wink
I am a Russian Bot
|
 |
Chalmersbob 
Orange Level

Joined: 11 Sep 2009
Location: Pennsylvania
Points: 2122
|
 Post Options Post Options
 Thanks(0) Thanks(0)
 Quote Quote  Reply Reply
 Posted: 16 Jan 2012 at 9:37pm Posted: 16 Jan 2012 at 9:37pm |
|
I have removed the bezel on both oil pressure gauges and amp meters. I just go under the rear flange and start to bend it away from the gauge and work my way around untilit pops off. Don't try to clean an oil covered white face, the lettering wipes off. Guess how I know. Bob
|
 |
Redwood 
Orange Level

Joined: 16 Jan 2012
Location: Ontario
Points: 631
|
 Post Options Post Options
 Thanks(0) Thanks(0)
 Quote Quote  Reply Reply
 Posted: 16 Jan 2012 at 9:50pm Posted: 16 Jan 2012 at 9:50pm |
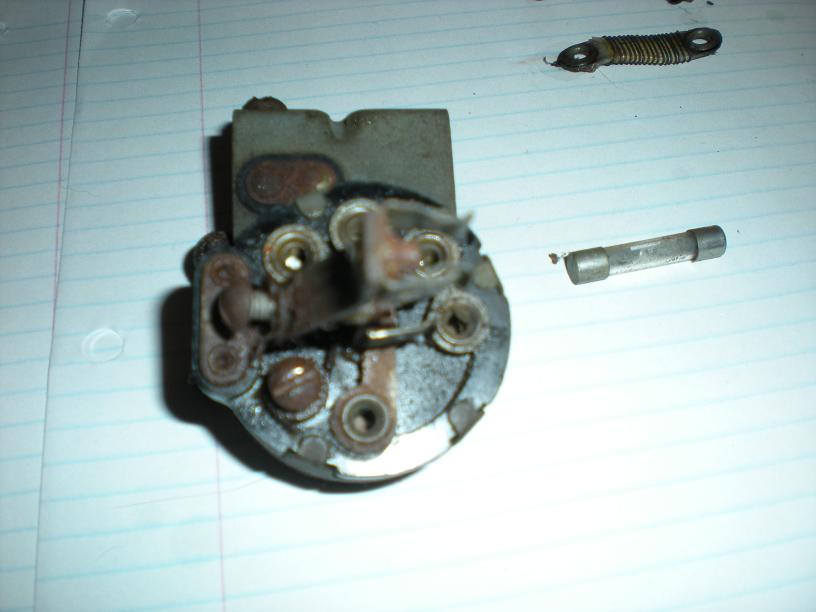
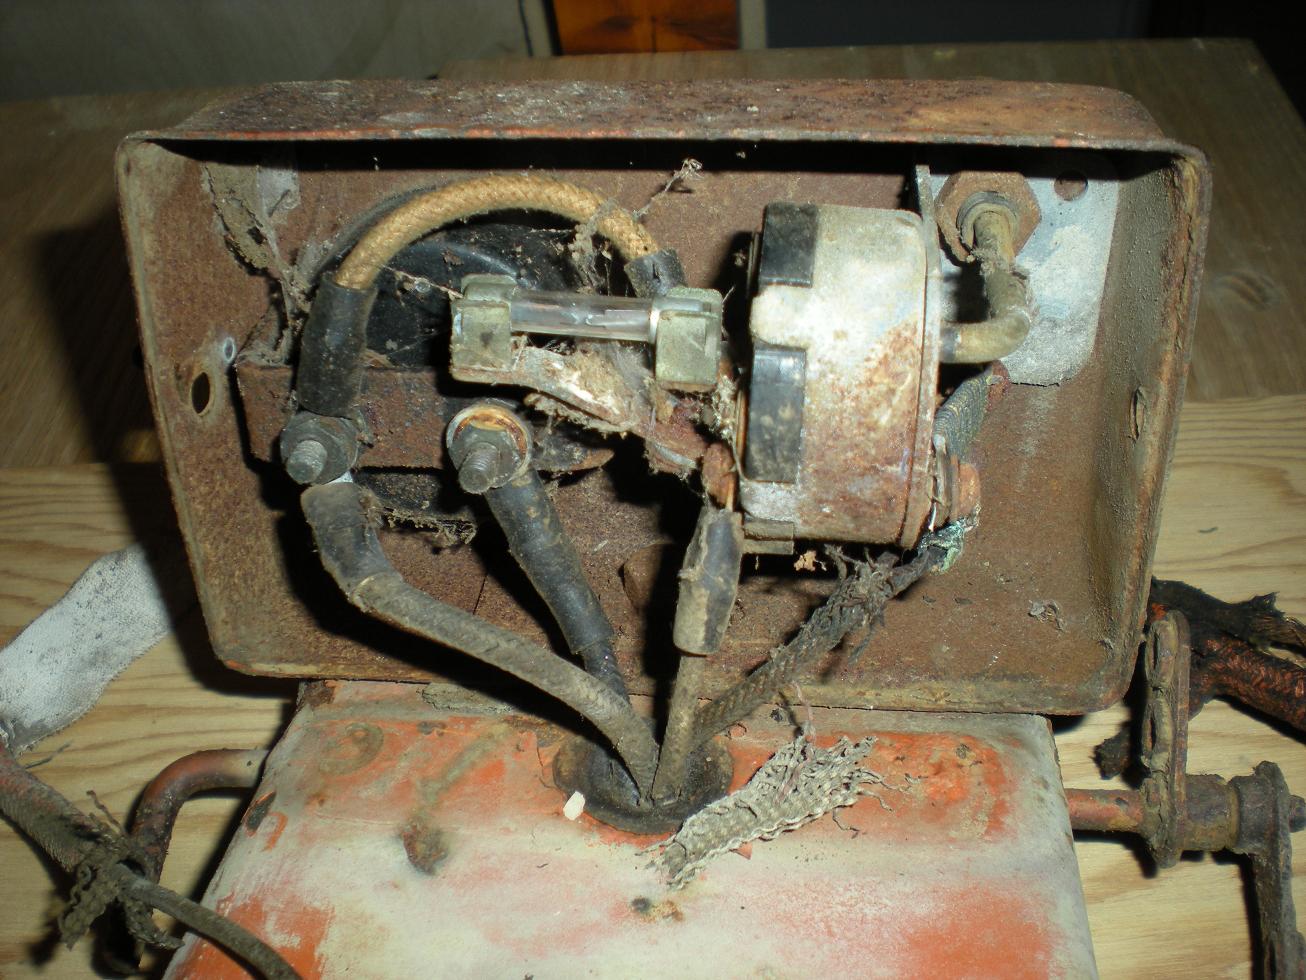
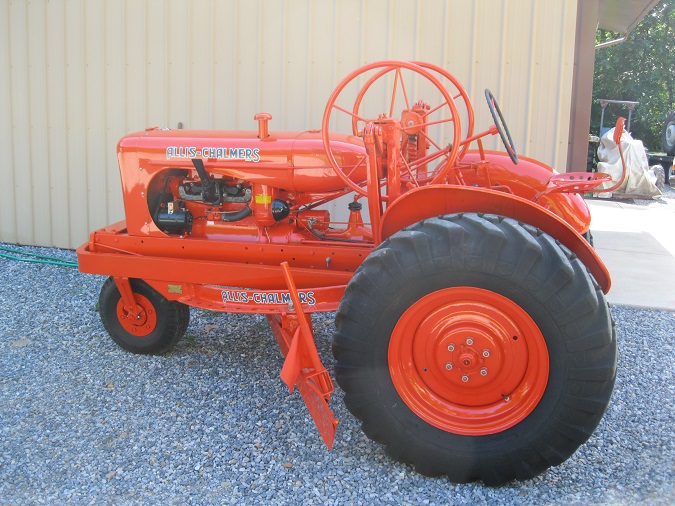
Thanks for all the response Yes I'm aware of the cost of the replacement being $30 to $40 and probably less for the black face, from this WC. I've taken on this restoration with my dad. The WC is his dad's. The first new Tractor ever purchased by my grandfather for the farm. Most of the tractor not requiring regular maintenance is original. It's more important to keep as much as possible rather then time. My time is free. As a replacement can always be purchased, I'll open the ammeter and give it a shot. I have the light switch broke down now and removing the rust. Though that was easier to open We'll see how the picture post works... if so I'll attach the current photo. I'm thinking I can rig up a pry with the curve of the ammeter with a tiny hook to lift the crimp on the bezel as it is pushed around the meter... if I make the hook hard and small enough. We'll see. I don't have enough cash to throw at the project for the professional restoration. but that link we be good for future reference
|
 |
Redwood 
Orange Level

Joined: 16 Jan 2012
Location: Ontario
Points: 631
|
 Post Options Post Options
 Thanks(0) Thanks(0)
 Quote Quote  Reply Reply
 Posted: 16 Jan 2012 at 9:52pm Posted: 16 Jan 2012 at 9:52pm |
good to know Bob. I might have to bypass the pressure guage it is black faced but is damaged and there is oil on the face. I figure it's worth a try
|
 |
Redwood 
Orange Level

Joined: 16 Jan 2012
Location: Ontario
Points: 631
|
 Post Options Post Options
 Thanks(0) Thanks(0)
 Quote Quote  Reply Reply
 Posted: 18 Jan 2012 at 7:32am Posted: 18 Jan 2012 at 7:32am |
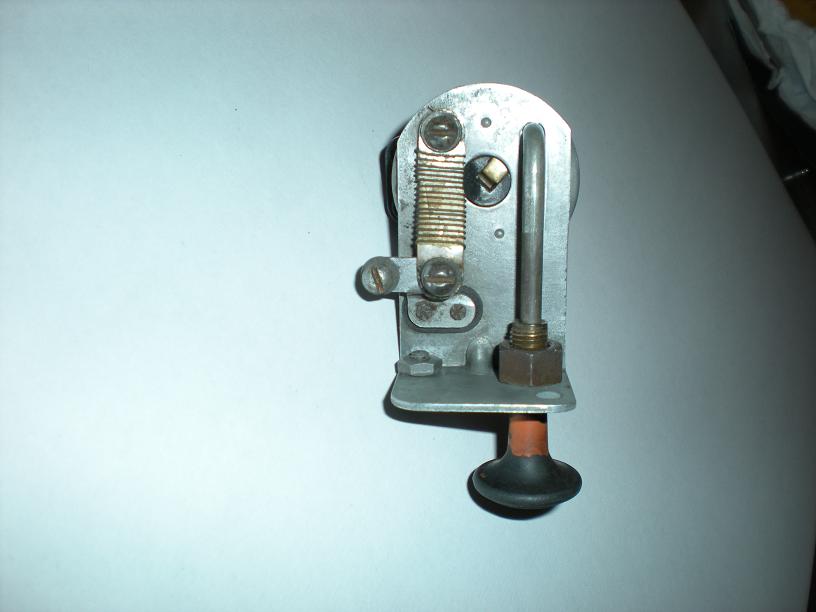
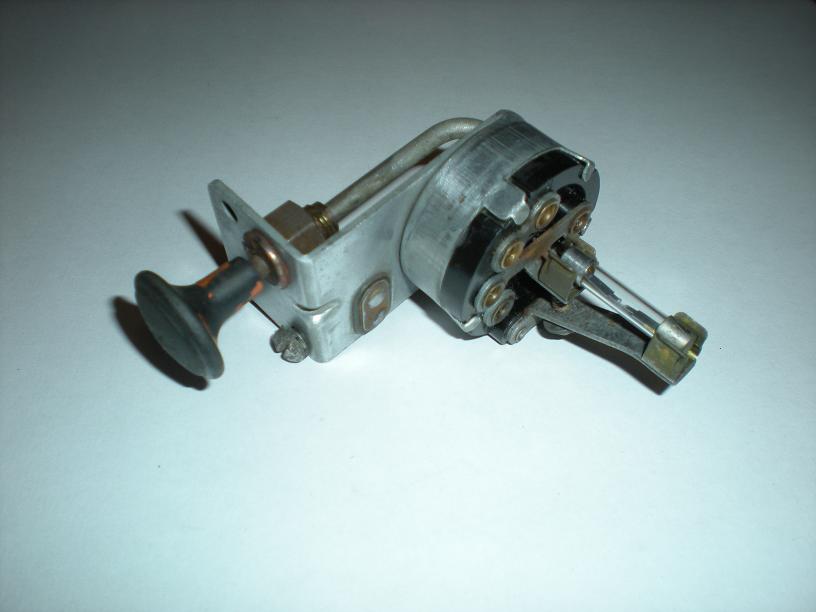
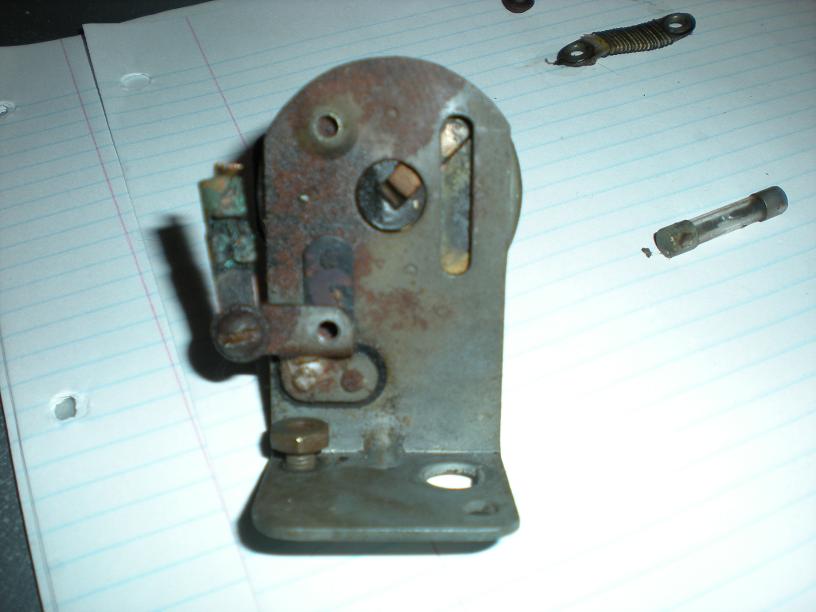
Started the repair last night. It is going well, and easier then I thought. The bezel can now be repainted the original colour. the needle I'll repaint as it was white. The glass is in excellent shape. I doubt the face can be fully restored, though with a little carefull attention, I think it will come up well enough, I doubt many will tell unless they examine it pretty close. I've Allready fix the light switch. complete tear down. soaked the parts in a non toxic rust remover and wiped off the rust.
I'm really glad I did this. I'll have about an hours time into the clean up of the ammeter, I'd say still cheaper for me then $30.00 plus shipping and I have the original to put back in.
|
 |
Rawleigh 
Orange Level


Joined: 14 Sep 2009
Location: White Stone, VA
Points: 421
|
 Post Options Post Options
 Thanks(0) Thanks(0)
 Quote Quote  Reply Reply
 Posted: 18 Jan 2012 at 2:03pm Posted: 18 Jan 2012 at 2:03pm |
|
How are you crimping the bezel back together?
|
 |
Redwood 
Orange Level

Joined: 16 Jan 2012
Location: Ontario
Points: 631
|
 Post Options Post Options
 Thanks(0) Thanks(0)
 Quote Quote  Reply Reply
 Posted: 18 Jan 2012 at 6:32pm Posted: 18 Jan 2012 at 6:32pm |
The metal is fairly soft and I'll use the flat screw driver to eas it into place then press it with a hardwood press. I'll drill out the correct size hole and clamp it evenly with c clamps. I might steal a newer bezel we have laying around if the pits in one side are too hard to even out. 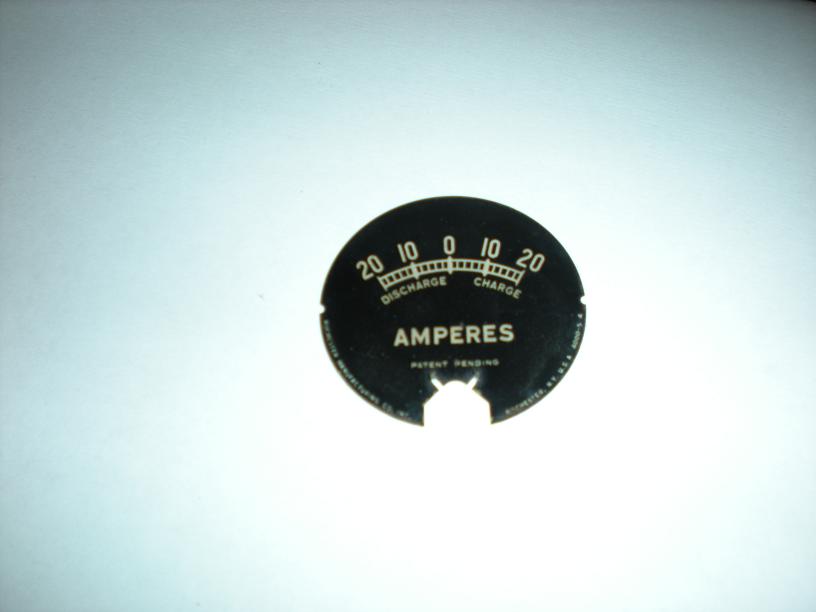 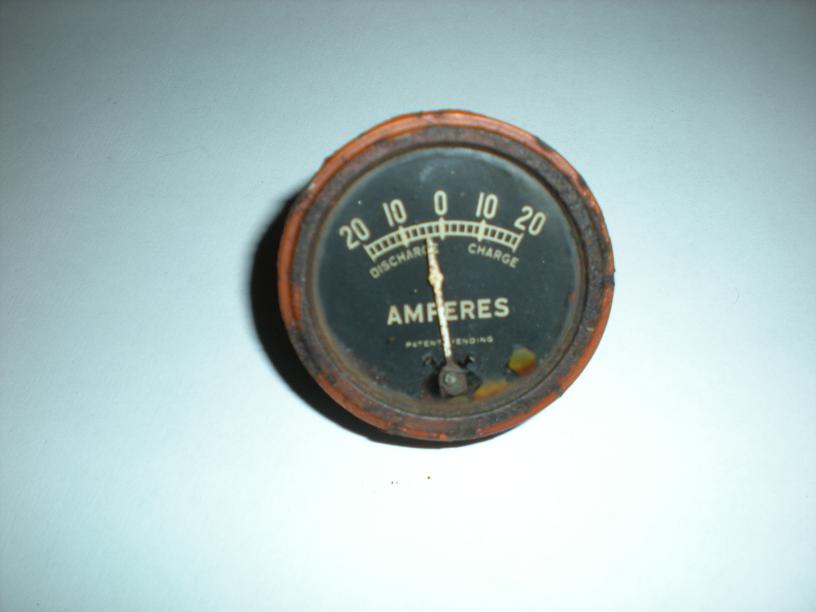
|
 |
Redwood 
Orange Level

Joined: 16 Jan 2012
Location: Ontario
Points: 631
|
 Post Options Post Options
 Thanks(0) Thanks(0)
 Quote Quote  Reply Reply
 Posted: 18 Jan 2012 at 6:33pm Posted: 18 Jan 2012 at 6:33pm |
first time posting pics. It will take some time to get the settings right
Edited by Redwood - 18 Jan 2012 at 6:34pm
|
 |
Redwood 
Orange Level

Joined: 16 Jan 2012
Location: Ontario
Points: 631
|
 Post Options Post Options
 Thanks(0) Thanks(0)
 Quote Quote  Reply Reply
 Posted: 18 Jan 2012 at 6:40pm Posted: 18 Jan 2012 at 6:40pm |
|
|
 |
Redwood 
Orange Level

Joined: 16 Jan 2012
Location: Ontario
Points: 631
|
 Post Options Post Options
 Thanks(0) Thanks(0)
 Quote Quote  Reply Reply
 Posted: 19 Jan 2012 at 8:45pm Posted: 19 Jan 2012 at 8:45pm |
For those that are interested I finished the cleaning, and as long a you use a delicate touch this is an easy thing to do. the tear down and repair only took a couple of hours. The hardest part it the tiny cap that holds the needle down. It took a couple of tries with tweezer to line it up right to put on. My only mistake was not putting a piece of paper over the face as I scratched a tiny dot of black paint with the needle putting the cap on. Once I set up the orange paint I can post the final. Well worth the time for maintaining some of the original. I certainly will do the pressure gauges. and didn't even need to torch ony of these pieces loose.( seat spring bolt won't be so easy)
|
 |
JPG AUSTRALIA 
Orange Level

Joined: 13 Sep 2009
Points: 767
|
 Post Options Post Options
 Thanks(0) Thanks(0)
 Quote Quote  Reply Reply
 Posted: 20 Jan 2012 at 2:29am Posted: 20 Jan 2012 at 2:29am |
|
nice work redwood, I've done a few gauges ,takes a bit of patience,getting the ring back on neat is the hard part.Keep posting photos.
|
 |
Brampton 02 gt 
Orange Level

Joined: 07 Apr 2011
Location: Erin,ON, Canada
Points: 321
|
 Post Options Post Options
 Thanks(0) Thanks(0)
 Quote Quote  Reply Reply
 Posted: 20 Jan 2012 at 9:48pm Posted: 20 Jan 2012 at 9:48pm |
I might give my guuage a rebuild as well. Inspiring. Can anything go wrong with the old switches? I was going to replace mine - But maybe it is ok???? It is a little stiff and need the resister replaced. Maybe I should? Is there a way to test it I wonder.
|
 |
Redwood 
Orange Level

Joined: 16 Jan 2012
Location: Ontario
Points: 631
|
 Post Options Post Options
 Thanks(0) Thanks(0)
 Quote Quote  Reply Reply
 Posted: 20 Jan 2012 at 10:37pm Posted: 20 Jan 2012 at 10:37pm |
|
As this is my first attempt and quite frankly was backing up my confidence to the project with the fact that if it did not work I had to buy a new one either way. The one I opened has only an electomagnet core the flow of electricity through this magnet direction and flow pulls the needle. The best way to test if you have a newer replacement is to swap them out in a circuit they should read the same or if you have an electrical tester to measure amps you could verify the amps that way and compare it to your gauge. Mine went well.
If you are in the same position I was in, why not open it if your likely to just toss it otherwise. If it is sticky it might just need cleaning for the needle to float freely.
I would have saved the face and moved it to a new one if all else failed.
But I only know what I found in mine
|
 |


 Topic Options

 Post Options
 Thanks(0)


