| Author |
 Topic Search Topic Search  Topic Options Topic Options
|
jason82 
Bronze Level


Joined: 25 Nov 2015
Location: iowa
Points: 38
|
 Post Options Post Options
 Thanks(0) Thanks(0)
 Quote Quote  Reply Reply
 Topic: Gleaner F2 straw walkers setup Topic: Gleaner F2 straw walkers setup
Posted: 15 Sep 2016 at 11:55am |
|
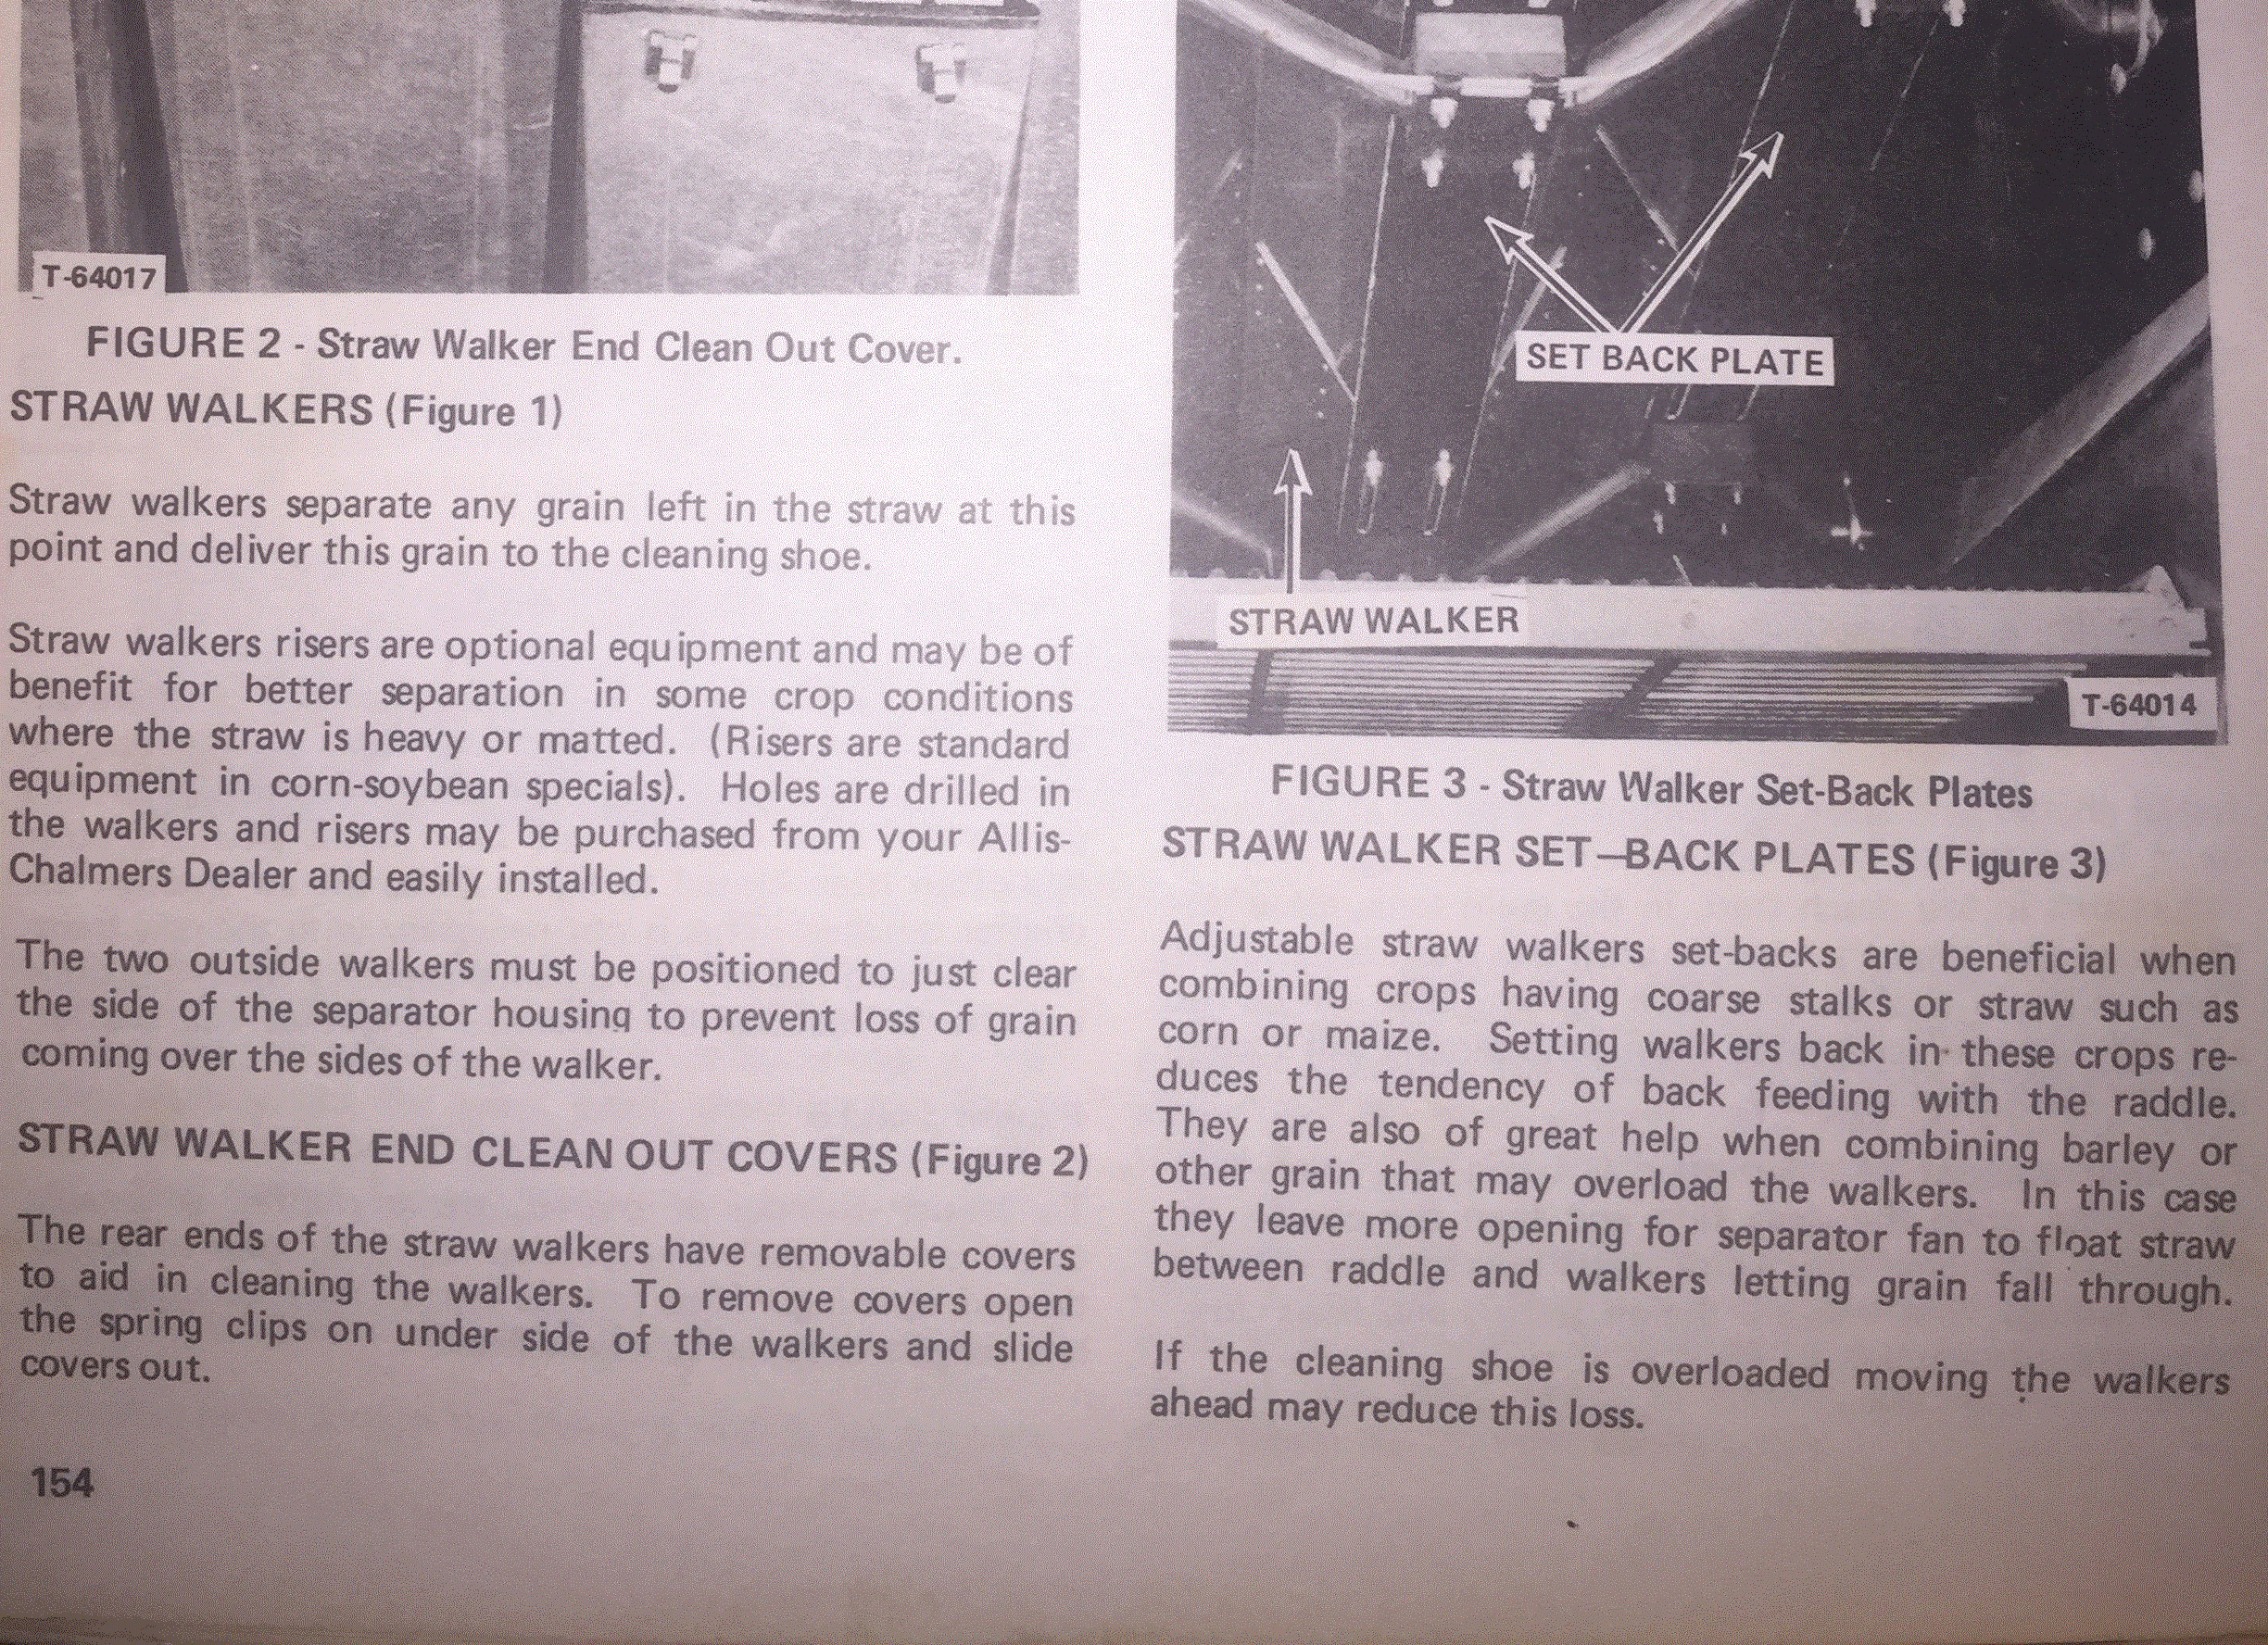
I have a gleaner f2 long back. Had to replace all the junk smashed straw walkers and bent front crank. Wanted to know how to set the straw walkers and distance from front of the straw walkers to raddle chain. Also replace the backing plate and bearings. Bought this machine last year, its looks at some point back crank broke and was replaced. The front crank was bent and straw walkers got smashed when the crank broke.
|
 |
|
Sponsored Links
|
|
 |
DrAllis 
Orange Level Access

Joined: 12 Sep 2009
Points: 19588
|
 Post Options Post Options
 Thanks(0) Thanks(0)
 Quote Quote  Reply Reply
 Posted: 15 Sep 2016 at 12:22pm Posted: 15 Sep 2016 at 12:22pm |
|
Corn and soybeans?? all the way to the front and pull them back 2 inches.
|
 |
jason82 
Bronze Level


Joined: 25 Nov 2015
Location: iowa
Points: 38
|
 Post Options Post Options
 Thanks(0) Thanks(0)
 Quote Quote  Reply Reply
 Posted: 15 Sep 2016 at 4:15pm Posted: 15 Sep 2016 at 4:15pm |
 to be clear I took this picture, the round red circles are the mounting holes on the walker, and the yellow rectangle are the slots in the setback plate, which holes do I mount the walkers to the setback plate, the parts book shows a total of 16 bolts for mounting the walkers to setback plate so only 4 bolts per walker, I really need to get these set right these walkers I had to far for, and the look brand new. will be running beans this year corn next year.
|
 |
shameless (ne) 
Orange Level


Joined: 08 Jul 2016
Location: nebraska
Points: 7463
|
 Post Options Post Options
 Thanks(0) Thanks(0)
 Quote Quote  Reply Reply
 Posted: 15 Sep 2016 at 11:08pm Posted: 15 Sep 2016 at 11:08pm |
|
when you mount them...put a little slime of grease inside the blocks. then take the drive chain/belt off the outside, tighten down the blocks on the cam, turn the drive cam
by hand to make sure there is no binding, should turn freely. I always put one walker bottom dead center and tightened that one down, then the others should be right after that. but still turn by hand, if there is even a small catch or hard to turn spot, you'll tear them up again!
|
 |
jason82 
Bronze Level


Joined: 25 Nov 2015
Location: iowa
Points: 38
|
 Post Options Post Options
 Thanks(0) Thanks(0)
 Quote Quote  Reply Reply
 Posted: 16 Sep 2016 at 12:02am Posted: 16 Sep 2016 at 12:02am |
|
Thanks for the info, still looking for info how to mount them what holes to use.
|
 |
shameless (ne) 
Orange Level


Joined: 08 Jul 2016
Location: nebraska
Points: 7463
|
 Post Options Post Options
 Thanks(0) Thanks(0)
 Quote Quote  Reply Reply
 Posted: 17 Sep 2016 at 2:44pm Posted: 17 Sep 2016 at 2:44pm |
|
mount the front first, then put the top block on the rear and check which ones matches up at the rear! not hard.
|
 |
shameless (ne) 
Orange Level


Joined: 08 Jul 2016
Location: nebraska
Points: 7463
|
 Post Options Post Options
 Thanks(0) Thanks(0)
 Quote Quote  Reply Reply
 Posted: 17 Sep 2016 at 2:47pm Posted: 17 Sep 2016 at 2:47pm |
|
on one of my combines I had to replace a straw walker, it was outta a different size machine but was the same length and width, but the mounting holes were different. I made a plate to bolt to the bottom of the newer walker with an adjustable (slide holes) to attatch it to the cam. worked great!
|
 |
jason82 
Bronze Level


Joined: 25 Nov 2015
Location: iowa
Points: 38
|
 Post Options Post Options
 Thanks(0) Thanks(0)
 Quote Quote  Reply Reply
 Posted: 17 Sep 2016 at 3:47pm Posted: 17 Sep 2016 at 3:47pm |
|
I guess my question what is the distance from the raddle chain to the front of the straw walkers when the straw walkers is in the forward position on the crank. So I don't mount them to close to the raddle chain and not damaging them. Since I got no reference to go by.
The original walkers junk had homemade brackets on them, looks they broke as some point so they welded 1/8 plate over the broke section on bottom and drilled holes to mount them to setback plate
|
 |
shameless (ne) 
Orange Level


Joined: 08 Jul 2016
Location: nebraska
Points: 7463
|
 Post Options Post Options
 Thanks(0) Thanks(0)
 Quote Quote  Reply Reply
 Posted: 17 Sep 2016 at 5:31pm Posted: 17 Sep 2016 at 5:31pm |
|
I've never measured mine...DrAllis...do you know the measurement? that again is where the hand turning comes in, they are offset so not all of them will be in the same place at the same time. i'm sure we're talking 4 straw walkers here total? the cam should be down and back far enough as not to let any of the walkers hit the raddle. and appears they did the same thing I did when mine broke. dad asked me once why I combine at night so much? I told him I combine at night so that when something breaks I have all day to fix the stuff when the parts places are open! lol
|
 |
jason82 
Bronze Level


Joined: 25 Nov 2015
Location: iowa
Points: 38
|
 Post Options Post Options
 Thanks(0) Thanks(0)
 Quote Quote  Reply Reply
 Posted: 19 Sep 2016 at 8:53pm Posted: 19 Sep 2016 at 8:53pm |
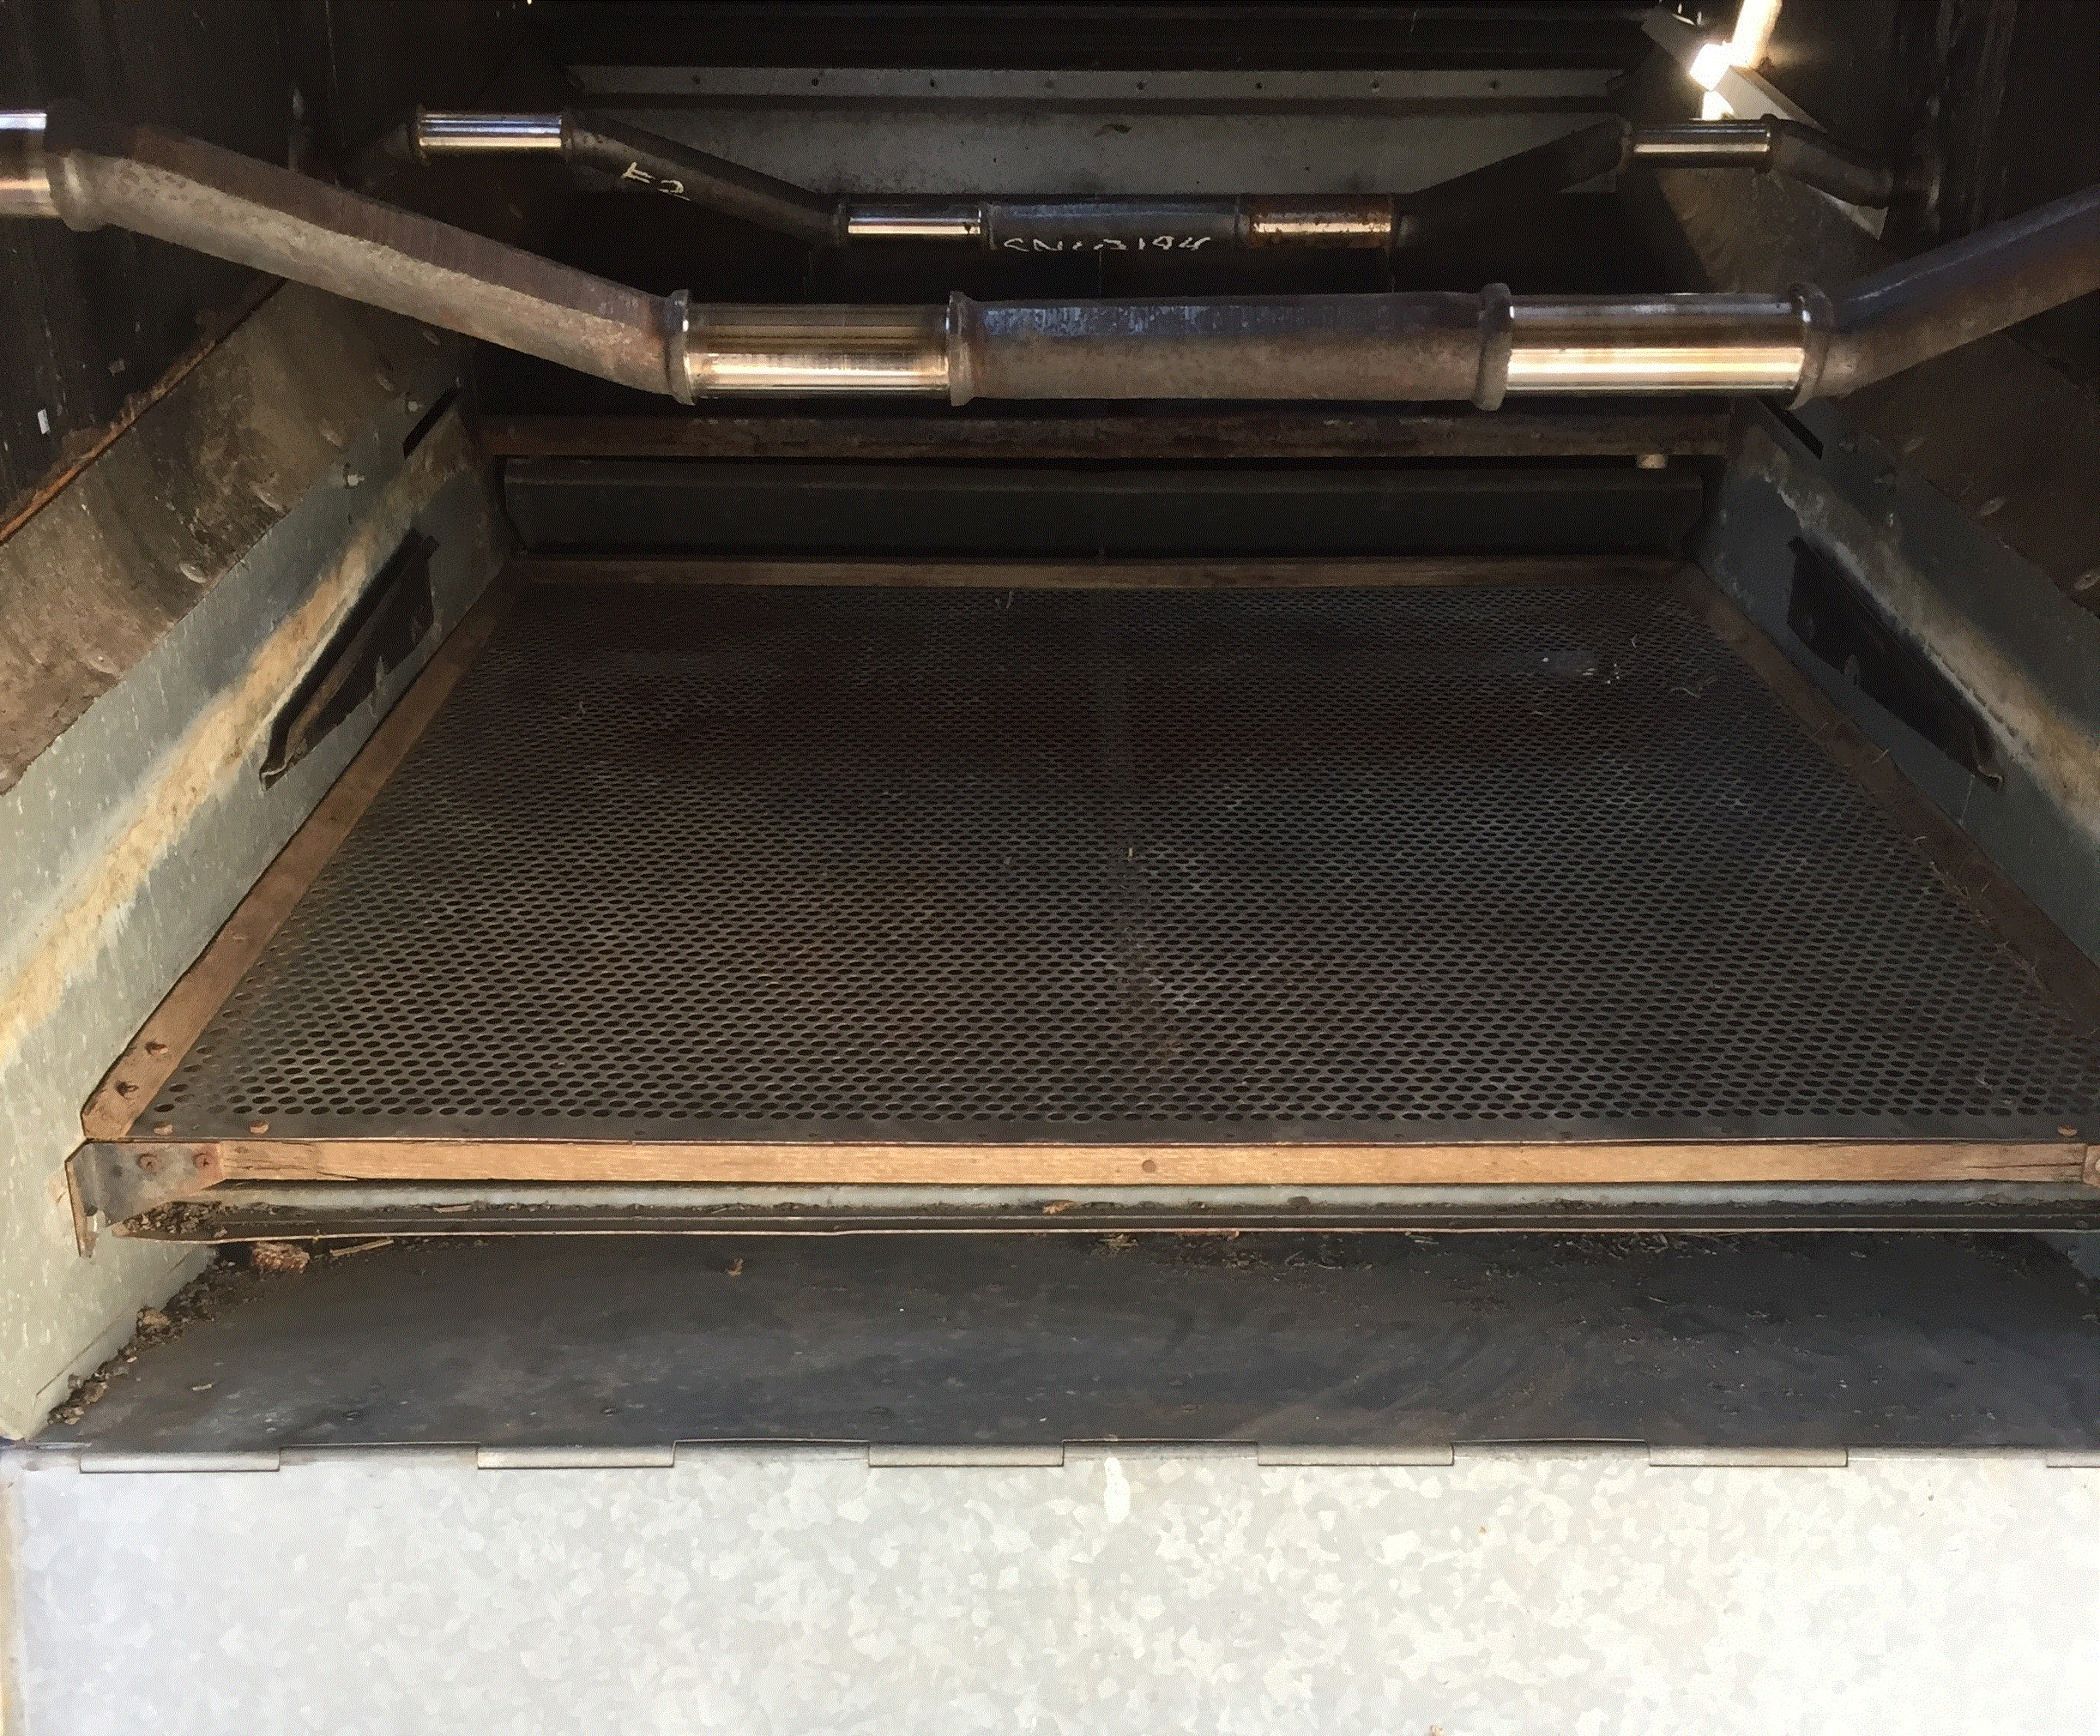
Thanks for the info, I did find some info in the manual so just have to trial and error lol  Was able to track down a original F2 bean screen for the cleaning shoe and if someone is looking for one I know of another one that is for sale 
|
 |
JFREED 
Silver Level


Joined: 11 Sep 2011
Location: SOUTH MICHIGAN
Points: 113
|
 Post Options Post Options
 Thanks(0) Thanks(0)
 Quote Quote  Reply Reply
 Posted: 19 Sep 2016 at 9:17pm Posted: 19 Sep 2016 at 9:17pm |
|
What is that round-holed screen for ?
|
 |
jason82 
Bronze Level


Joined: 25 Nov 2015
Location: iowa
Points: 38
|
 Post Options Post Options
 Thanks(0) Thanks(0)
 Quote Quote  Reply Reply
 Posted: 18 Oct 2017 at 4:53pm Posted: 18 Oct 2017 at 4:53pm |
|
|
 |


 Topic Options

 Post Options
 Thanks(0)


