| Author |
 Topic Search Topic Search  Topic Options Topic Options
|
WDMAN 
Bronze Level


Joined: 27 Jul 2012
Location: Missouri
Points: 16
|
 Post Options Post Options
") Thanks(0) Thanks(0)
 Quote Quote  Reply Reply
 Topic: Sleeve Replacement? Topic: Sleeve Replacement?
Posted: 05 Aug 2012 at 4:43pm |
|
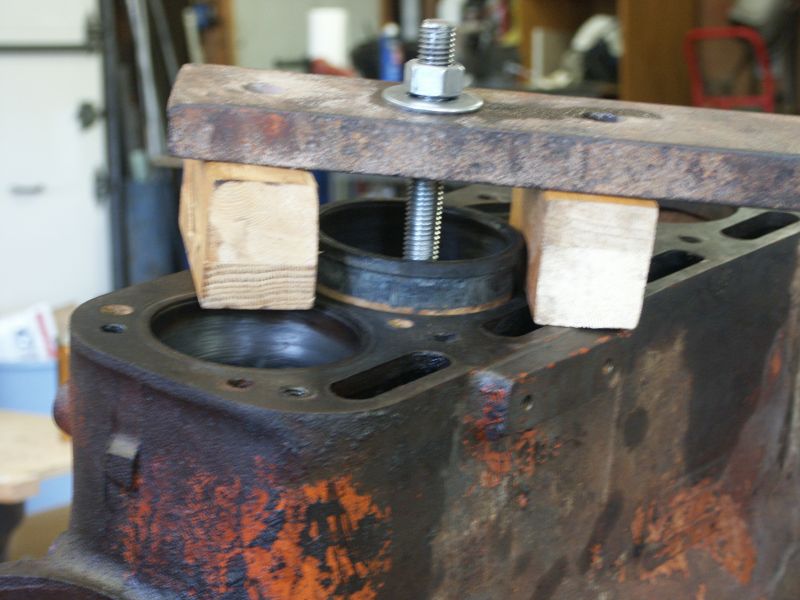
Well oil didnt get any better by manifold and started to smoke more, we pulled head off yesterday and pistons had oil on top of them, we also found two drillbit tips! we have never used a drill on the tractor!!! luckily didnt hurt anything, had alot of carbon and a pretty big ridge on top of sleeve,walls werent scarred only one had a couple spots that werent right so we are planning on resleeving it but every sleeve kit we are looking at is overbore, does block need to be bored to accept new sleeve or is it just bigger in piston diameter? and what is the best way to remove the sleeves? A couple people said it could be done in the tractor so we plan on tryin it that way,
|
 |
|
Sponsored Links
|
|
|
jb from md
Silver Level


Joined: 06 Apr 2010
Location: Keymar MD
Points: 450
|
Post Options
Thanks(0)
Quote Reply
Posted: 05 Aug 2012 at 4:53pm |
|
the new sleeve will fit the block .i use a sleeve puller to get them out...some use other methods....Jb
|
|
8050 FWA, 190XT, 185, Styled wc, Unstyled wc, (2)C, (2)WD45NF, WD45WF, WD,416h, 716h, 312h, 8070 pedal.
|
|
WDMAN
Bronze Level
Joined: 27 Jul 2012
Location: Missouri
Points: 16
|
Post Options
Thanks(0)
Quote Reply
Posted: 05 Aug 2012 at 4:58pm |
|
where do you get sleeve pullers at? and a .10 overbore sleeve will fit in block?? Thanks for reply
|
|
AaronSEIA
Orange Level

Joined: 11 Sep 2009
Location: Mt Pleasant, IA
Points: 2577
|
Post Options
Thanks(0)
Quote Reply
Posted: 05 Aug 2012 at 5:15pm |
.10 over will fit. The over comes from the inside of the bore, the cyl wall is .05 thinner to get .10 over. I missed what engine you are working on. Sleeve puller can be had at any parts rental place. A good solid chunk of wood and a sledge hammer works well too. Just need to watch out for the crank. AaronSEIA
|
|
B26240
Orange Level
Joined: 21 Nov 2009
Location: mn
Points: 3866
|
Post Options
Thanks(0)
Quote Reply
Posted: 05 Aug 2012 at 5:26pm |
|
Overbore kit to go from 4" to 4 1/8 will fit no problem I also do as Aaron said with a block of wood. they are wet sleaves and you only have to move them about 1/2" or so to unseat the o-ring and then they are loose. The best way to avoid damage would no doubt be to use a puller.
|
|
steve(ill)
Orange Level Access
Joined: 11 Sep 2009
Location: illinois
Points: 89144
|
Post Options
Thanks(0)
Quote Reply
Posted: 05 Aug 2012 at 5:32pm |
|
consider that your motor is 70 years old. It has had antirfreeze, dirt , mud, river water, etc in the radiator and block. When you pull out the sleeves, the block is going to be full of crud and needs washed out. The lands where the sleeves fit will need to be cleaned and sanded for the o-rings to seal good. You should remove the crank and check the bearings. Proabalby need to be cleaned up and shimmed a couple thousandths.... What i getting at is it would be a good idea to pull the motor and turn it upside down and really do a good cleaning and measurements. You dont need a bunch of new parts, but putting some extra labor into this will pay off in the long run. You can have the motor setting in a stand in a couple hours.
|
|
Like them all, but love the "B"s.
|
|
wbecker
Orange Level
Joined: 29 Oct 2009
Location: STL
Points: 837
|
Post Options
Thanks(0)
Quote Reply
Posted: 05 Aug 2012 at 5:36pm |
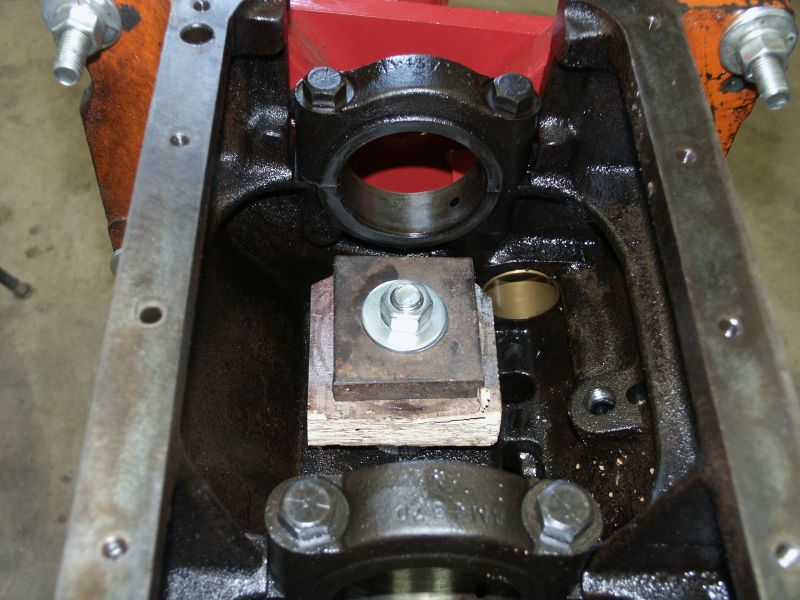
I did this. 5/8 theaded rod and some hunks of steel, and wood blocks.
Sometimes a wood block and a hammer works, sometimes not.
Bill B
|
|
Allis B, IB, Low B, G, D10, JD M, 8KCAB, C152
|
|
SteveC(NS)
Orange Level
Joined: 12 Oct 2009
Location: Nova Scotia
Points: 663
|
Post Options
Thanks(0)
Quote Reply
Posted: 05 Aug 2012 at 5:45pm |
|
I agree with steve(ill), a resleeve job should be a full rebuild. Remember also that an oversize sleeve will fit the block but 10 thou, overbore will require oversize pistons to match
Edited by SteveC(NS) - 05 Aug 2012 at 5:45pm
|
|
Mrgoodwrench
Orange Level

Joined: 03 Apr 2011
Location: CHICORA PA
Points: 2095
|
Post Options
Thanks(0)
Quote Reply
Posted: 05 Aug 2012 at 5:46pm |
|
if doing it in the tractor i have used a piece of angle iron standing on end and a floor jack as kind of a press to push them up. not sure what you are working on but it works great on a 2900 block. once the sileve is up some you can gently pry under the shoulder and get it out the top. be sure to check the surface that the o-ring seals against in the block. if pitted i have fixed them with jb weld but there may be better ways. to install i oil the o-rings and push by hand as far as they will go then finish with a oak block and a hammer, again there may be better ways but it works.
|
|
There are 3 ways to do job GOOD, FAST, CHEAP. YOU MAY CHOOSE 2. If its FAST & CHEAP it won't be GOOD, if it's GOOD & CHEAP it won't be FAST, and if its GOOD & FAST it won't be CHEAP!!!!
|
|
Gerald J.
Orange Level
Joined: 12 Sep 2009
Location: Hamilton Co, IA
Points: 5636
|
Post Options
Thanks(0)
Quote Reply
Posted: 05 Aug 2012 at 6:20pm |
|
Some sleeve O-rings insist on a special soap, not oil for assembly lubrication.
Gerald J.
|
|
WDMAN
Bronze Level
Joined: 27 Jul 2012
Location: Missouri
Points: 16
|
Post Options
Thanks(0)
Quote Reply
Posted: 05 Aug 2012 at 6:38pm |
|
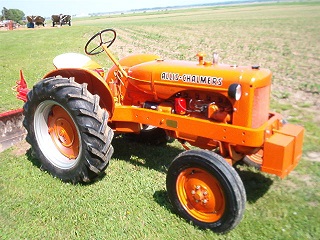
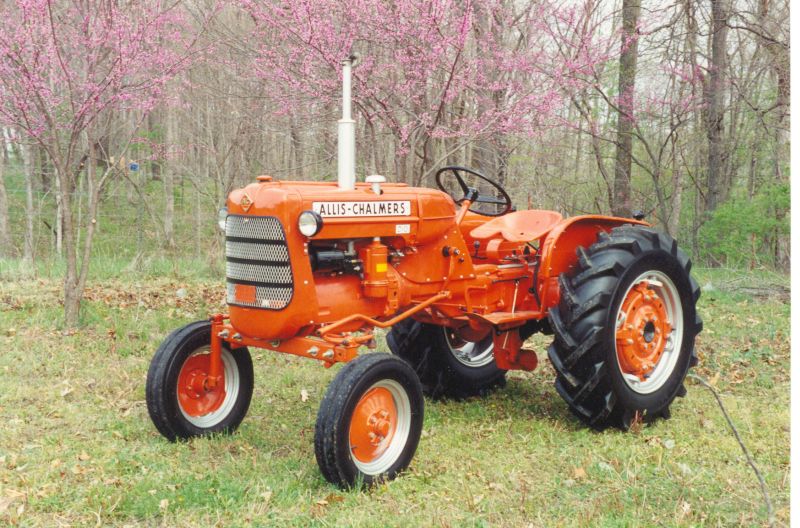
Thanks for the replies, the engine is in a WD and i plan on new pistons and rods and bearings,i just dont know how much it takes to pull motor completly out, i have a manual on it but it isnt as descriptive, i take motors out of trucks all the time:) but this isnt my realm yet, yeah im not a fan of taking shortcuts, if things need replaced i will replace them, would rather do it once and be good the first time once again thank you all for replies, and does anyone have any pictures of motor teardown and removal?
|
|
jb from md
Silver Level
Joined: 06 Apr 2010
Location: Keymar MD
Points: 450
|
Post Options
Thanks(0)
Quote Reply
Posted: 05 Aug 2012 at 8:24pm |
|
those engines can come out fairly easily. a little snug around the steering shaft.i always look to make sure the mains and rods are numbered on all engines . if not mark them, sometimes i even take pics incase you cant remember exactly how it was. also when you take the lifters put them in a box so they can go back in the same place they came out of. get a good manual, its worth every penny....Jb
|
|
8050 FWA, 190XT, 185, Styled wc, Unstyled wc, (2)C, (2)WD45NF, WD45WF, WD,416h, 716h, 312h, 8070 pedal.
|
|
nella(Pa)
Orange Level Access
Joined: 11 Sep 2009
Location: Allentown, Pa.
Points: 3137
|
Post Options
Thanks(0)
Quote Reply
Posted: 05 Aug 2012 at 9:27pm |
Pull the engine. Don't mix up the connecting rods. Put new camshaft bearings in matching up oil holes in bearings with oil holes in block using the correct bearing driver tool if possible. Mic crankshaft journals for being out of round. Clean out all oil passage ways. Check head with straight edge. Check freeze out plugs in head. Check governor weights for wear. Slip a small screwdriver under the O rings on bottom of new sleeves and go around the sleeve a few times to get out any twists in the O rings. Be sure to install the little F type looking gaskets on rear main bearing cap. Some after market gasket sets don't have them in it. Don't cut off oil pan gaskets, they will compress when you tighten the oil pan. Dress up the oil pan gasket area on a flat steel surface with a hammer. Use permatex #2 on engine side cover gasket and on the f type gaskets. Put permatex #2 on head for valve cover gasket to hold gasket in place when removing valve cover to adjust valves after run-in. Plastic gauge bearings to no more than .004 or less than .002 clearance without oil. Check clutch, pressure plate, flywheel and pilot shaft bushing. Check face on manifold with straight edge before installing on block. There are venders on this site that sell kits for this engine. Hope this helps!
Edited by nella(Pa) - 05 Aug 2012 at 10:14pm
|
|
stu(ON)
Orange Level
Joined: 12 Sep 2009
Points: 377
|
Post Options
Thanks(0)
Quote Reply
Posted: 06 Aug 2012 at 9:29am |
For pics, look at these sites, none of them mine. WC engine will be same as WD.
|
|
WDMAN
Bronze Level
Joined: 27 Jul 2012
Location: Missouri
Points: 16
|
Post Options
Thanks(0)
Quote Reply
Posted: 06 Aug 2012 at 12:19pm |
|
thank you all its helpin out alot, i just cant wait till it gets goin again.
|
|
WDMAN
Bronze Level
Joined: 27 Jul 2012
Location: Missouri
Points: 16
|
Post Options
Thanks(0)
Quote Reply
Posted: 06 Aug 2012 at 3:19pm |
|
where do the o rings go at exactly? thats my main worry when puttin new sleeves in, id hate to get it back together and then have it leak
|
|
B26240
Orange Level
Joined: 21 Nov 2009
Location: mn
Points: 3866
|
Post Options
Thanks(0)
Quote Reply
Posted: 06 Aug 2012 at 3:29pm |
|
O-rings are at the bottom of the sleeves as said area of block where they seal must be cleaned (sandpaper or emery cloth ) and lubricated with soap or vegtable oil, not rocket science. the only cause for trouble would be if the block was craked in that area if yours was you would have coolent in the oilpan now.
|
|