| Author |
 Topic Search Topic Search  Topic Options Topic Options
|
ElementalEarth 
Bronze Level


Joined: 05 Oct 2023
Location: Canada
Points: 111
|
 Post Options Post Options
") Thanks(0) Thanks(0)
 Quote Quote  Reply Reply
 Posted: 03 Mar 2024 at 11:38am Posted: 03 Mar 2024 at 11:38am |
 WF owner wrote: WF owner wrote:
You are going to hear a lot of guys say no to any sort of stop-leak or sealer. Many say it will plug up radiator cores.Personally, I've had good luck with a product recommended by my local auto parts store (I'm in Florida for another couple weeks, so I can't tell you what it is - old man's memory...). Some of the old guys used pepper or ginger with some success. I would pull off the valve cover and check everything for tightness (torque) and see if there is an obvious problem. If nothing, I would start it up and get it up to temperature a couple times and recheck the head torque. If I found nothing, I would try some stop-leak.
|
That's some good advice and pretty doable. Just pulling the valve cover I can access those bolts or does it involve removal of the rocker assembly aswell ?
|
 |
|
Sponsored Links
|
|
|
ElementalEarth
Bronze Level
Joined: 05 Oct 2023
Location: Canada
Points: 111
|
Post Options
Thanks(0)
Quote Reply
Posted: 05 Mar 2024 at 7:01pm |
Alright here's the good, bad and ugly. I ground the manifold down flat, where there used to be a gap, there is now none. Manifold gaskets have arrived, just waiting on a replacement stud and nuts to reassemble.  Before the grinding, big gap, manifold pipes were pretty badly eroded and pitted. 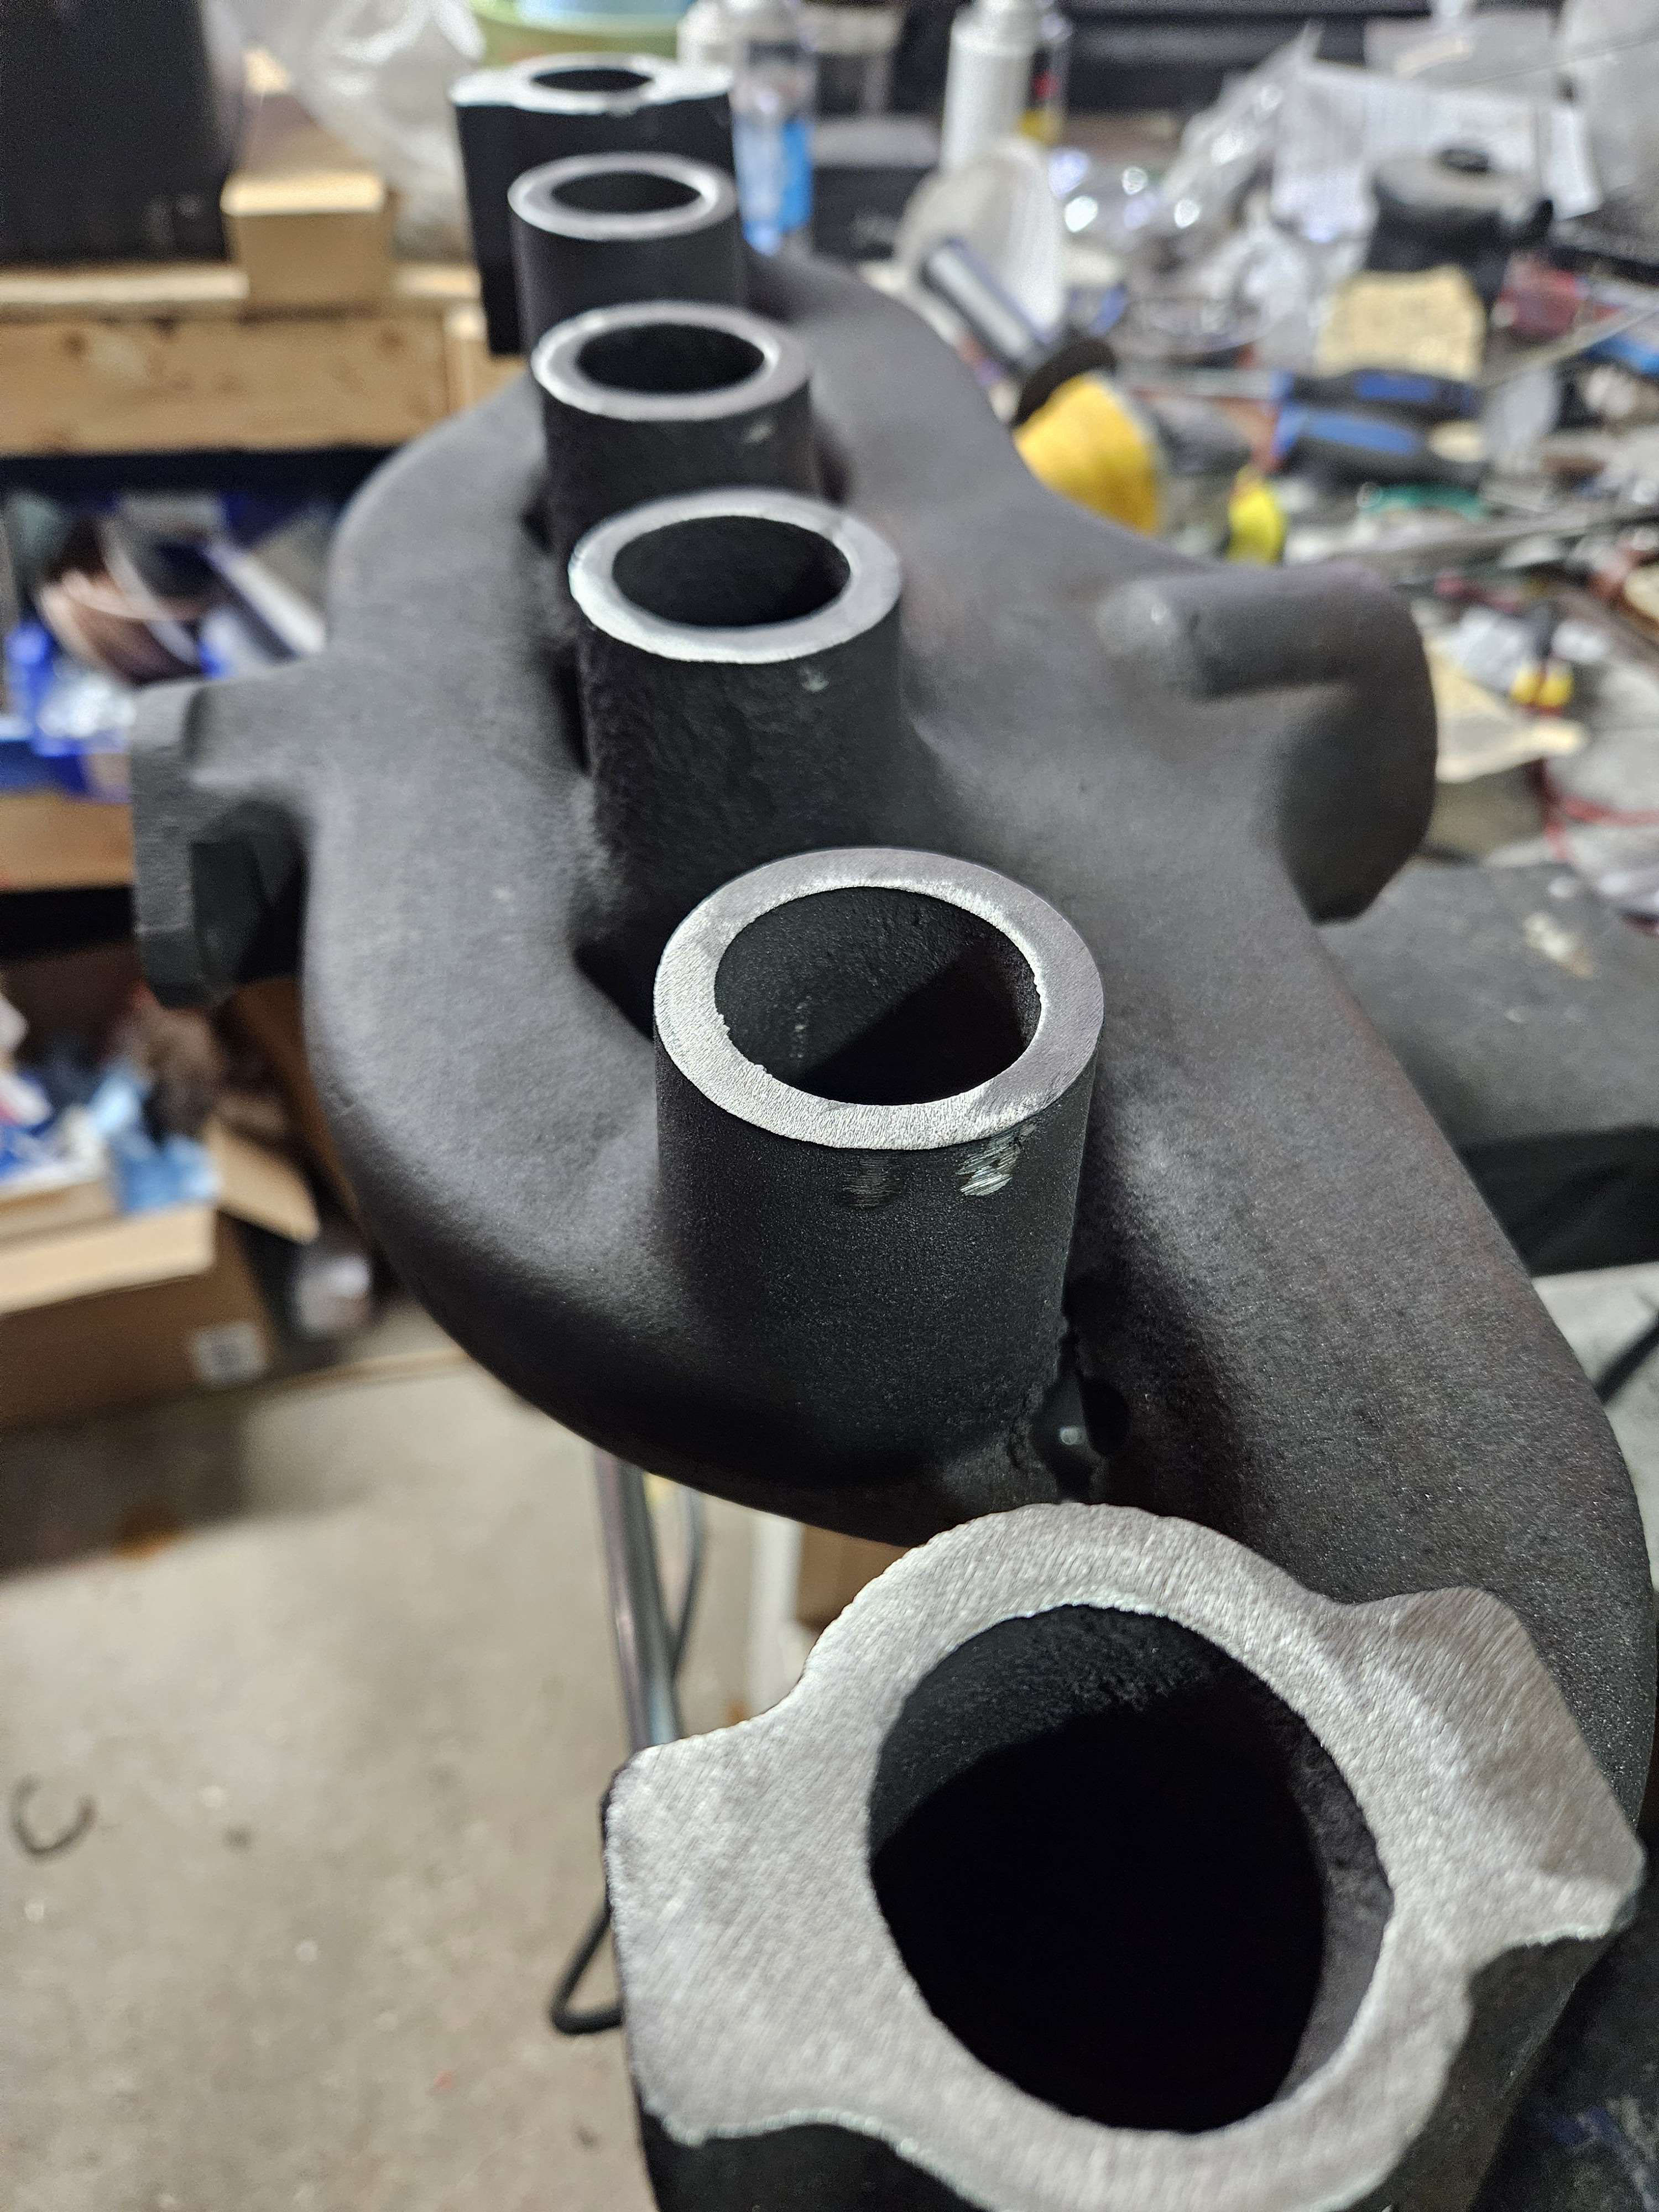 Grinding in progress, took me about 3 hours of spotting the high spots over and over, on top of a pane of glass covered in bearing blue dye for layout spotting. Scraping the high spots down until it was flat again without gaps or low/high spots. 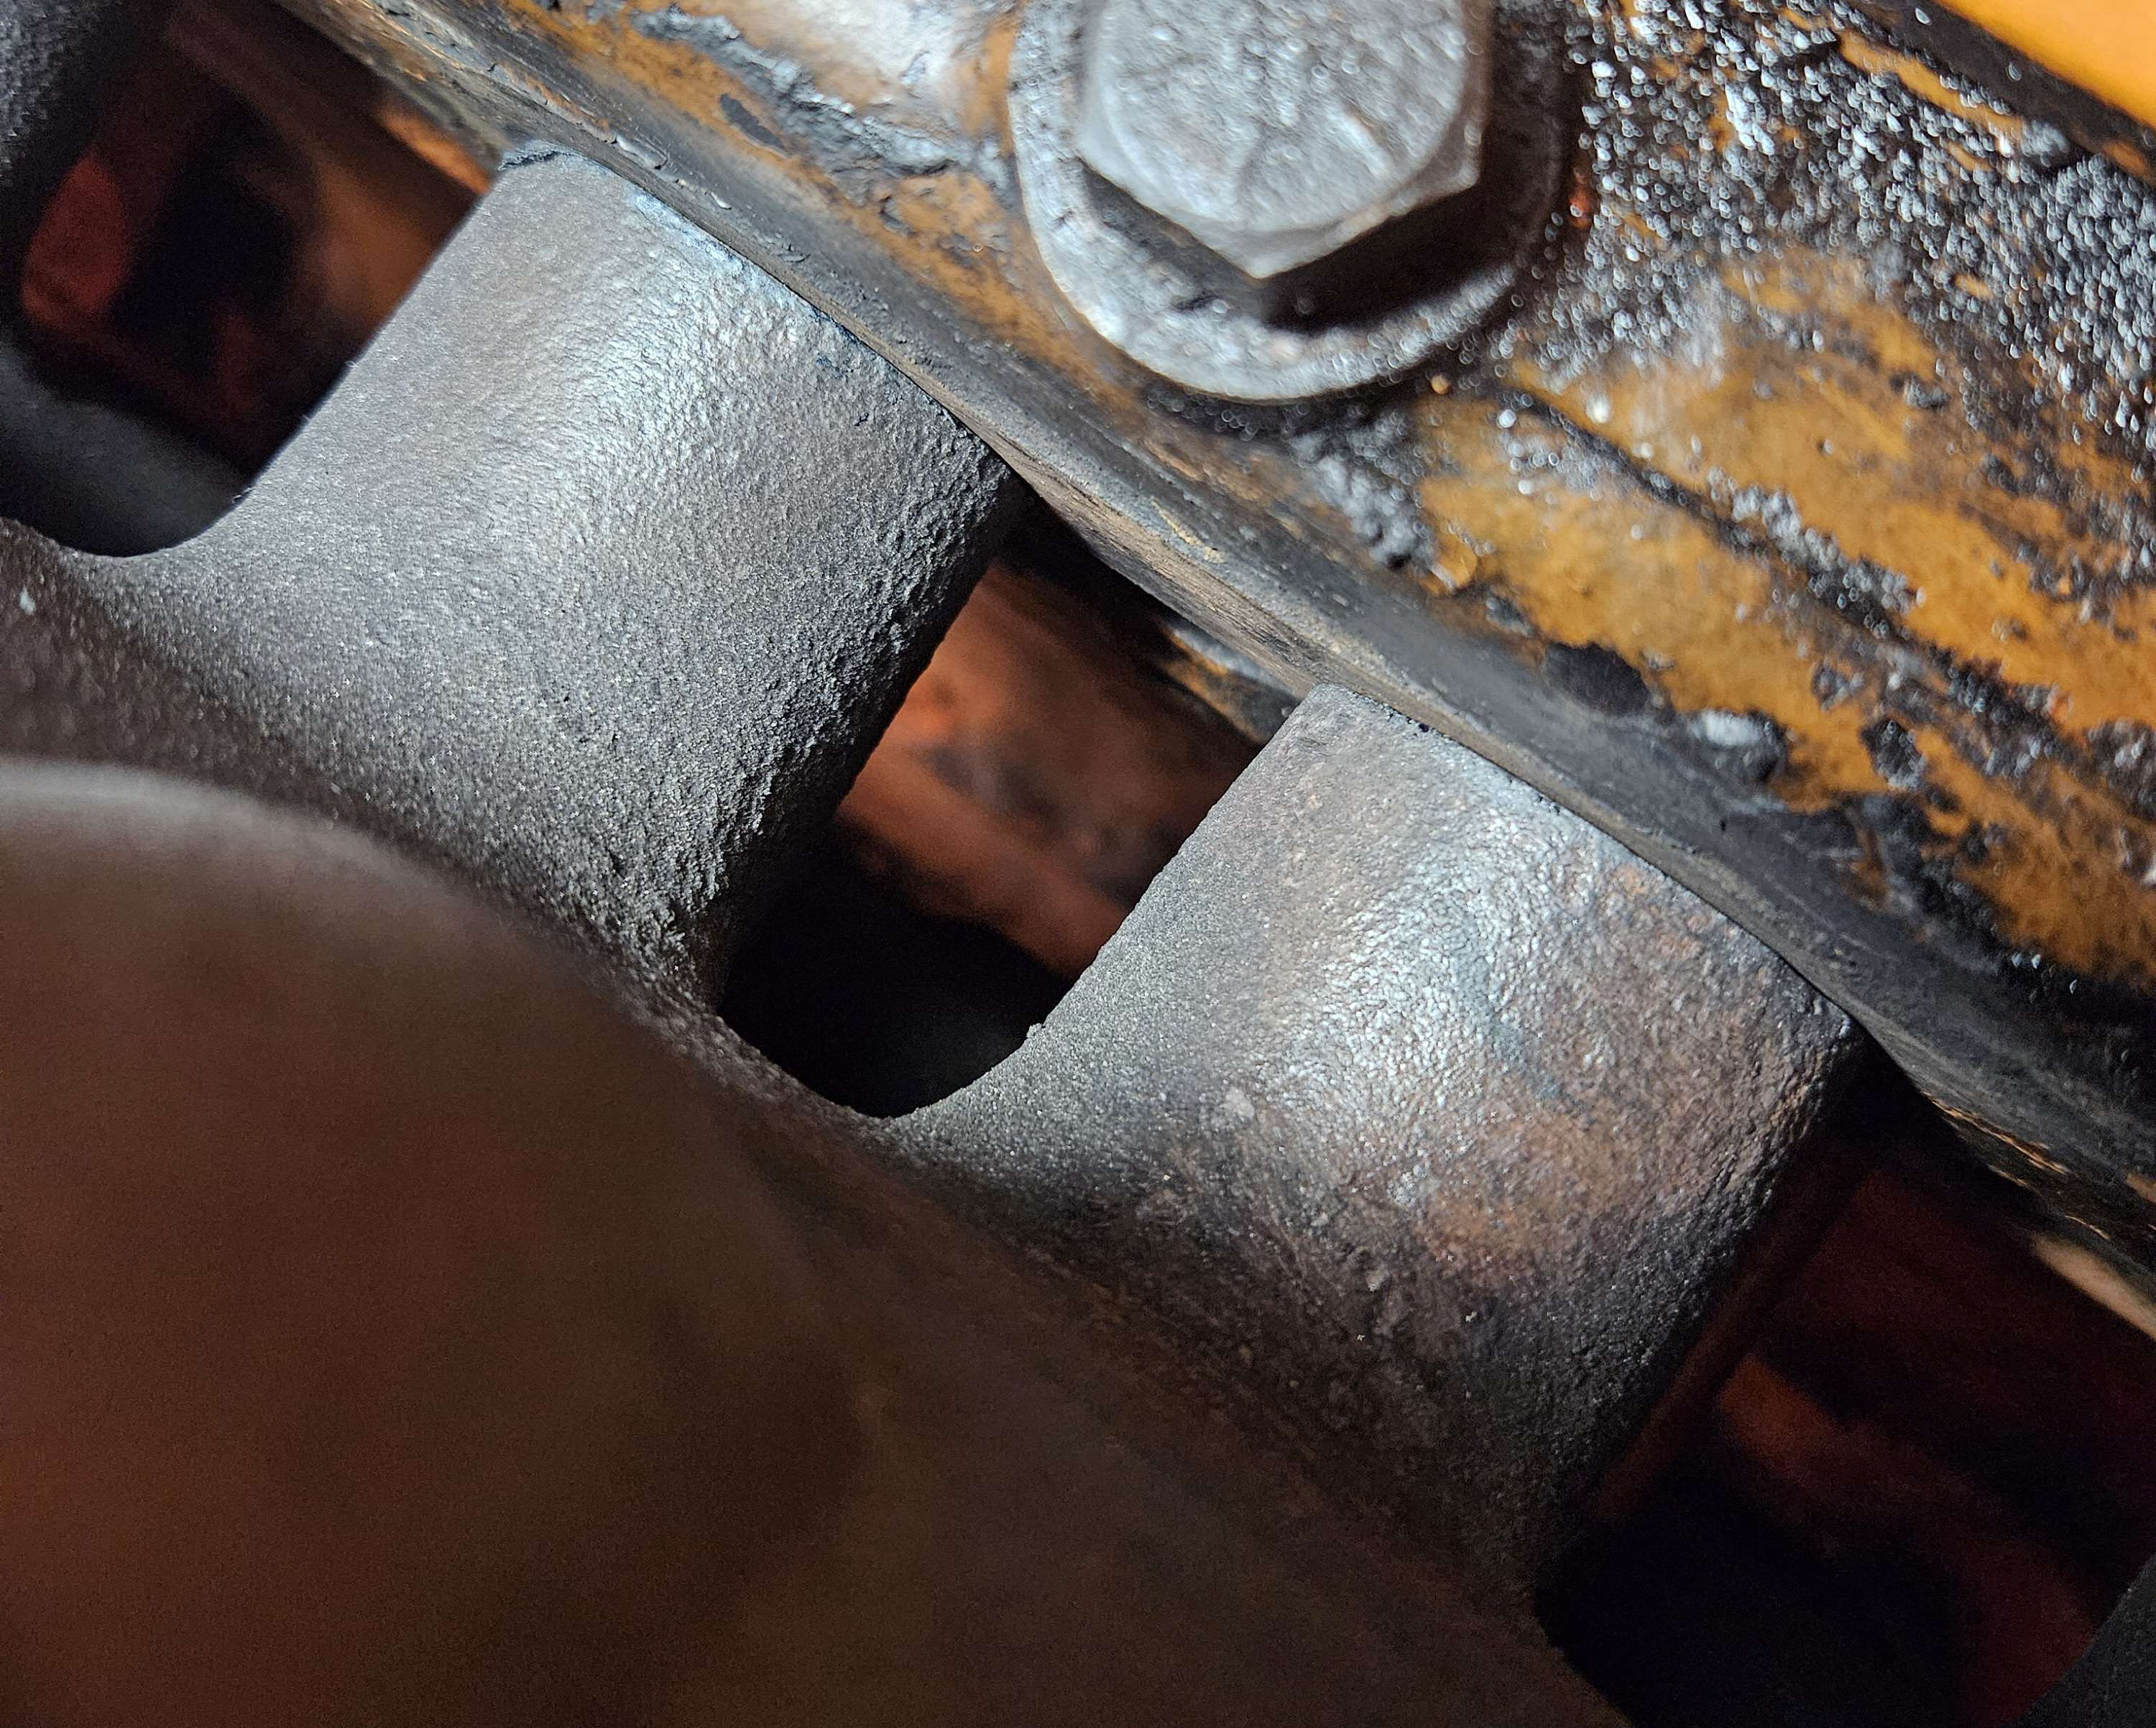
Here's a test fitment I did after 2 hours of grinding, not the final result as I spent more time afterwards perfecting it a bit further, but you can clearly see the huge difference this made in having a better fit. I'm glad this worked out, the forums helped figure things out on what to do, as well as a handy guide on youtube. https://www.youtube.com/watch?v=gxxyhvoMve0&t=2s
Now for the other news... my block is seeping coolant, so a forum member above, thanks WF-owner, mentioned tightening the bolts on the head..
So I took the valve cover off and noticed;
1. the bolts are under the rocker arm, tightening them will mean removal of said rocker arm 2. at the surface there is white milky oil.
And then the panic set in, but I think I got it figured out why that is..
Something called condensation, not running the engine for very long and the fact that it's -10*c in my barn, from running a search on the internet I can conclude this is a natural occurring phenomenon when an engine is not able to burn off vapours because it didn't get hot enough by running long. I've only run it for 5-10mins tops in a freezing barn.
There was even frost on the inside of the valve cover, by the air cleaner cap.
I checked the oil dipstick, it looks normal color oil. The only area the milky oil occurred really is by the air cleaner pipe of the valve cover, definitely leading me to believe this is natural condensation happening due to rapid cooling of vapours not fully burned off.
Opinions welcome, this is all very new to me, luckily there is so much information online about engines and symptons and all of that.
I'm not ruling out a coolant leak, but there is anti-freeze in the coolant, so that should'nt freeze right? And the frost on the valve cover had a clear color, not green, which truely leads me to believe this is condensation only. Anyways here's a picture.
PS; how do I remove the rocker arm assembly? for some reason I'm worried springs popping around and valves dropping down in the engine, lol!  |
|
Les Kerf
Orange Level

Joined: 08 May 2020
Location: Idaho
Points: 605
|
Post Options
Thanks(0)
Quote Reply
Posted: 08 Mar 2024 at 8:45pm |
ElementalEarth wrote:
...
1. the bolts are under the rocker arm, tightening them will mean removal of said rocker arm...
PS; how do I remove the rocker arm assembly? for some reason I'm worried springs popping around and valves dropping down in the engine, lol!.. |
I applaud your tenacity and resourcefulness in hand-fitting that manifold!  Most of us would say that it should go to a machine shop but you got'er done!
On some engines you can use a crowfoot socket adapter so as to not need to remove the rocker shaft.
The valves won't fall into the engine or go SPROINGGGG!!! if you do remove the rocker shaft (it just unbolts).
Do re-adjust the valves regardless.
Edited by Les Kerf - 08 Mar 2024 at 8:48pm
|
|
WF owner
Orange Level
Joined: 12 May 2013
Location: Bombay NY
Points: 4388
|
Post Options
Thanks(0)
Quote Reply
Posted: 09 Mar 2024 at 6:39am |
Before you start it, crack the oil (drain) plug slowly. Keep screwing it out until liquid comes out (catch it in a pan). You will probably get water at first (hopefully not antifreeze). It will give you an idea what and how much contamination there is in the oil.
I, personally, remove the rocker arm. It takes minutes and I feel I get a more accurate torque with a regular socket.
Sorry I haven't responded. We are in Florida and I'm not online much. |
|
ElementalEarth
Bronze Level
Joined: 05 Oct 2023
Location: Canada
Points: 111
|
Post Options
Thanks(0)
Quote Reply
Posted: 10 Mar 2024 at 3:59pm |
Well ran into a bit of a problem.. i was reassembling the rocker arm after tightening the headbolts, i noticed the rocker arm wouldn't sit down flush anymore with the head. I tried moving the pushrods a bit, but couldn't get it to sit down all the way in one spot. I figured the nuts holding the baffle and rocker arm down would tighten down the gap, and indeed they did, but in doing so I stripped the nut on the stud, at the spot where the rocker arm did not sit down properly. I can't back up the nut nor tighten it, it just spins freely in the position it stripped. The rocker arm does look flush now luckily. Any suggestions on how to get that stripped nut off the stud? And why the pushrod was holding up the rocker arm preventing it from sitting flush? The good news is, the head bolts have been tightened to the proper torque specifications and also there was no water found when I cracked the oil drain.
Edit; beginner's mistake I suppose, I turned the engine over and realized pressure was relieved on said pushrods holding the rocker arm up. I suppose I needed to alternate tightening bolts down as I slowly turn over the engine and release valves?
I could not find the proper procedure in the manual anywhere unfortunately,
I don't think I did any major damage, maybe at the worst I stripped the stud a bit.. Am I able to pull out that stud from the top of the engine and replace it ?
Edited by ElementalEarth - 10 Mar 2024 at 7:14pm
|
|
Les Kerf
Orange Level
Joined: 08 May 2020
Location: Idaho
Points: 605
|
Post Options
Thanks(0)
Quote Reply
Posted: 10 Mar 2024 at 10:42pm |
ElementalEarth wrote:
...
|
Is the stripped nut on a stud like the one in this photo?
If so, you should be able to put two nuts together on top and jam them tight, then unscrew the stud.
|
|
ElementalEarth
Bronze Level
Joined: 05 Oct 2023
Location: Canada
Points: 111
|
Post Options
Thanks(0)
Quote Reply
Posted: 10 Mar 2024 at 11:01pm |
Les Kerf wrote:
ElementalEarth wrote:
...
|
Is the stripped nut on a stud like the one in this photo?
If so, you should be able to put two nuts together on top and jam them tight, then unscrew the stud.
|
Yep that's right. Seems like a replacement stud i can get from Agco if needed. Hoping it's just the nut thats stripped, we'll have to see I guess. Would I be able to just leave it on there? The other 3 nuts are properly tightened. But I guess that compromises the strength of the assembly ey? I might just order a replacement and swap it when i have time.
|
|
Les Kerf
Orange Level
Joined: 08 May 2020
Location: Idaho
Points: 605
|
Post Options
Thanks(0)
Quote Reply
Posted: 11 Mar 2024 at 8:10am |
|
Is there room to add a nut above the one that is stripped and still fit the valve cover?
|
|
ElementalEarth
Bronze Level
Joined: 05 Oct 2023
Location: Canada
Points: 111
|
Post Options
Thanks(0)
Quote Reply
Posted: 11 Mar 2024 at 8:20am |
Les Kerf wrote:
Is there room to add a nut above the one that is stripped and still fit the valve cover?
|
That's what I was thinking as well, I don't know how much clearance the valve cover has underneath the cover, but worth finding out indeed!
|
|
ElementalEarth
Bronze Level
Joined: 05 Oct 2023
Location: Canada
Points: 111
|
Post Options
Thanks(1)
Quote Reply
Posted: 11 Mar 2024 at 4:05pm |
Got it figured out. I was able to replace the nut with another one and add a couple spacers in between to offset the stripped thread part on the stud. Was able to tighten it down. For some reason a couple of pushrods were sticking out higher than the highest, but I was able to turn the engine and let them settle. I adjusted the valve lash again to 0.015"cold on all valves. Closed it up with the valve cover and on to the next, curious to see if all this trouble was worth it to stop the seeping of coolant. No water found in oil though so that's good right?
Still waiting on the stud for the manifold and the nuts, still some electrical wiring to do for the lights. Excited to get it going again, spring is on the horizon, the canadian geese are returning, they know best.
Thanks again for all the time and replies on here. Stay tuned!
|
|
ElementalEarth
Bronze Level
Joined: 05 Oct 2023
Location: Canada
Points: 111
|
Post Options
Thanks(1)
Quote Reply
Posted: 18 Mar 2024 at 9:17am |
Hey all, lots to update, the tractor is running again! https://youtu.be/-VKsxz_Id0EAnd much better too I am finding. The manifold got fixed and she sounds much better now without throwing soot and sparks allover the place. I tightened the headbolts and that seems to have slowed or stopped the seeping by #1 cylinder. Will keep an eye on that for sure this upcoming growing season. Oil pressure is around 30psi. I installed a T fitting so I could have the warning light on the dash still. 
For some reason my temp gauge stopped working (its new). It does read around 100 when I turn on ignition. My guess is the sending unit is sitting in an air bubble if that's possible, because I had to drain the coolant to do the head bolts tightening, so it's possible that the liquid is just not reaching to the sender, may need to drain the air a bit by cracking the plug open for the sending unit. It was working before as I noticed running the tractor for 5mins, temp got to 160.
Swapped out a couple of broken headlights with new LED's, the difference is astounding haha.. I may need to replace all of them just to be on the same kind of light output, right now it just looks funny, but hey, it ain't broke.. 
Also cleaned up the dash, sprayed it with a rustoleum, rust color, to match the original rust color scheme that was throughout the dash. all new gauges, except for the Tachometer, which is not connected and probably never will as I switched to a newer style alternator with no tach hookup. But that's alright, I might get an aftermarket one at some point..  So what's left to do now.. basically tying up loose ends. Fluids will need to be changed still. One of the pistons on the loader still bent. Will keep a better eye on overall health now that I have more experience and time with her. Also, these forums and the speed of replies of folks on here has been extrordinary helpful with diagnosing and progressing. I know that I may not be able to contribute as much in terms of responding to other posts, as I generally lack experience to be of much help.. But I hope that if someone has a similar problem with their tractor model 170, they might find some information in this lengthy well detailed thread by using the search feature. As far as engine health, she sounds much better, I'm not sure if she is misfiring or not as Dr. Allis mentioned. I did check to see if the distributor was timed to the center mark in the flywheel and indeed it is. However I don't have a timing light or the knowledge to time it to the F25 mark. That might be something for next winter. Overall the rust on the body isn't too bad, but it would be great to just kind of freshen up the paint in the near future, especially since she lives mostly outside under cover of a tarp.
Looking forward to the growing season ahead of us and how well she will run. I'm glad I took the time to learn and invest in this great tool. I have not counted the hours, but it's been many many hours in a cold barn. Luckily, it seems this was the best winter in terms of warmth to do this. Many days above freezing helped me progress faster.
Thanks for reading ya'll! Busy season starting very soon, so this might be the last update in a while.
Let me know what you think, if you made it this far haha.
Advice, tips, cheers! Hope you all tractor on.
Edited by ElementalEarth - 18 Mar 2024 at 9:23am
|
|
JC-WI
Orange Level Access
Joined: 11 Sep 2009
Location: wisconsin
Points: 33639
|
Post Options
Thanks(0)
Quote Reply
Posted: 18 Mar 2024 at 10:03am |
New temp gauge and old sender? May not be the correct ohms between the two... Might find the same for fuel gauge too unless you have the sender that is compatible to the gauge.
|
|
He who says there is no evil has already deceived himself
The truth is the truth, sugar coated or not. Trawler II says, "Remember that."
|
|
WF owner
Orange Level
Joined: 12 May 2013
Location: Bombay NY
Points: 4388
|
Post Options
Thanks(0)
Quote Reply
Posted: 18 Mar 2024 at 12:00pm |
|
As I said earlier, keep checking the manifold nuts for tightness (after each heat cycle) until they don't move anymore. You will be surprised how much more they will tighten after running the tractor.
|
|


