I finished the engine overhaulon my Allis B
Printed From: Unofficial Allis
Category: Allis Chalmers
Forum Name: Farm Equipment
Forum Description: everything about Allis-Chalmers farm equipment
URL: https://www.allischalmers.com/forum/forum_posts.asp?TID=189853
Printed Date: 07 Apr 2026 at 12:36pm
Software Version: Web Wiz Forums 11.10 - http://www.webwizforums.com
Topic: I finished the engine overhaulon my Allis B
Posted By: ac55tractor
Subject: I finished the engine overhaulon my Allis B
Date Posted: 02 Aug 2022 at 10:28pm
|
I finished the overhaul on my 1955 Allis B engine. I couldn't have done it without the help from the fine people here at the forum. I made a promise to a member here that I would finish my posts off. I felt that that it would be okay just to start a new post. There are a lot of people that I need to thank, so I will just say thanks to everyone, and I will just upload some pictures with maybe a sentence or two. Well here goes. The first picture is a shot of the engine first pulled from the cellar. 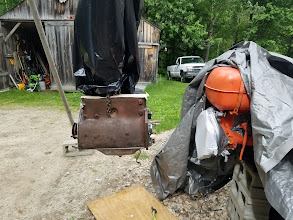 The black plastic is there to protect the chain fall. 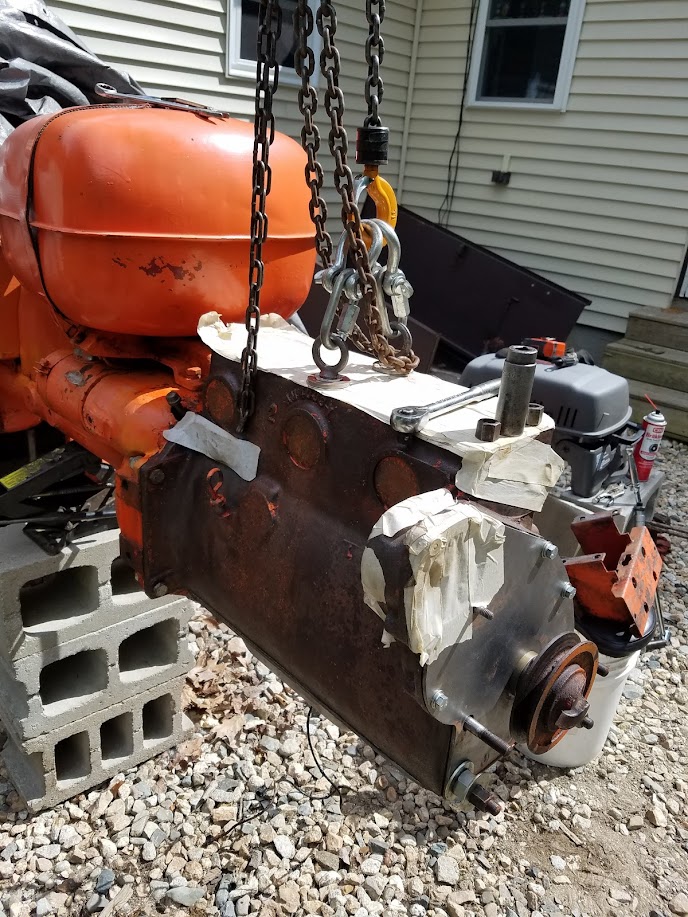 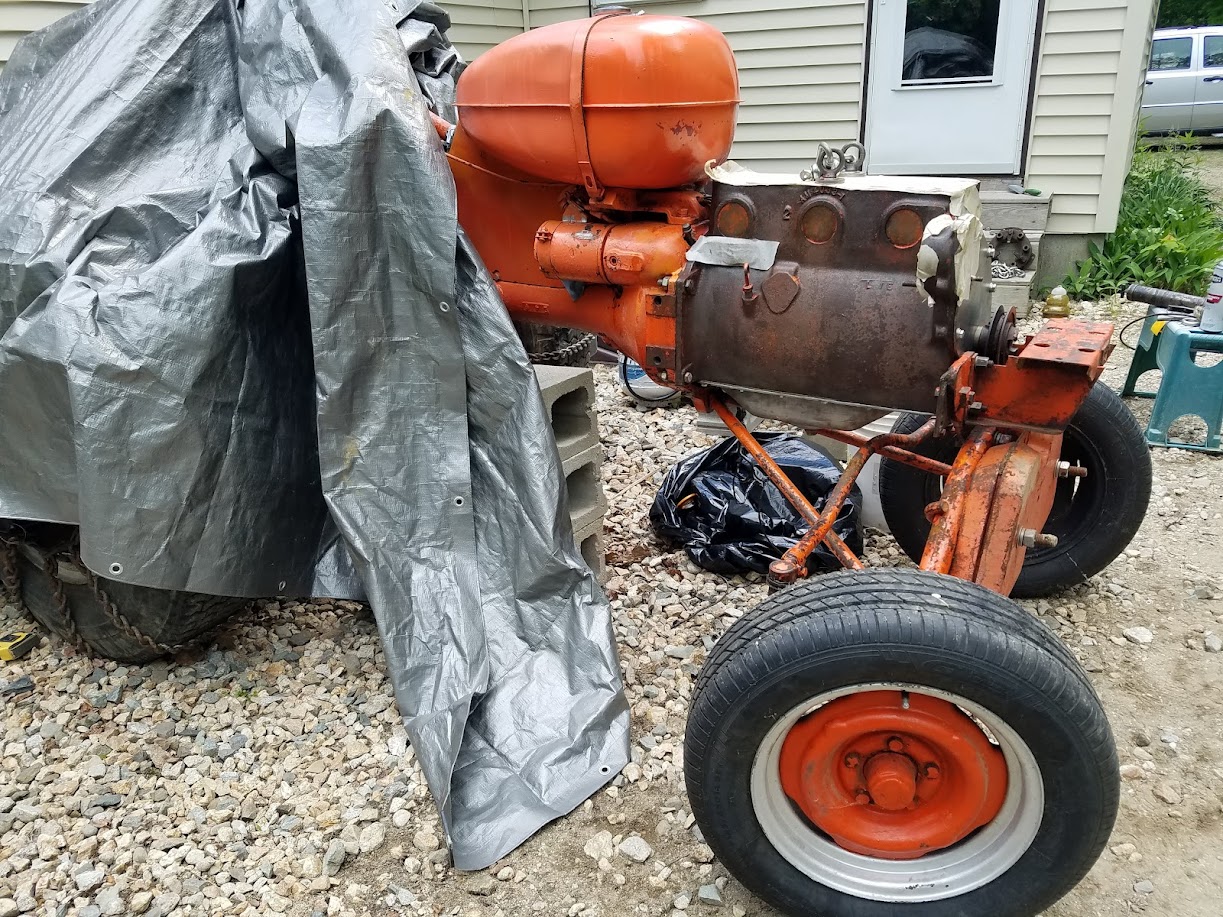 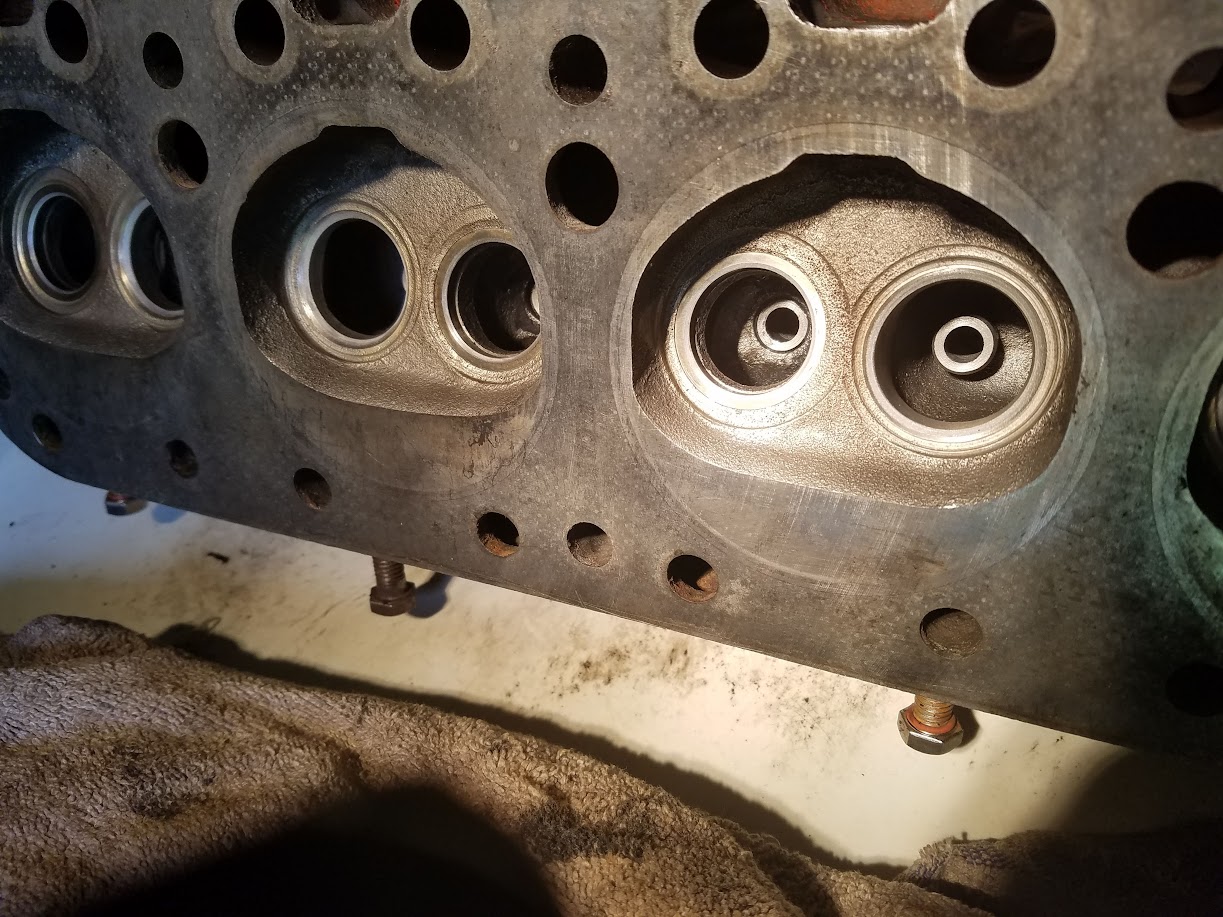 I used a product called "goof off professional" to clean out the carbon inside the cylinder head and on the valves. I used an acid brush to clean the carbon off. I was happy with the results. 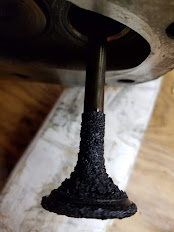 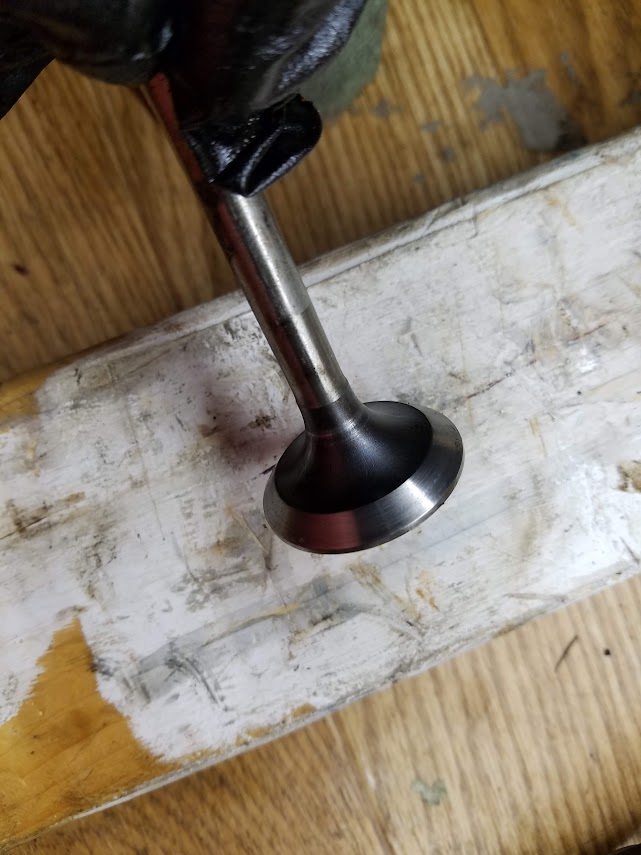 I ran the tractor for 3 hours around the yard dragging the driveway with the plow blade in the rear of the tractor, I checked it for leaks, and parked it in the shed. 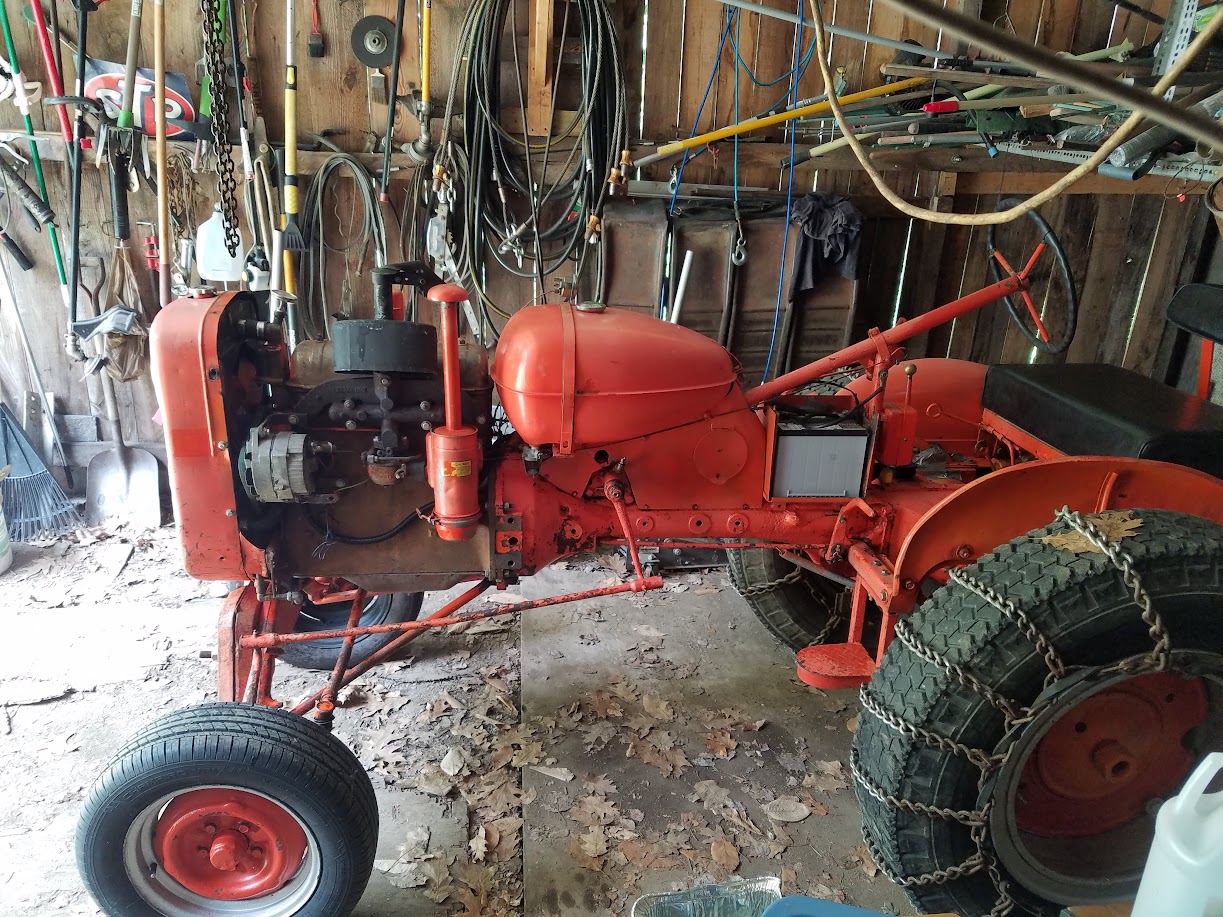 I stripped the parts off. I chipped the paint off with a pneumatic needle gun. and primed it for paint. 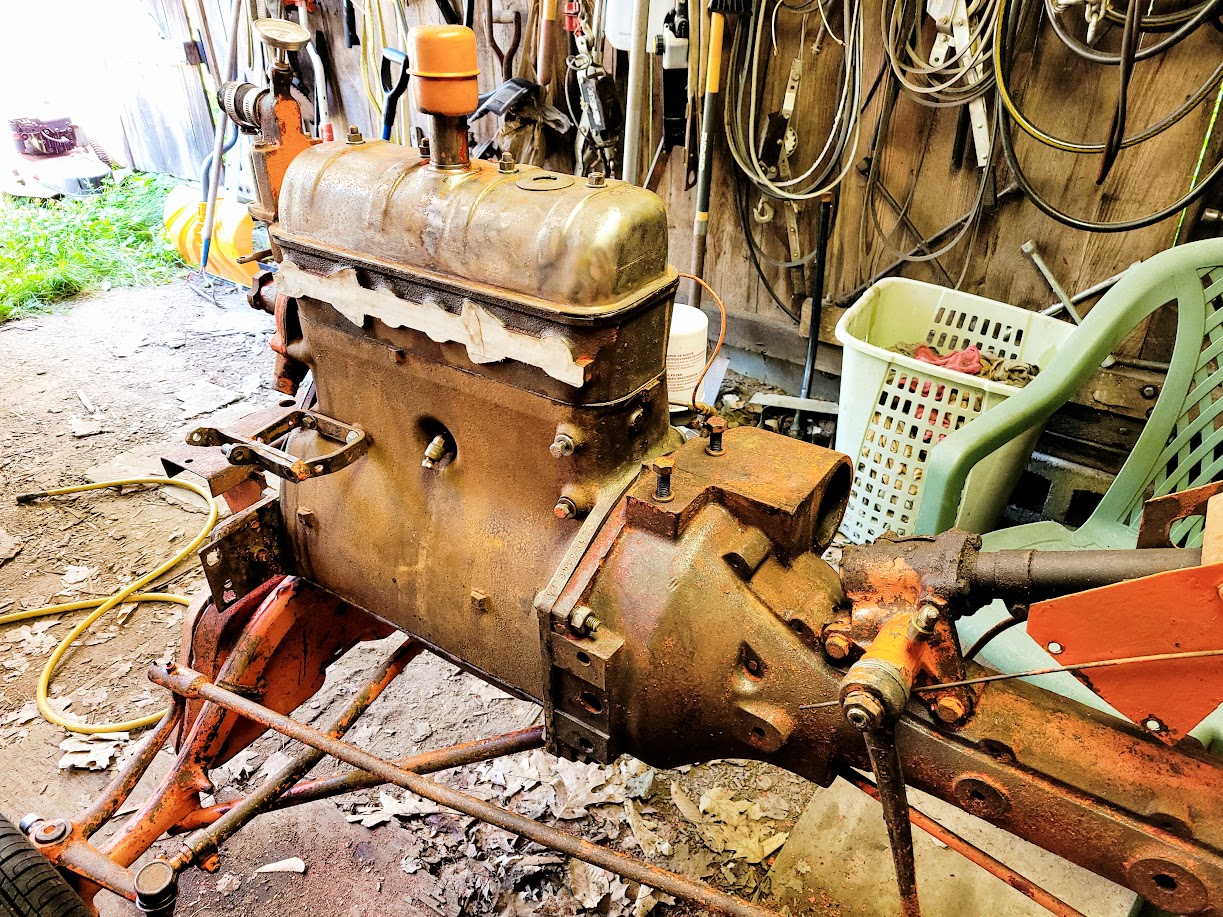 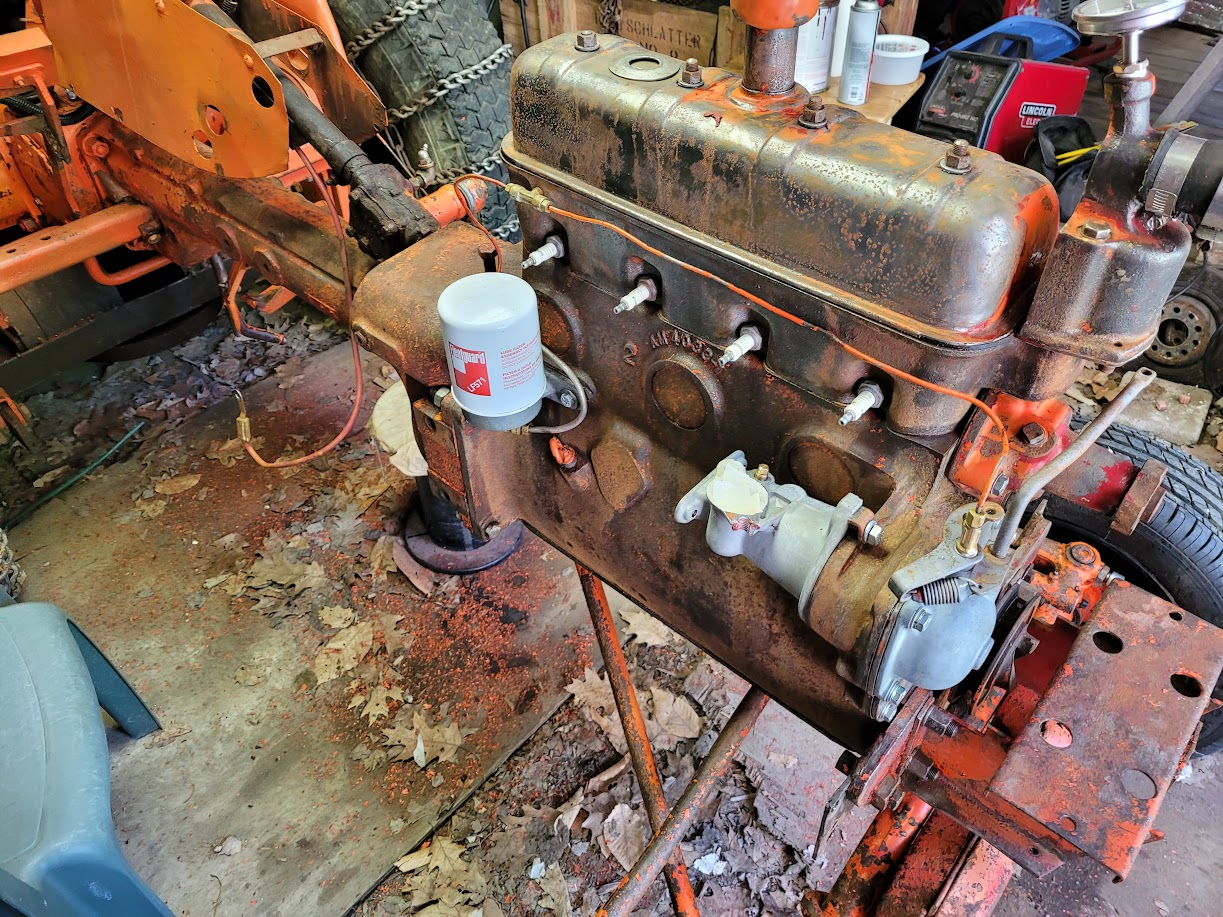  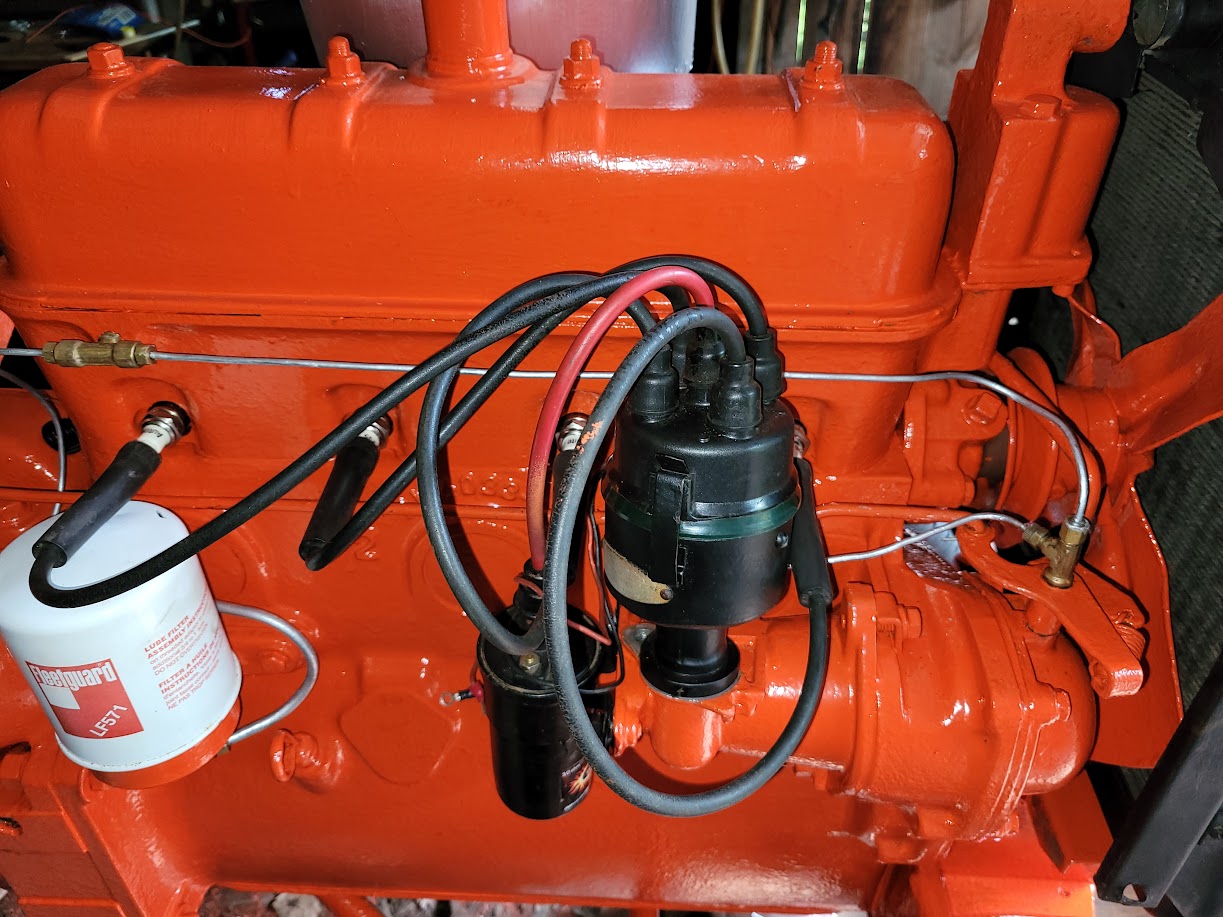 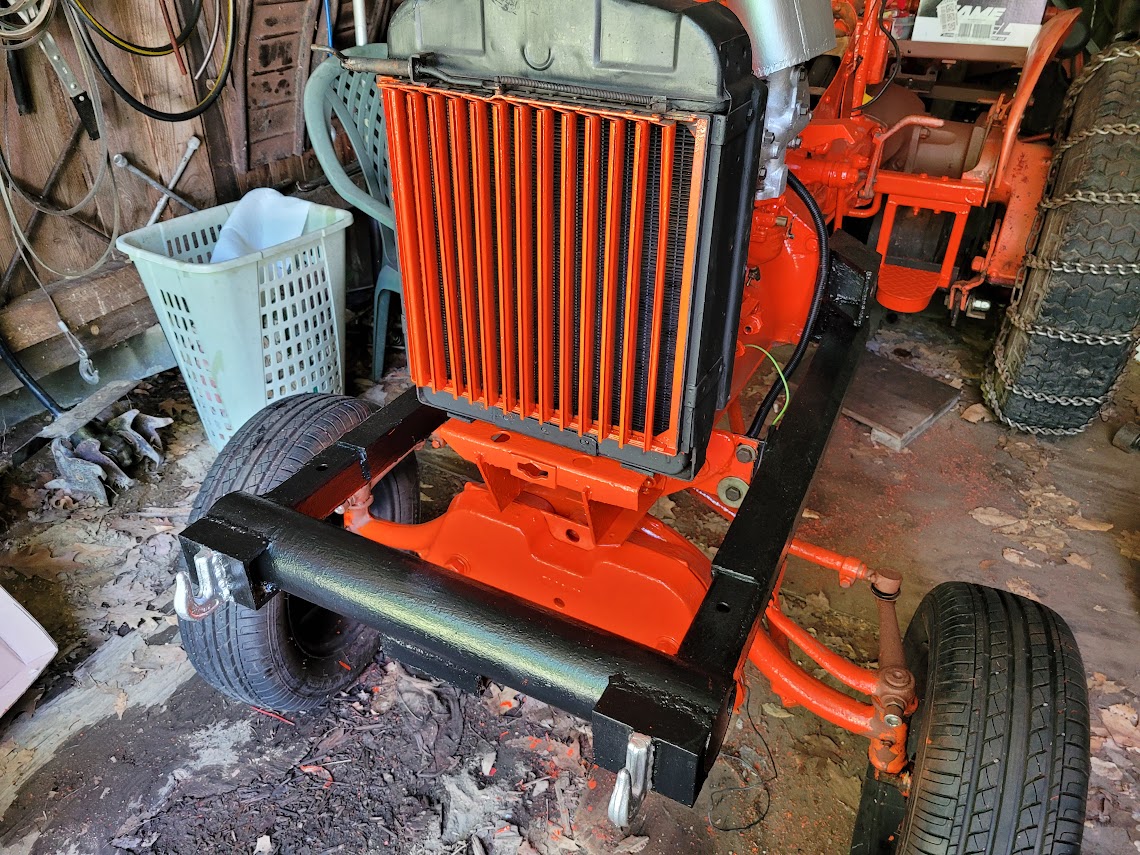 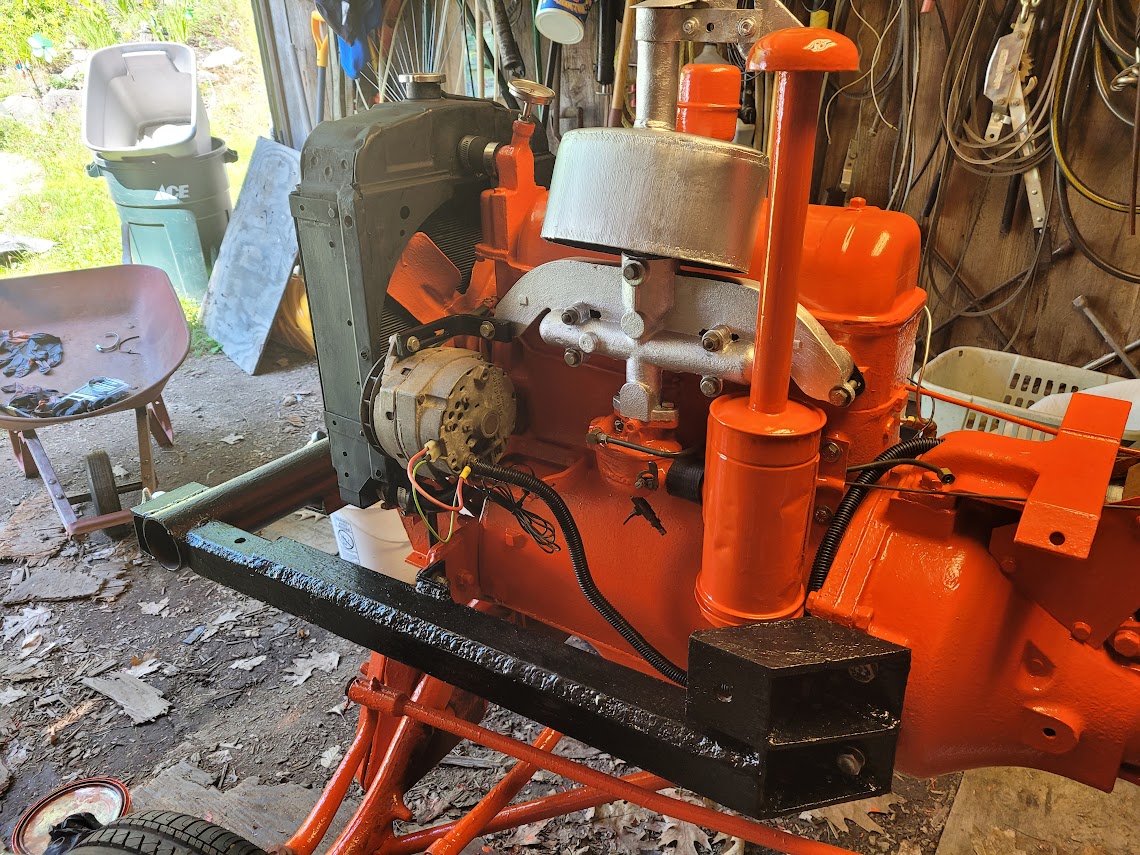 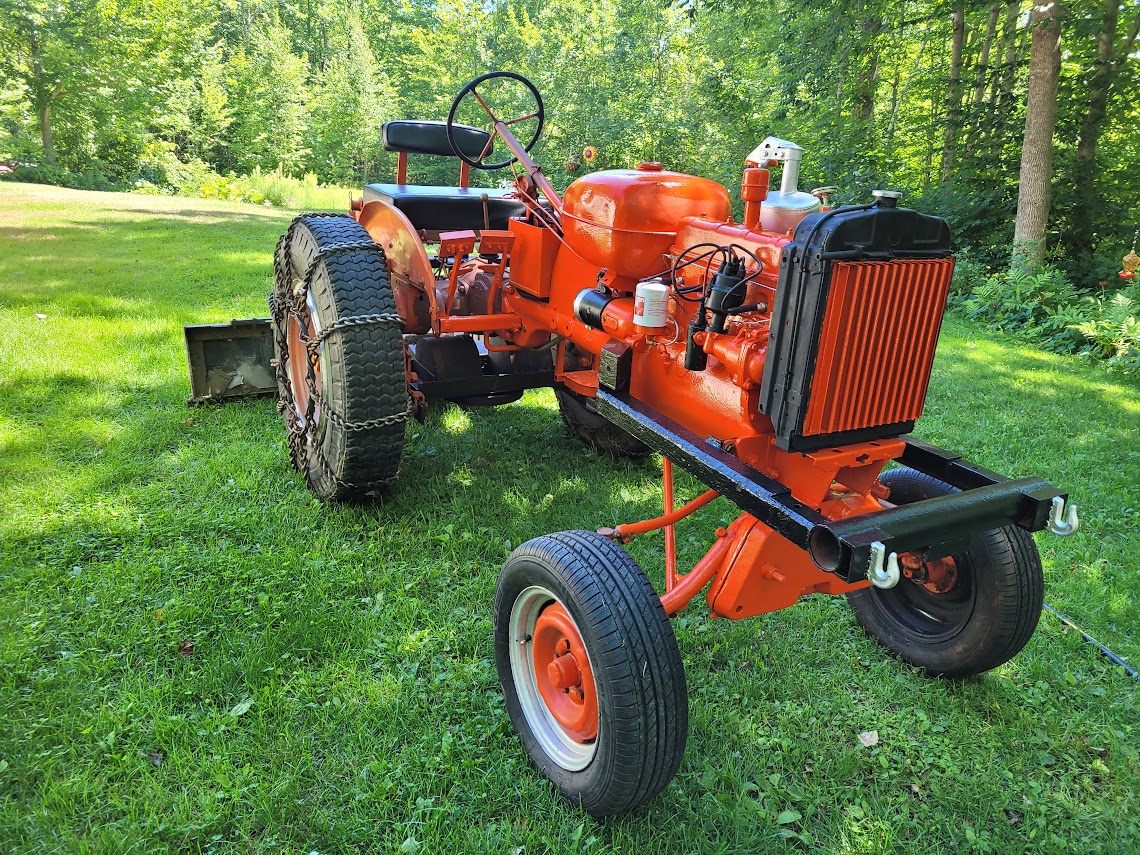 This is how far I have gotten to date. 8/02/2022. As you can see, there is a lot left to finish off. I have the grill and the hood to finish as well. The bumper will protect the radiator for now. I won't be going through the woods with it. I feel that it runs great. It has plenty of power. It doesn't smoke any more and the front seal no longer leaks. Those were the reasons why I did the overhaul. I ran it up for 2 or 3 more hours, after pulling it out of the shed. Trying not to let it idle. I dragged the neighbors road along my property line and rechecked it for leaks. I will upload more pictures eventually. I have to stop now for a while. Wendy and I have 5 cord of firewood to cut, split and stack. Here is a short video of the the tractor running 5 minutes after it was first assembled. https://www.youtube.com/watch?v=6_uqc_1JyKIHere is another video. Hope you enjoy it. https://www.youtube.com/watch?v=YJ0yoS8LYJI Thanks again for everyone's patience with me. Steve (in ME) Regarding my friend Sam's son Jim. I haven't heard from him. I don't know what else to say. |
Replies:
Posted By: B26240
Date Posted: 03 Aug 2022 at 5:42am
| Thanks for posting your pictures, You should have a good usable tractor there. |
Posted By: ACinSC
Date Posted: 03 Aug 2022 at 10:10am
| Looks good ! Thanks for sharing |
Posted By: ac55tractor
Date Posted: 03 Aug 2022 at 11:19am
|
Thank you very much for the nice comments. Here is the webpage from the forum of the start of the work on the engine, where it all started. As of today, my post below has 18110 views. That must mean something. I know it means a lot to me. https://www.allischalmers.com/forum/a-c-b-connecting-rods-rework_topic185349.html" rel="nofollow - https://www.allischalmers.com/forum/a-c-b-connecting-rods-rework_topic185349.html Thanks again Steve (in ME)
|
Posted By: steve(ill)
Date Posted: 03 Aug 2022 at 11:25am
Steve, you took a lot of time and care in the engine overhaul... the more pictures you post the more LOOKERS you get. Everyone likes a great story.. Your attention to detail was overwhelming... Thats what happens when you let a Certified Machinist overhaul a tractor engine !  Great Job.... Continue to finish and post more pictures as you go ! ------------- Like them all, but love the "B"s. |
Posted By: ac55tractor
Date Posted: 03 Aug 2022 at 11:30am
|
I will, thanks Steve, I really appreciate your kind words. It really means a lot to me. Steve (in ME)
|
Posted By: ac55tractor
Date Posted: 04 Aug 2022 at 8:14am
|
Well this
is a bit upsetting. I noticed yesterday that I have an oil leak coming
from the cylinder head. I re-torqued the head bolts to 60 foot lbs after
first warm up. It looks as if the oil is coming from where the push rods go through the block. It shows oil from front to back of the block. I made every effort when I assembled it to make sure that the mating
surfaces were clean, smooth and flat. I used copper coat spray on the
head gasket and let it dry overnight before installing. I just remembered that before I did the overhaul, it leaked oil right there in the front of the block and under the spark plug holes as well. I am wondering
if I would do any damage by over torquing the head by 5 or 10 foot lbs.
to stop the leak. Any advice would be appreciated here. Thanks Steve (in ME)  |
Posted By: ac55tractor
Date Posted: 04 Aug 2022 at 8:16am
|
Posted By: ac55tractor
Date Posted: 04 Aug 2022 at 9:08am
|
By the way , I used a new Fel-Pro head gasket. I am wondering, Is the head re-torqued after the engine cools, or is it re torqued while it's still hot 180 degrees? |
Posted By: Steve in NJ
Date Posted: 04 Aug 2022 at 10:53am
|
Did you use the Fel-Pro Permatorque head gasket? (blue color) I thought you weren't supposed to put anything on those type of head gaskets. (that's providing you used that type of gasket) (?) Sometimes you try to cover all the bases, and still wind up with a surprise later. Oh well, you'll get it squared away. Nice job btw on your B!! As my pal Bill Long always says: "thanks for saving another one of my favorites" ! Steve@B&B ------------- 39'RC, 43'WC, 48'B, 49'G, 50'WF, 65 Big 10, 67'B-110, 75'716H, 2-620's, & a Motorhead wife |
Posted By: ac55tractor
Date Posted: 04 Aug 2022 at 11:19am
|
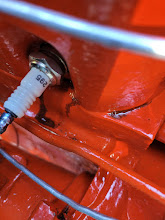
Hi Steve Thanks for the reply.  I used a Fel-Pro head gasket from a HS 7378 B gasket set. I wasn't aware of a Fel-Pro Permatorque head gasket. According to the service manual it says to use a non setting type of gasket cement on the cylinder head. So I used Permatex Copper spray. It was recommended to me. Please see picture. Best to you Steve (in ME) 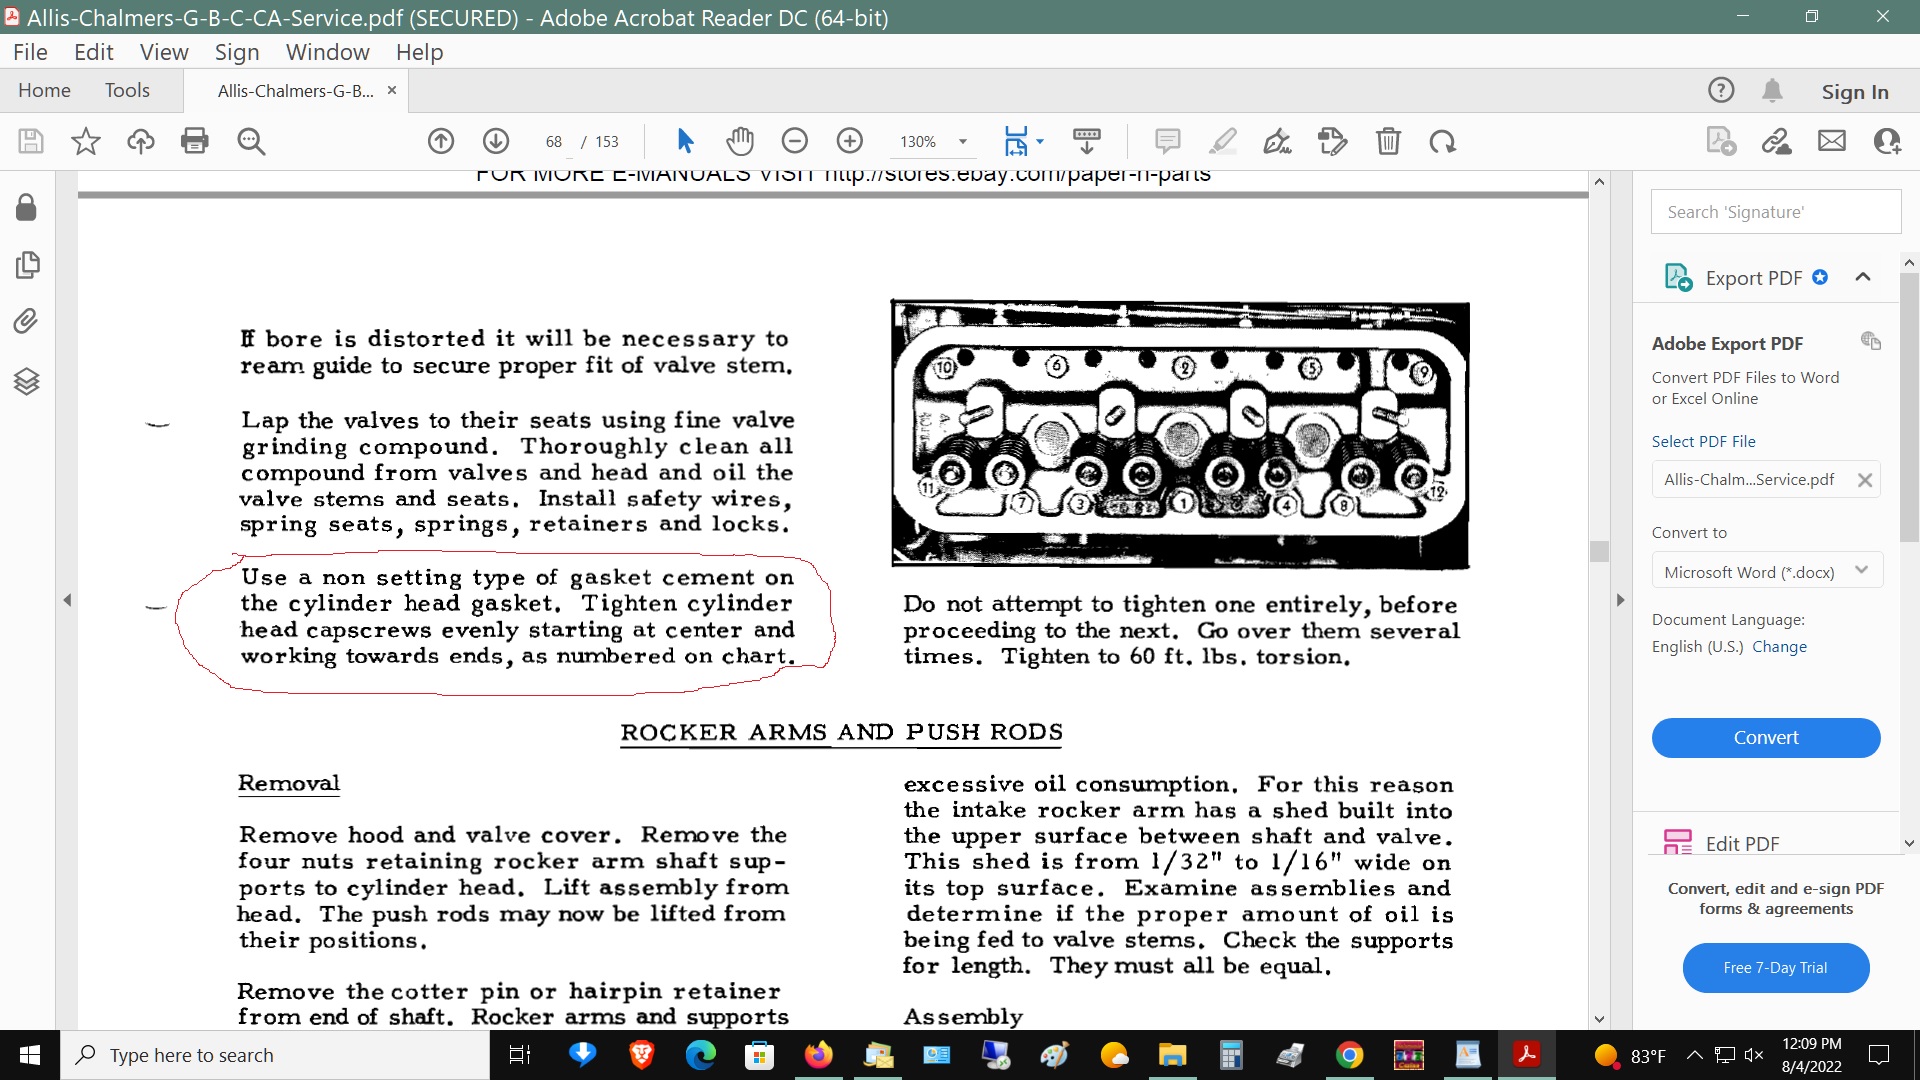 |
Posted By: Alex09(WI)
Date Posted: 04 Aug 2022 at 3:27pm
|
You made the right call by using the Fel-pro gasket. We also use copper-cote spray on those head gaskets in our service dept. Once in a while there will be a problem. Did you check the sleeve standout? The aftermarket sleeves are known for having too much standout & not being machined correctly. After warming engine to operating temp, let engine cool down and retorque head bolts AFTER engine cools down. Also readjust rocker arm clearances ------------- www.awtractor.com A&W TRACTOR 920-598-1287 KEEPING ALLIS-CHALMERS IN THE FIELDS THROUGH THE 21ST CENTURY |
Posted By: wjohn
Date Posted: 04 Aug 2022 at 10:41pm
|
The tractor sounds great and the paint looks good. I think your problem with the oil leak is that you painted it so it makes the leak stand out (ha!). Hopefully the little extra torque will do it. Sounds like you used the right gasket. I'm really glad you documented what you did. I had a lot of fun learning about and looking into the lifters. ------------- 1939 B, 1940 B, 1941 WC, 1951 WD, 1952 CA, 1956 WD-45 |
Posted By: ac55tractor
Date Posted: 05 Aug 2022 at 12:33pm
|
The sleeve standout was .005. I knew that was on the high limit, and realistically there wasn't very much I could do about. Thanks for suggesting checking the rockers, I will recheck them. I am going shopping for a new torque wrench. Mine is at least 40 years old and could very easily be out of spec. Steve
|
Posted By: ac55tractor
Date Posted: 05 Aug 2022 at 12:49pm
|
Thanks wjohn, :) I was thinking the same thing about the paint. hahaha. Good call on your part. I got a good smile out of it. I have a feeling that the old torque wrench may be out of spec. I have a new one coming. I figured that it was about time for a new one. I will re-check the 60 ft. lb torque before I go any tighter. If I need to go any tighter, I feel good that I installed Heli-coils in all the bolt holes the top of the block. I took the time to do them all. I was setup and just finished them off. I cannot tell you how much I learned here. I'm still not an engine re-builder. But I am a lot more confident now. Overthinking things was just my way of trying to get a grasp on understanding what was going on with the rebuild. Steve
|
Posted By: ac55tractor
Date Posted: 05 Aug 2022 at 1:17pm
|
Here are some more pictures. I milled a hexagon pattern on a shaft and installed a pin to use as a hand crank for the engine. Last picture shows the rod on the crankshaft. I used it to turn the engine to set the rockers against the valves at the first assembly. I wouldn't dream of using it to start the engine. I have a hand crank for that. Steve 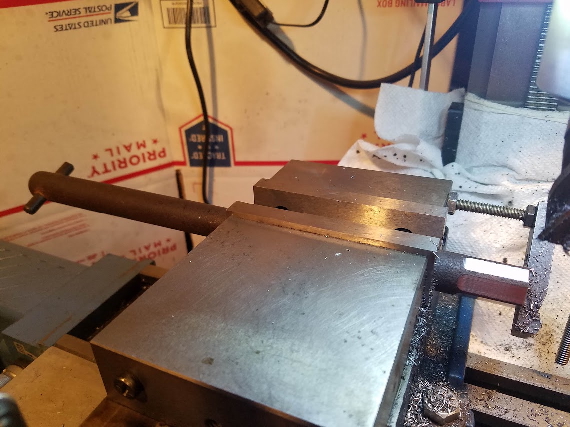 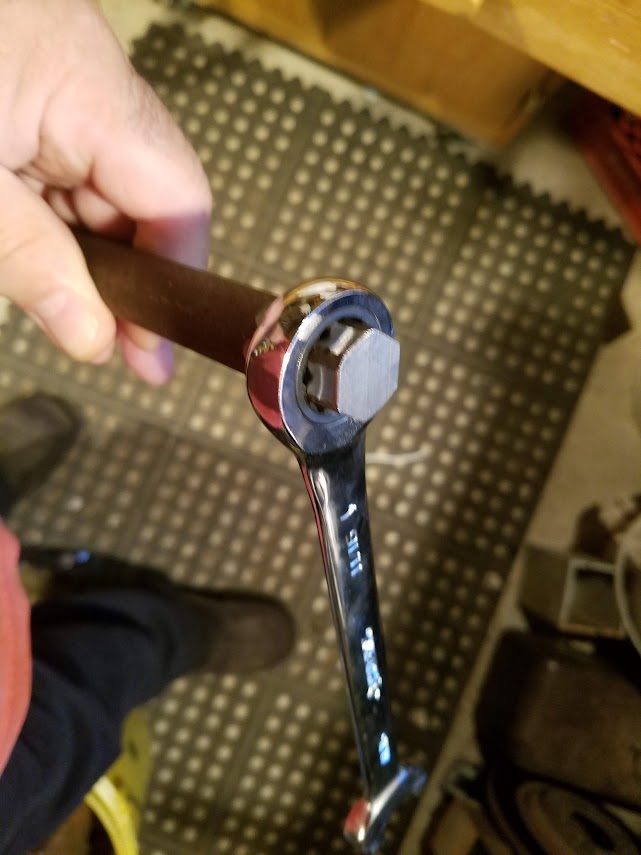 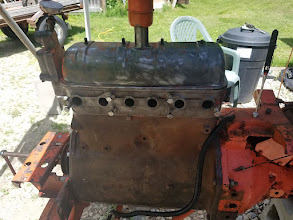 |
Posted By: ac55tractor
Date Posted: 06 Aug 2022 at 7:41am
|
I picked up a new Craftsman torque wrench yesterday model #CMMT99434 locally at Lowe's. I re-torqued the head bolts to 60 ft. lbs. The cylinder head seeped out oil again. I felt that .005 standout was causing the oil to seep out, and the only way to fix it was to tighten the head
bolts 10 more ft. lbs. Now it's no
longer leaking oil, and I never had coolant in the oil. I
read on the internet that I'm not the only one that had this issue.
It's how some of the imported sleeves are made, on the tall side. Someone with the same
issue, filed the tops of his sleeves down. I wasn't doing that. I'm
glad that I installed
Heli-coils in all of the thread holes on the top of the block. I feel
that added some strength to the threads. At the end of the
day, I look at it all as a win. I hope that if someone else has the same
issue, that they find this post. Steve (Somewhere in the woods of Maine)
|
Posted By: Dan Hauter
Date Posted: 08 Aug 2022 at 8:23pm
| Thank you for sharing these pictures, videos, and story. It's very interesting. Congratulations on your successful work! Now, go enjoy. |
Posted By: ac55tractor
Date Posted: 20 Aug 2022 at 8:52pm
|
In my spare time, I have done some more assembling, and some painting. Fortunately, I haven't found any more oil leaks. I adjusted the governor cross over linkage arm per Dick L's instructions. After some research, I found out which way the anti surge spring is installed and the tractor has never ran so good. It climbs hills now without an issue. I have the boots for the tie rod ends to install next. I am going to pull the tires off to do that. I still have some more body work to do on the fenders, and I welded up some small cracks in the hood. It's almost ready for paint and decals. I find that it's very difficult to quit, every time I stop, I find an excuse to do more work. Wendy jokes, that she's a now a "Tractor Widow". It's of course, all in fun.
Best to everyone. Steve (in ME) 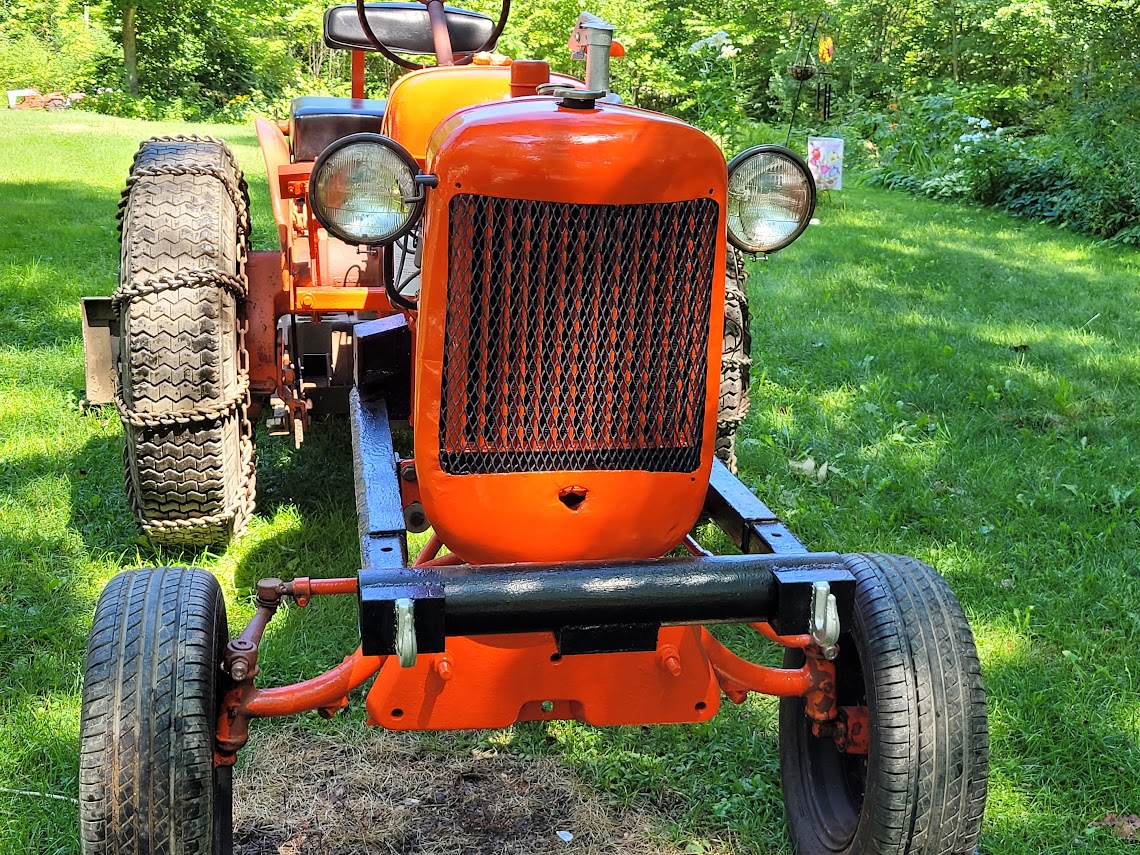 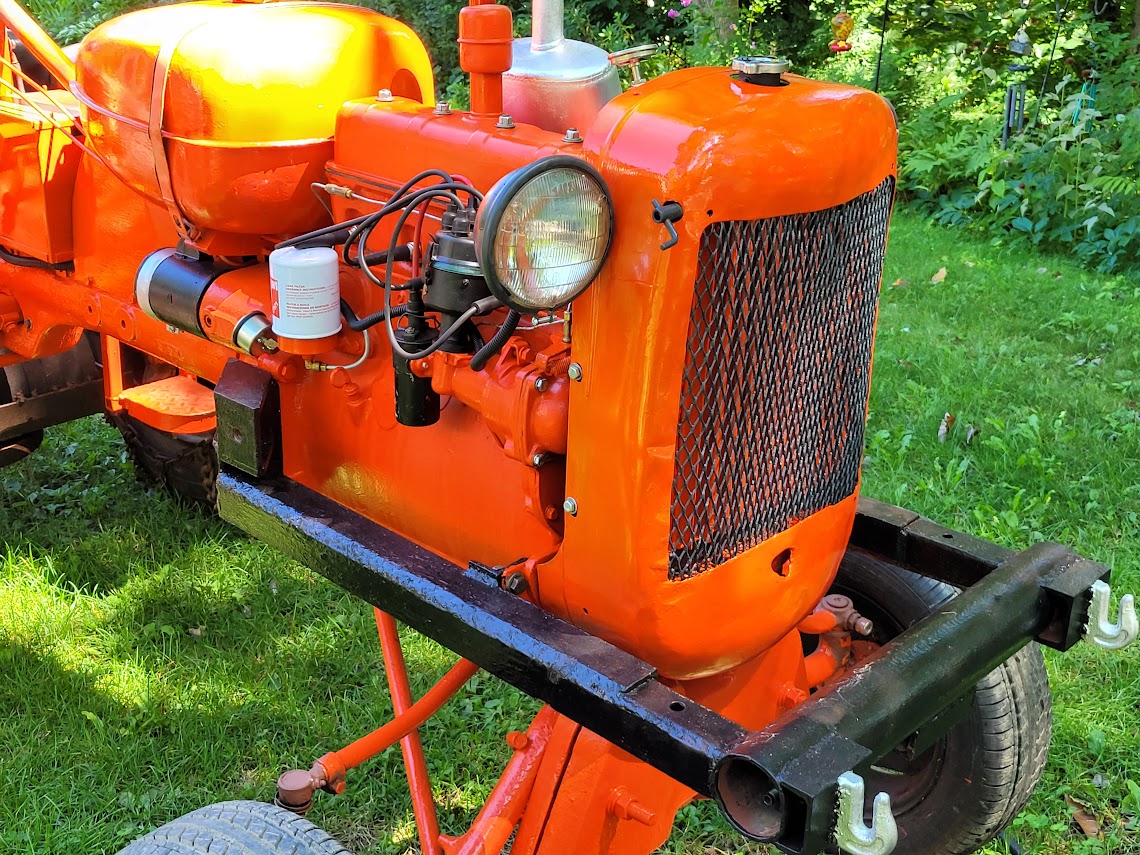 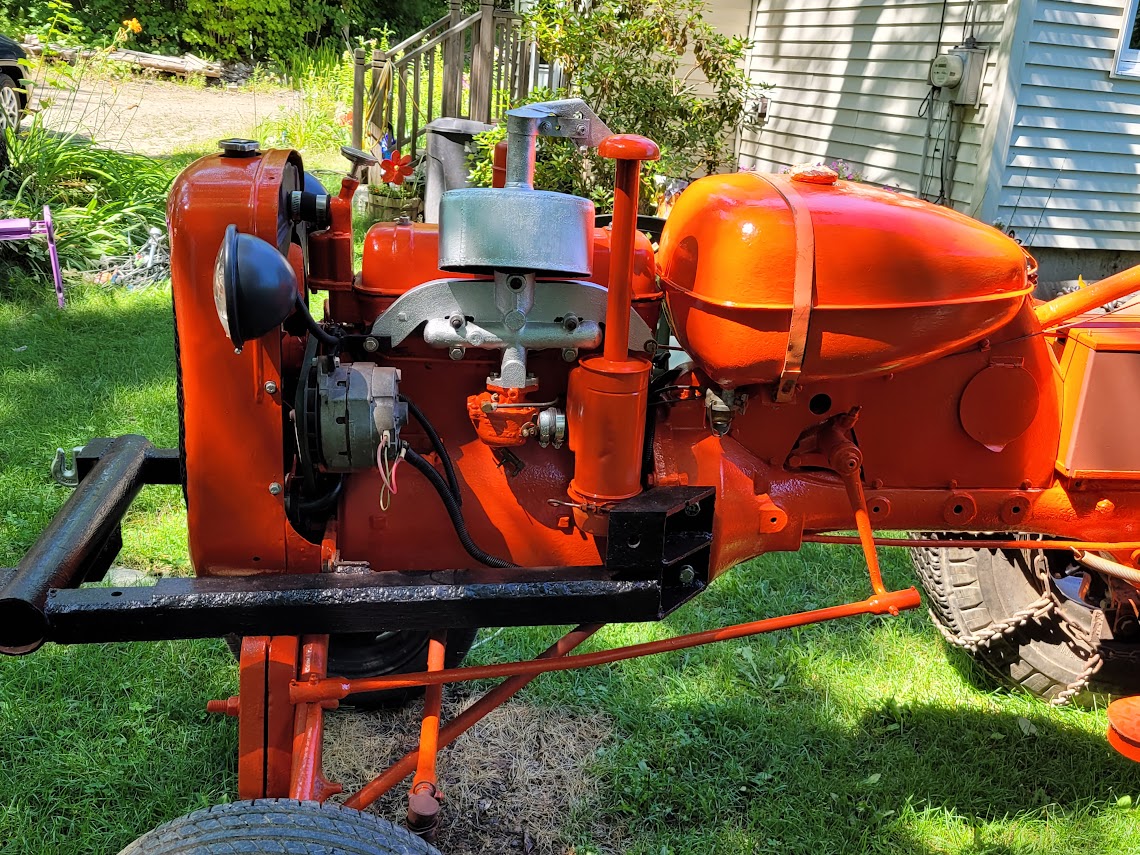 |