| Author |
 Topic Search Topic Search  Topic Options Topic Options
|
tmd42024 
Bronze Level


Joined: 04 Mar 2018
Location: Virginia
Points: 25
|
 Post Options Post Options
") Thanks(0) Thanks(0)
 Quote Quote  Reply Reply
 Topic: Help w/Separating Engine & Bell Housing - H3 Dozer Topic: Help w/Separating Engine & Bell Housing - H3 Dozer
Posted: 04 Mar 2018 at 7:32pm |
I would like to get some input from other members - on the removal of the engine for a rebuild. I have a 1961 Allis Chalmers H3 gas dozer. I have removed all of the bell housing bolts and the front engine support bolts. With a lot of work, I do have a 1/2" gap of separation between the bell housing and the engine block. My belief is that since the engine is froze and there's lots of rust on the entire unit, my theory is that the input shaft spline is rusted onto the engine's flywheel/clutch. Is this theory correct? Are there some other bolts that I'm missing from the underside of the bell housing? (I have removed the lower flywheel cover below the engine block.)
I am also having trouble removing the starter - seems as though that I am fighting more rust. (It has a male/female mount with no flange bolts holding the starter in place - just a bolt on the side clamping it in place.)
I just to be careful and don't want to break anything when trying to disassemble it. I would welcome input from other members who have done this before on the H3 or D15 tractor (the "sister/brother" to the H3).
Thanks-
|
 |
|
Sponsored Links
|
|
|
DiyDave
Orange Level Access


Joined: 11 Sep 2009
Location: Gambrills, MD
Points: 50496
|
Post Options
Thanks(0)
Quote Reply
Posted: 04 Mar 2018 at 8:38pm |
|
Might be hung up on the starter nose. I'd heat the starter lock bolt to about 500ºf, then as it cools, melt a bees wax candle stub, into the threads of the lock bolt. Wax works its way into the threads, just like soldering a pipe...
|
|
tmd42024
Bronze Level
Joined: 04 Mar 2018
Location: Virginia
Points: 25
|
Post Options
Thanks(0)
Quote Reply
Posted: 04 Mar 2018 at 9:00pm |
Thanks for the suggestion .... I'm curious - is there any "trick" to remove the starter following the removal of the starter clamp bolt? (i.e. turn it clockwise / counter clockwise?) Or, does it just slide out? Thanks-
|
|
tmd42024
Bronze Level
Joined: 04 Mar 2018
Location: Virginia
Points: 25
|
Post Options
Thanks(0)
Quote Reply
Posted: 04 Mar 2018 at 9:09pm |
Looks like starter is configured like one listed at below link:
|
|
orangeman
Orange Level
Joined: 12 Sep 2009
Points: 1674
|
Post Options
Thanks(0)
Quote Reply
Posted: 05 Mar 2018 at 4:20am |
If the engine has never been removed from the machine - there should be an inspection plate at the bottom of the bellhousing. Lay on you back and slide under the machine to see and remove it. If the cover is in place, the flywheel cannot clear the housing to be removed.
The statement above, noting "there is 1/2" movement" suggest that it is not rusted to the input shaft spline. Recommend checking for the inspection plate on the bottom of the bellhousing. Two large and two small capscrews hold the inspection cover in place.
Good Luck
Orangeman
Edited by orangeman - 05 Mar 2018 at 4:23am
|
|
tmd42024
Bronze Level
Joined: 04 Mar 2018
Location: Virginia
Points: 25
|
Post Options
Thanks(0)
Quote Reply
Posted: 05 Mar 2018 at 5:19pm |
Thanks Orangeman - will remove the underside plates and check for the inspection plate when I get some time - this Saturday and report back -
|
|
DiyDave
Orange Level Access
Joined: 11 Sep 2009
Location: Gambrills, MD
Points: 50496
|
Post Options
Thanks(0)
Quote Reply
Posted: 05 Mar 2018 at 6:18pm |
 tmd42024 wrote: tmd42024 wrote:
Thanks for the suggestion .... I'm curious - is there any "trick" to remove the starter following the removal of the starter clamp bolt? (i.e. turn it clockwise / counter clockwise?) Or, does it just slide out? Thanks- |
If the lock bolt is out, the only thing that can be holding the starter in is either rust, or pressure from a hung drive. I'd heat as close to the nose, as possible, and do the wax trick there, too... If the starter is hung, you might have to do an embryectomy on it to get it out. 
|
|
jerbob
Orange Level

Joined: 07 Aug 2017
Location: Michigan
Points: 961
|
Post Options
Thanks(0)
Quote Reply
Posted: 06 Mar 2018 at 6:22am |
|
Good advice Dr Dave. Love the medical terms.
|
|
Coke-in-MN
Orange Level Access
Joined: 12 Sep 2009
Location: Afton MN
Points: 41184
|
Post Options
Thanks(0)
Quote Reply
Posted: 08 Mar 2018 at 9:00am |
|
seems that wax trick can be used with the kids color crayons - just be sure they don't see you snitching their crayons
|
|
Faith isn't a jump in the dark. It is a walk in the light. Faith is not guessing; it is knowing something.
"Challenges are what make life interesting; overcoming them is what makes life meaningful."
|
|
DiyDave
Orange Level Access
Joined: 11 Sep 2009
Location: Gambrills, MD
Points: 50496
|
Post Options
Thanks(0)
Quote Reply
Posted: 08 Mar 2018 at 6:11pm |
Coke-in-MN wrote:
seems that wax trick can be used with the kids color crayons - just be sure they don't see you snitching their crayons |
I'll use anything, if I don't have bees wax handy... Gots some birfday candles made of parriffin (or however its spelled!), in the tool box... Comes in handy fer tight spots...
|
|
Randaleky
Silver Level


Joined: 17 Aug 2011
Location: belfry, ky.
Points: 423
|
Post Options
Thanks(0)
Quote Reply
Posted: 08 Mar 2018 at 8:18pm |
|
Never heard of the wax trick. can someone explain it to me. Never too old to learn a new trick
|
|
tmd42024
Bronze Level
Joined: 04 Mar 2018
Location: Virginia
Points: 25
|
Post Options
Thanks(0)
Quote Reply
Posted: 11 Mar 2018 at 8:33pm |
Update on the engine & starter removal on the H3 Dozer. I was finally able to get the engine separated from the bell housing. It was a really difficult to accomplish this task. I ended up using wedge blocks and applying leverage to the front of the engine block to maximize the amount of leverage. I sure hope that the crank is ok - will have to check the runout when I disassemble the engine.
The source of the problem turned out to be something that I've never seen before. The clutch was indeed rusted to the transmission input shaft. In order to separate the two, I was able to apply leverage to literally "extrude" the clutch through the pressure plate. (Yes, the spline part of the clutch is still stuck to the input shaft - will use a cut off tool to remove it.)
As far as the root cause for the rust ... part of it was due to a huge mouse nest. Much to my surprise, there's a small hole on the side of the bell housing; and, some mouse was able to set up a "condominium" in the entire bell housing surrounding the clutch. Somehow all of the material that the mouse dragged into the bell housing was damp and corrosive - leading the the huge rust problem all over the place - including the starter. What a mess!
I did end up breaking the starter housing - still have the original piece stuck inside the bell housing - even though I can and have hammered on it now from both sides. I also tried heating it up (inside and outside of the starter area) with a torch to break it loose - no luck. I think I'm going to take the sawsall after it to try to beak the remaining piece of the starter nose still stuck in the housing. I sure don't want to break the housing.
That's it for now - |
|
DiyDave
Orange Level Access
Joined: 11 Sep 2009
Location: Gambrills, MD
Points: 50496
|
Post Options
Thanks(0)
Quote Reply
Posted: 11 Mar 2018 at 9:04pm |
Randaleky wrote:
Never heard of the wax trick. can someone explain it to me. Never too old to learn a new trick |
Simply put, its applying enough heat to the stuck object, to get it to about 500ºF, or so, then as it cools, stick a bees wax candle to the hot bolt or starter nose, for example. the wax wicks into threads, or joints, and lubes like penetrating oil. Also, if you spray the piece with penetrating oil, after the wax trick, the PO dissolves the wax, and wicks in better.
Nothing really seems to counter-act the effects of mouse piss. I think its worse than battery acid... 
|
|
tmd42024
Bronze Level
Joined: 04 Mar 2018
Location: Virginia
Points: 25
|
Post Options
Thanks(0)
Quote Reply
Posted: 18 Mar 2018 at 8:45pm |
Update on the H3 - I did the wax trick with a threaded rod through the nose of the starter housing - to generate a pulling force to remove the starter nose from the bell housing. After a lot of wrenching and gentle tapping with a hammer, I was able to finally remove the starter nose from the bell housing. It's a relief that I didn't damage anything in the process.
Next on the list is to open up the engine and see what is wrong with it. The previous owner says that it smoked badly & needed to be rebuilt. |
|
Randaleky
Silver Level
Joined: 17 Aug 2011
Location: belfry, ky.
Points: 423
|
Post Options
Thanks(0)
Quote Reply
Posted: 18 Mar 2018 at 8:53pm |
|
I now understand what you are saying. thanks for explaining it to me.
|
|
Kipn
Orange Level
Joined: 12 Sep 2009
Location: Tewksbury, Ma
Points: 800
|
Post Options
Thanks(0)
Quote Reply
Posted: 02 May 2018 at 10:43pm |
|
I guess I was lucky with my H3 rebuild. I had the mouse nest in the bell housing too, but it all came apart easily. Had the head rebuilt and it smoked badly after. Have since done the rings and bearings, but havent started it yet.
|
|
1961 H3
|
|
HudCo
Orange Level

Joined: 29 Jan 2013
Location: Plymouth Utah
Points: 3267
|
Post Options
Thanks(0)
Quote Reply
Posted: 02 May 2018 at 11:15pm |
|
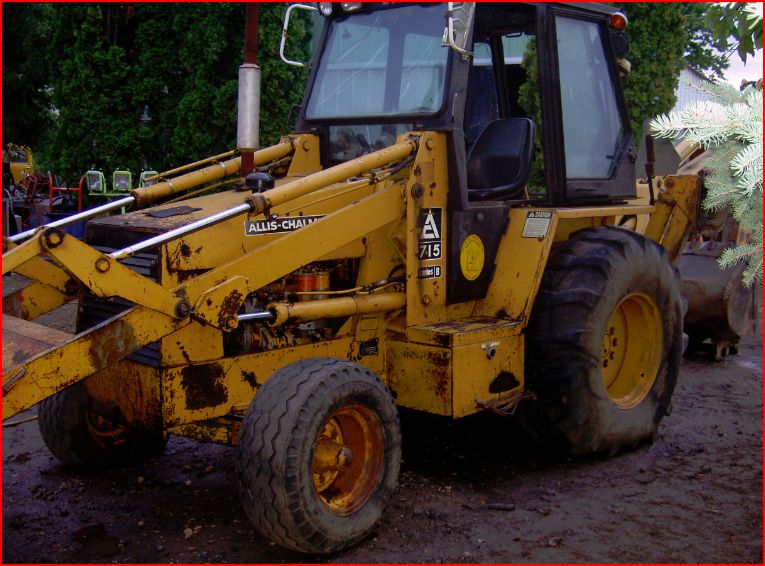
thats tough when things have to be forced apart like your disc still stuck to the shaft were you cant hardly get in to the sorce of the problem with tools . hopfully the rest will go better but we will need pictures , lots of them !!!!
|
|


